White balance for me a few years ago when I just picked up a camera was nothing important. I had no Idea what it was, but the fact that it was being mentioned while most of my photos still looked great gave me the impression that it’s not a big deal like my ISO or shutter speed. As time progressed and the use of flash and shooting indoors as opposed to outdoors came into play, the need to be more educated about it started to become important.
In this article, I will be giving you some insight as to how white balance works in your camera. I will try to keep it as simple as possible, so I don’t lose you, I promise. In essence, your white balance is supposed to aid you in getting your colors as correct as possible when your Image is taken. You might be wondering if the colors aren’t already correct as you’re seeing them with your naked eye but if you take a closer look at your overall image, you will notice where it might look a little blue or a little orange. That is where your camera’s white balance comes into play and can have an impact in your images turn out before post production in Photoshop. Of course, white balance can be corrected in Photoshop or Lightroom, but it’s best to give yourself less post production work and get it correct straight out the camera.
Now depending on the camera you have, you might have a vast majority of different presets for your white balance, but generally, there are about eight. All of which I will discuss briefly and give an insight as to what they do.
Auto – This setting is almost self-explanatory. It allows your camera to judge and choose what would be the best white balance for each shot you take. The younger me would probably have told you that this setting is the way to go, but after a few years of experience, it doesn’t always make the right guess. There are times my images turn out with some blue or orange regardless. However, if it doesn’t bother you that much then, by all means, enjoy this preset.
Daylight – This preset doesn’t really do much as it’s pretty much like a normal setting, so the camera doesn’t do anything extra to your image.
Shade – When shooting in the shade, just how it feels is how it’s going to look. The image will tend to have a blueish look to it, so the camera decides to add some warmth.
Cloudy – This will add a bit more warmth to your picture than your daylight preset.
Tungsten – When shooting indoors with light that is supplied mainly by light bulbs this is a setting you’d like to use. I’ve found where I shot in auto for an indoor setting and ended up with horrible orange, warm looking shots. This preset will cool things down just a tad bit.
White Fluorescent – So this present will make up for anything that is lacking in the tungsten setting regarding adding some warmth to your shoot because fluorescent light tends to make images look blue when shooting indoors.
Flash – In the case of an off camera flash, your camera will try and compensate for any coolness your flash might give off by adding some warmth to your photo.
Custom – Last but not least, your custom mode. This also speaks for itself, so if you’re super specific like me then you can make manual adjustments so your images can come out exactly how you’d like them too.
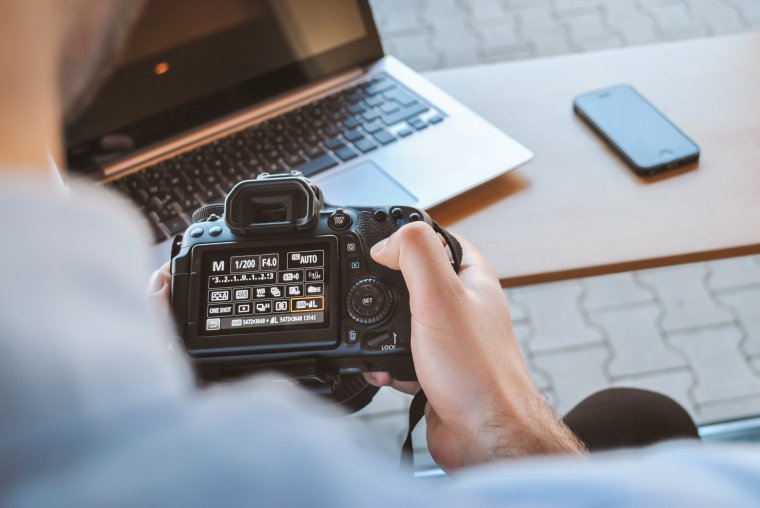
Most DSLR or Mirrorless camera gives you the option of manually setting your white balance for more full on control as to how your images turn out. It’s not so difficult to do once you’ve done your research and done your tests, it’s all worth learning.If you are however comfortable with your automatic and semi automatic presets then simply keep in mind when and where to use them. You don’t want to forget and end up with blue or orange pictures that you’d have to fix in photoshop or lightroom. Be aware of the setting you’re in and adjust your camera accordingly to perform well in that setting. Remember when you become one with your camera it tends to give you exactly what you ask for thus producing stunning images.
I hope these cool tips have helped to warm up your photography skills a bit and also to give you an insight as to how to work your white balance in camera. Did my best as promised to make it as easy as possible. If you don’t get it correct on the first few test tries, continue to try and see what worked for other photographers to see it will work for you too. Learning new things take some time so don’t worry yourself too much about it. Thank you for stopping by, until next time!


Please verify your software version before proceeding.
 I’ve verified my software version


 Facebook
 Google +
Comments (0)
There are no comments yet.