How To Choose Camera Mode Depending on Topicwww.sleeklens.com
When it comes to being a beginner in photography you might find yourself so conflicted. You’re stuck between being excited you finally have a DSLR camera and anxious or nervous to learn all the things that come along with it. This has proven to be overwhelming or intimidating to some beginners because they never really know where to start. Photography sounds so fun and easy until you have the camera that’s as heavy as a laptop in your hand and a bunch of buttons you’re not exactly sure how to use. In this article, I aim to assure you that it’s not the end of the world and it becomes pretty easy to maneuver through these different modes as you progress and learn what they’re about. Manufacturers, especially Canon over the years have aimed to make their DSLR cameras as user-friendly as possible for beginners and I must commend them. Nikon and other brands also aim to do this but I’ve yet to see them do it as well as Canon, anyhow, enough of my biased talk. Let’s begin discussing the different camera modes available on your DSLR and how to use them appropriately when shooting.
1. Shutter Priority Mode
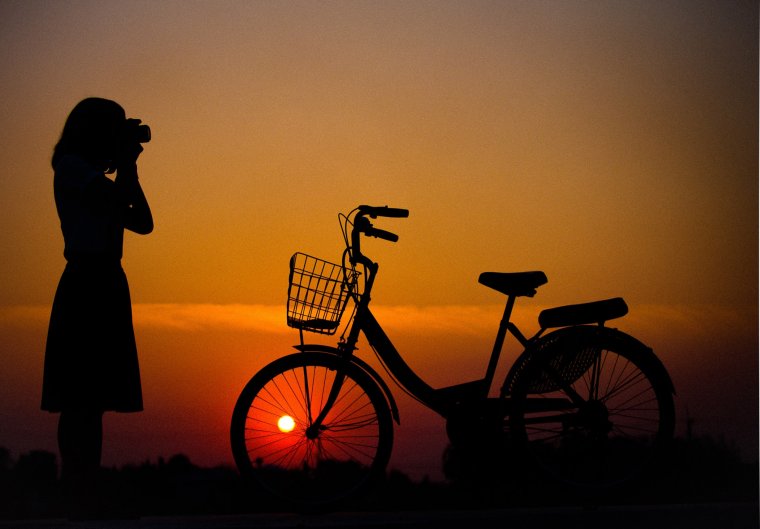
This is probably one of the first modes I played around with when I got my DSLR camera as the beginner. This mode can be popularly seen as an “S” on your modes dial. The shutter priority mode is pretty straightforward in regards to its function and how it works. Your shutter speed works in a similar fashion as blinking your eye. It dictates how much light is allowed into the camera to strike the sensor at any given time. So pretty much, the faster the shutter speed is the less light allowed to hit the sensor.
The slower the shutter speed, the more light allowed to hit the sensor. In shutter priority mode, however, the only thing you actively have full control over is the shutter value. The camera then tries to compensate for whichever shutter value you set your camera to and adjust the other essential settings to match it. This mode is often great for topics such as sports or wildlife photography for many reasons. When shooting in pure sunlight during a sporting event your subject is constantly moving and as a result, the lighting on your subject will vary. It’s always easier to change one of your essential settings than all of them and end up missing your shot. Your shutter is one of the easiest settings to change on your camera while shooting and makes photography a lot easier in such situations.
2. Aperture Priority Mode
When it comes to aperture, you can think about it almost as like a widow or a little hole that lets in light into a dark room. Your aperture value is also known as your f-stop value and can be seen as a decimal like f/2.8 or a whole number such as f/22. The lower this value is the more open this window or hole can get. The larger the value is how small or closed this window can also get. Your aperture also plays a huge part in many things such as determining how well lit your image is as well as helping to create a nice evenly blurred background which gives your images a very professional look. So far aperture priority mode sounds fun but what exactly is it good for?
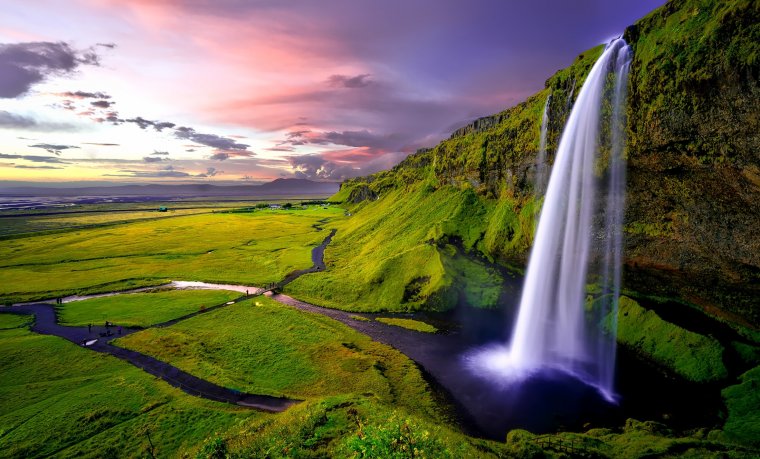
Aperture Priority mode works perfectly for situations such as Landscape photography. While in some situations you may want a shallow depth of field to have that cool blur in your shots, in landscape photography you want the complete opposite. You want your aperture value to be high enough give you a lot of depth of field so it keeps your whole frame in focus and as sharp as possible. This sometimes varies between f/11 or even f/16 depending on your lighting situation. However, I must urge you to also pay close attention to your shutter speed value as well. The camera doesn’t always get it right and sometimes having an overexposed or underexposed shot can be annoying.
Aperture Priority Mode is also great for shooting portraits. As I mentioned earlier, that the shallow depth of field can give an even background blur that has proved to be very appealing to viewers. To get this done you would need to focus on two things such as your distance from the subject you’re shooting as well as how low your aperture value is. For a nice blurred background, I usually put my aperture down to at least f/2.8 so I can still keep some detail and sharpness in my image.
3. Manual Mode
Now you in the big leagues. Once you’ve grasped an understanding as to what the different camera modes do and how they play a roll in different genres of photography you can try manual mode. There’s not much to explain about manual mode besides the fact that you are now in complete control of your camera unless you change one of your essential setting to auto. You now dictate how your images will come out and take full responsibility for that. In manual mode, you can pretty much explore any genre of photography because you are not limited as to what you can do and not do. I urge you to catch some practice with this mode first before doing a photography session because it can be a bit tricky if you don’t fully understand it.
I hope this article has been a great help in guiding you in using the right camera modes during your photography. I hope to see you soon again, thank you for stopping by.


 Facebook
 Google +
Comments (0)
There are no comments yet.