Beginner’s Guide to Flower Photographywww.sleeklens.com
A beautiful flower can bring a sense of peace, serenity, and calmness. It is no wonder then, that flower photography is so popular. Flowers can be found all over the world – in gardens, parks, and other natural environments. Flower photography is a great place for budding photographers to refine their skills. Flowers are prevalent no matter where you live, and they are still life subjects. Photographers can practice their technique without being rushed. We will discuss some guidelines for a photographer interested in flower photography.
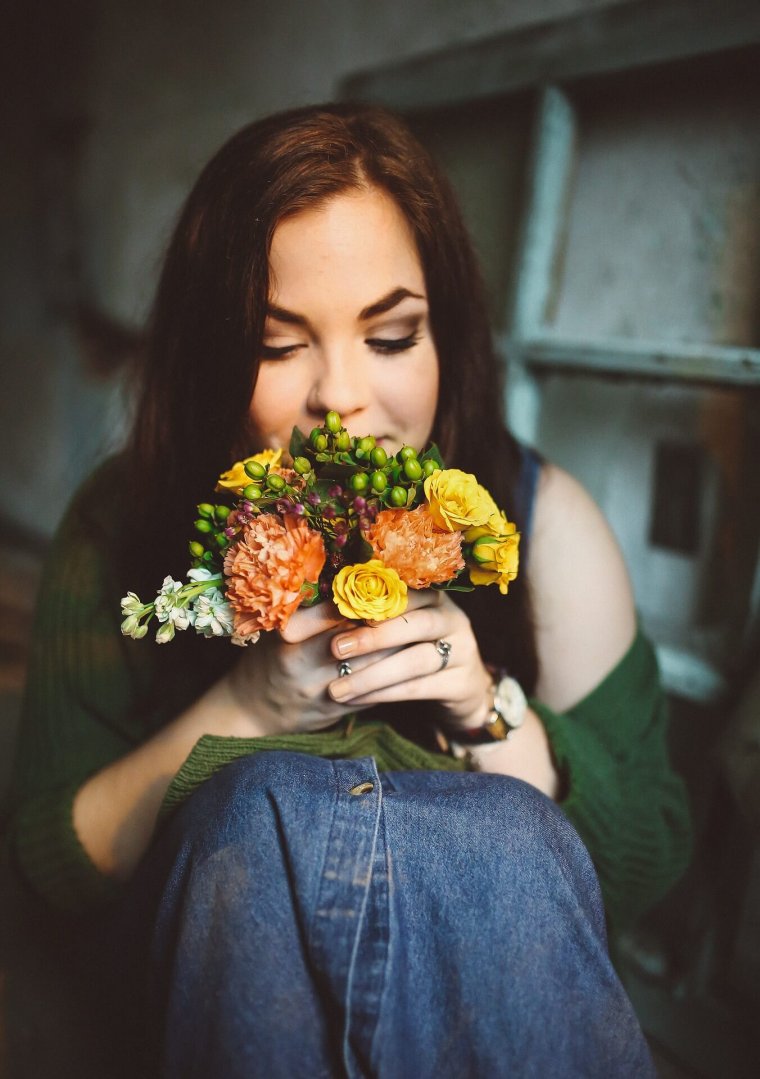
Flower photography can also include a human subject! This is a great way to bring some context to the scene. In the photo above, the photographer focused the camera on the flowers. Nevertheless, we can learn a few things about the beautiful subject. Through her expression and her wedding ring, we can likely assume where the flowers came from. We also see how appreciative she is of the flowers through her facial expression.
Complimentary Colors
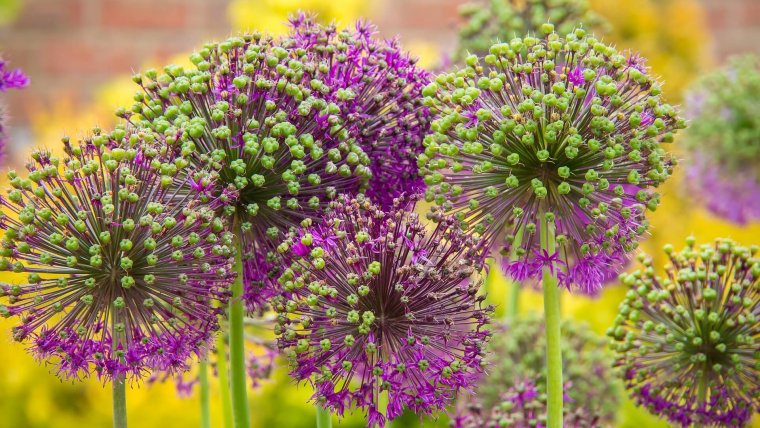
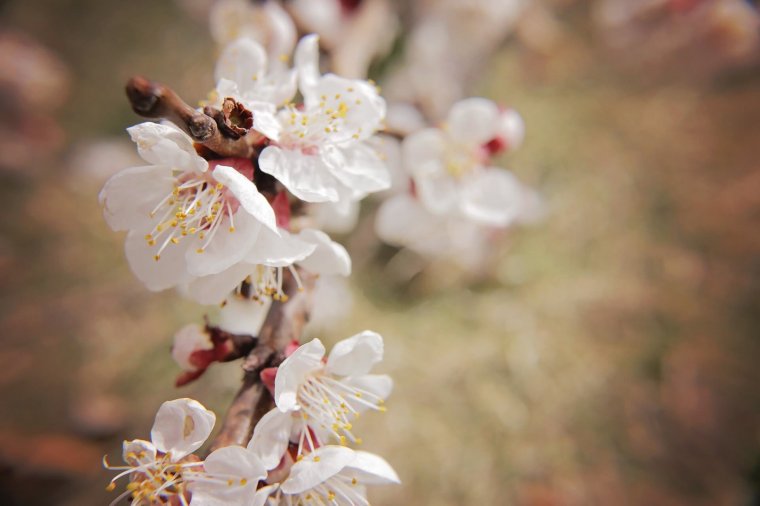
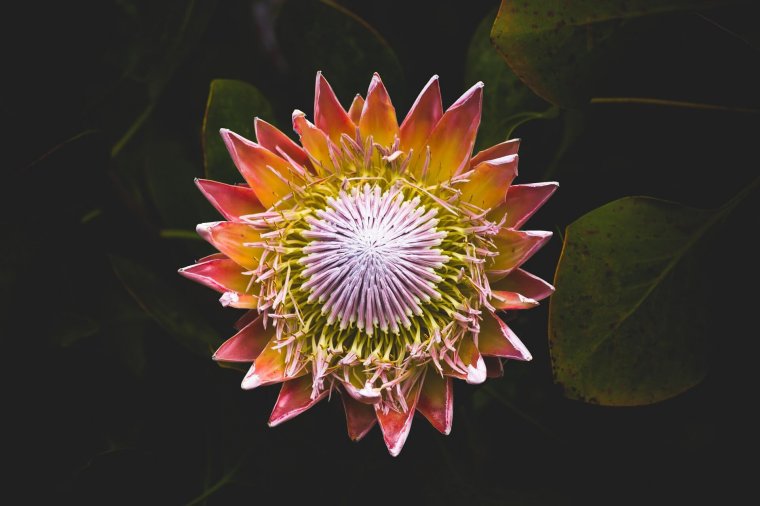
One of the main attractions of flowers is its beautiful colors. Flowers are known to be naturally very colorful, and always composed of complimentary colors. To take advantage of this, the photographer should find a background that does not contrast too much with the colors of the flowers. In the example photo above, we see the colors white and red predominantly in the flowers. The photographer chose a light colored background – a light tan color. This compliments the flowers well and creates a photo that is very aesthetically pleasing as far as the colors are concerned.
Macro/Bokeh
Macro is the practice of getting very close to a subject. Bokeh describes the aesthetically pleasing blur of the background. True macro usually involves specialized equipment like the Canon 50mm f/2.5 or Nikon 40mm f/2.8G lenses, a tripod, and a macro flash. Although, it is possible to take close-up macro shots with nearly any camera. The key is in getting as close as possible to the subject, and making sure to take a tack sharp photo. A reliable, sturdy tripod will work wonders in this regard. Afterward, the photographer can always crop the photo in post-processing software in order to simulate a macro photo. Sharpness is of utmost importance especially when cropping because small details will be more easily seen in a cropped image.
Using a Macro Flash
Do you see how the background of this water lily is much darker than the lily itself? This is because the photographer used special equipment called a macro flash. These are external units usually attached to an SLR. There are many types, but the ring-shaped macro flashes are the most popular. This shape helps distribute the light evenly on a small subject. With macro flashes, you can easily isolate the foreground from the background by lighting the foreground only. The resulting effect helps to focus the viewer’s attention to the subject.
Isolating the Subject
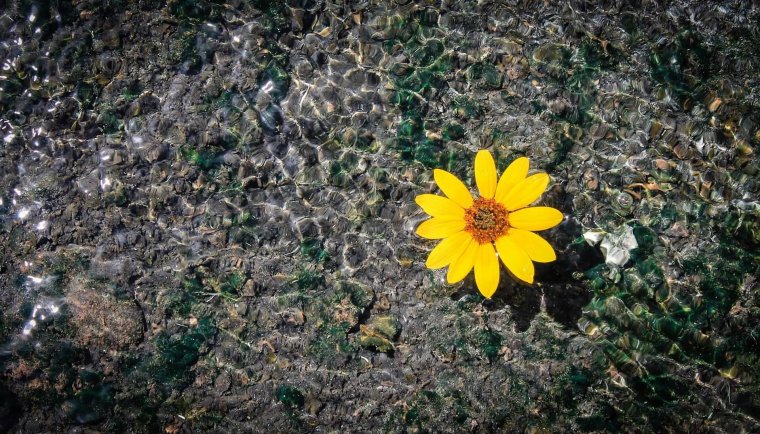
If you do not own a macro flash, not to worry! There are yet still other ways to isolate the subject. In the sunflower photo above, the photographer has chosen to take the photo from an interesting perspective. By choosing to shoot from directly above the subject, the photographer has isolated the subject. This helps the viewer to focus on the subject, instead of any distracting elements that would have been in the scene. The dark background also helps to separate the flower in the foreground.
Different Perspectives
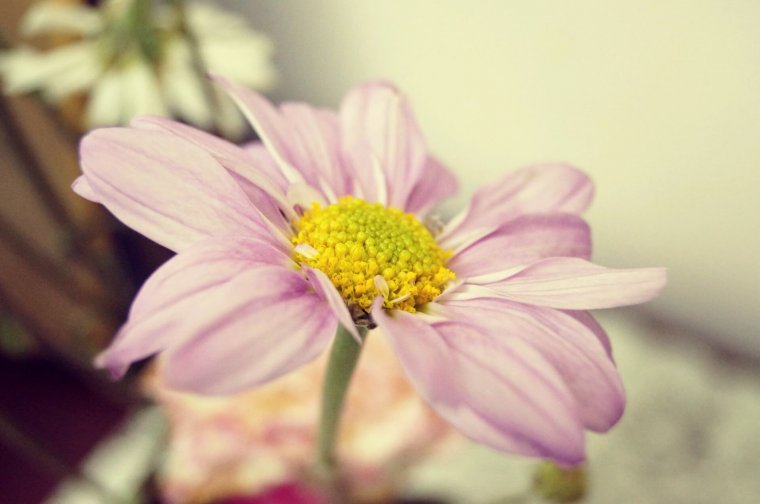
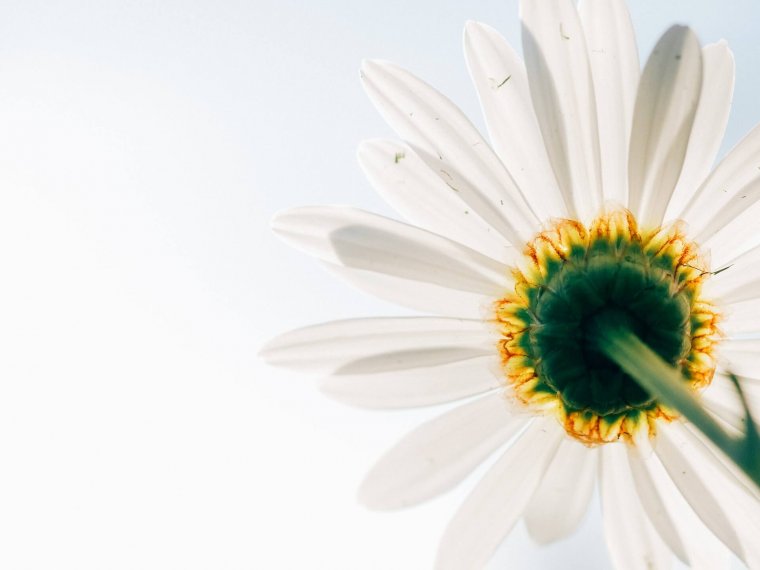
What if a photographer can’t find a perspective that eliminates distracting elements in the background? Well, consider the beautiful white flower above. By choosing this unique angle, the photographer eliminates any possible distracting elements. The sky is always a great background; a blanket of the shades white, blue, or gray. Shooting from under the flower is a great way to mix up your flower photography. It’s important to experiment with different angles to find the one that looks best with your subject. Every scene is different due to lighting conditions, surrounding elements, and other factors. Shooting from different angles will help you learn to visualize how a photo will look before you take it.
Jonathan Ma is a freelance writer and professional photographer. He grew up in the beautiful Pacific Northwest of the United States. The natural beauty that surrounds this area has helped him to learn to appreciate art and photography. Jonathan's favorite styles of photography are nature and sports photography. He enjoys learning and teaching others what he knows.


 Facebook
 Google +
Comments (0)
There are no comments yet.