As photographers, we have many different options of software to edit our images. The different tools we use are usually geared towards being great at specific tasks, so we end up having to use multiple tools to get the exact look we want. When I just want to lightly edit or keep it as a photo with no manipulation or heavy editing, I start and finish in Lightroom. If I am going to do anything more than the Lightroom options allow, I will start in Lightroom and move into Photoshop to finalize my image. In this tutorial, I am going to show you how I go from editing in LR to finishing in PS.
Table of Contents
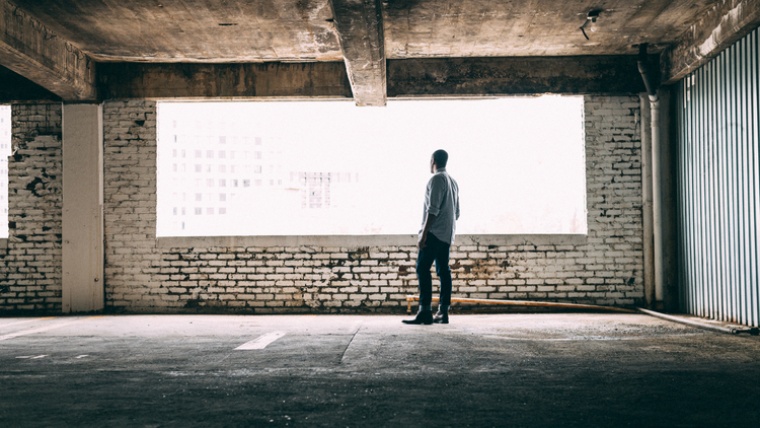
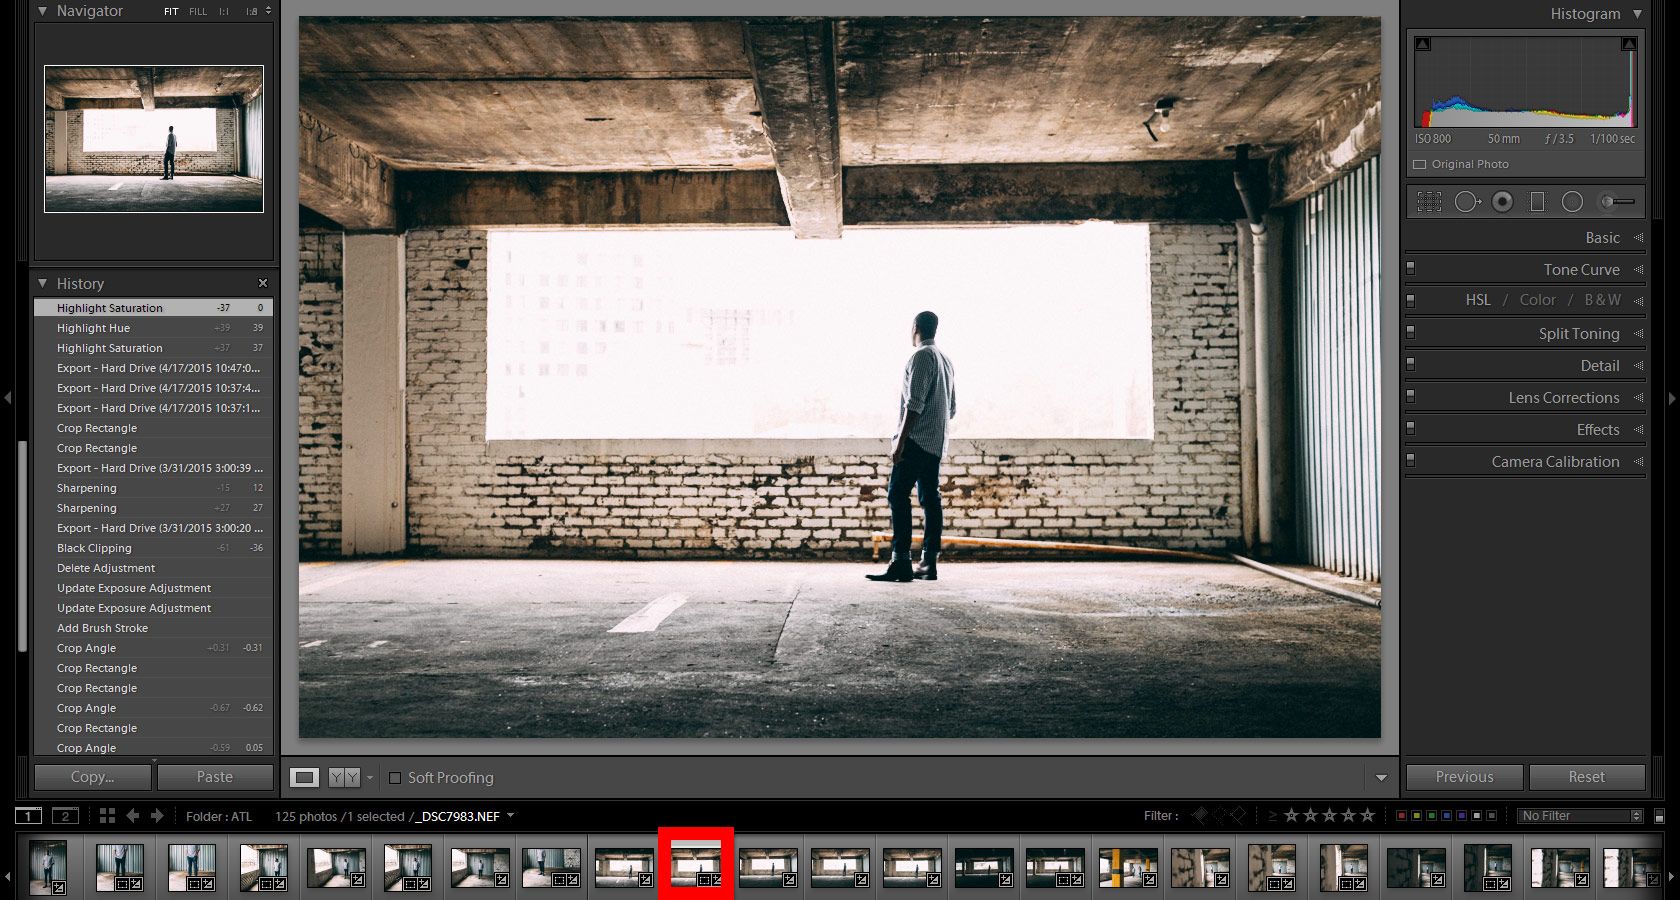
Let’s say this is the photo I want to edit. I have done all of my edits in Lightroom and now I want to move into doing some more editing in Photoshop. I would do all of my color, lens correction and tone curve edits, but would stay away from doing sharpening and grain. I would do grain and sharpening as a final step, depending on the size and medium of how my final image will go out. In the next step, I will show you the actual settings I have set up for when I export images to Photoshop.
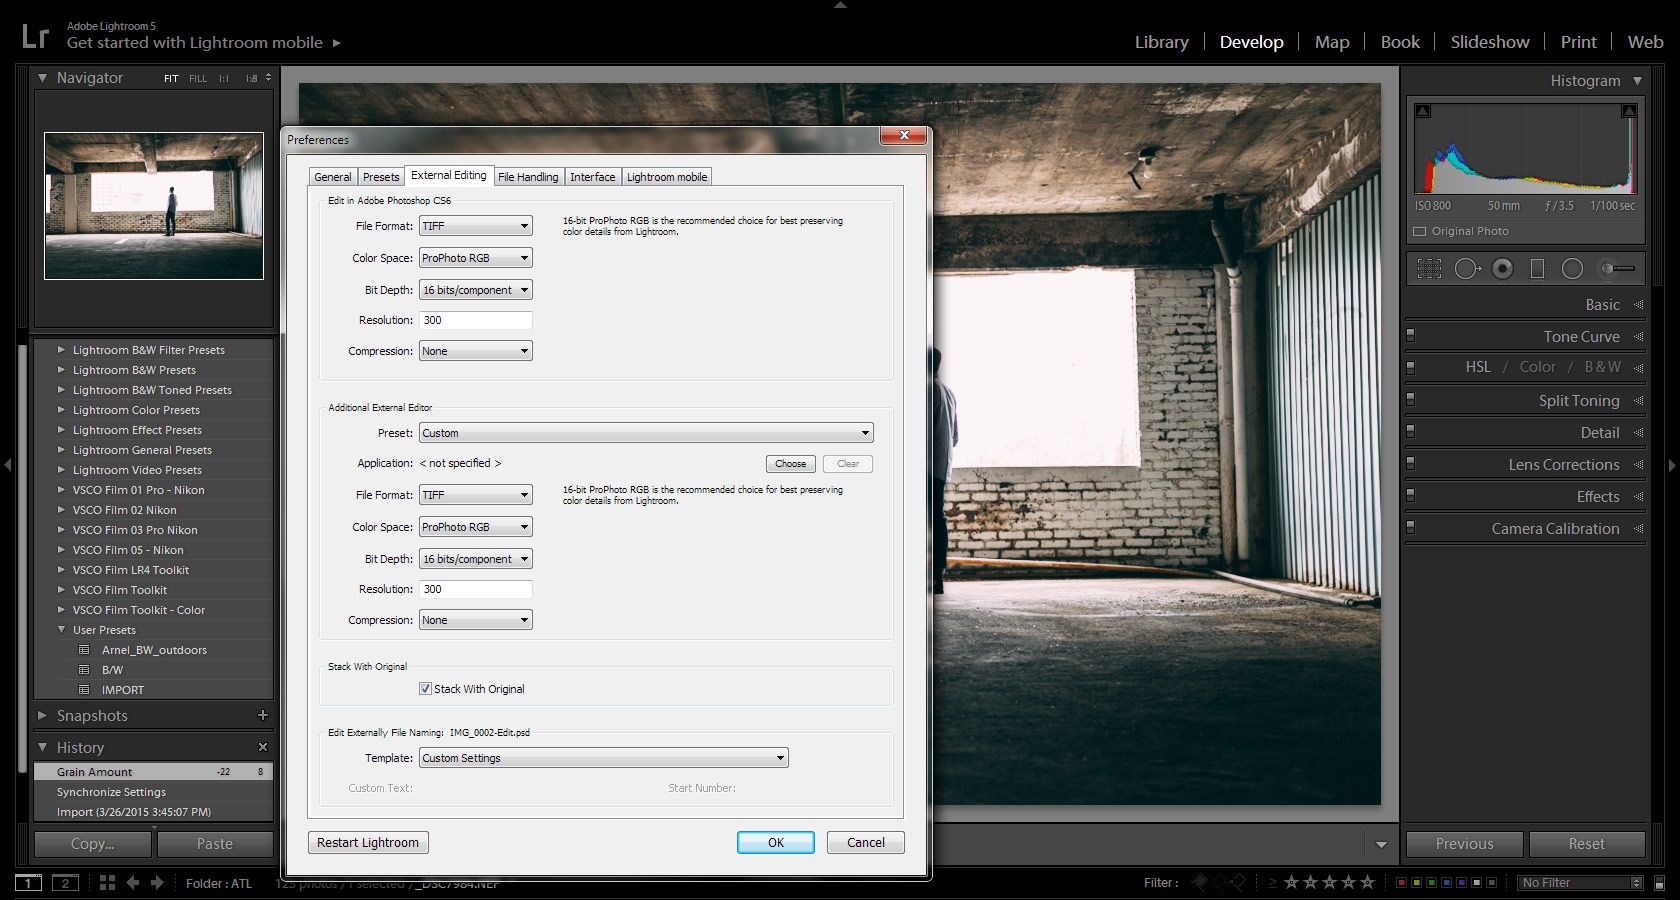
There are many different options in this section, but this is what I go with because I want to have as much and as good of information in my file as I can. To get to this menu you go to Edit>Preferences. Once you do this step you may have to restart LR for the changes to occur.
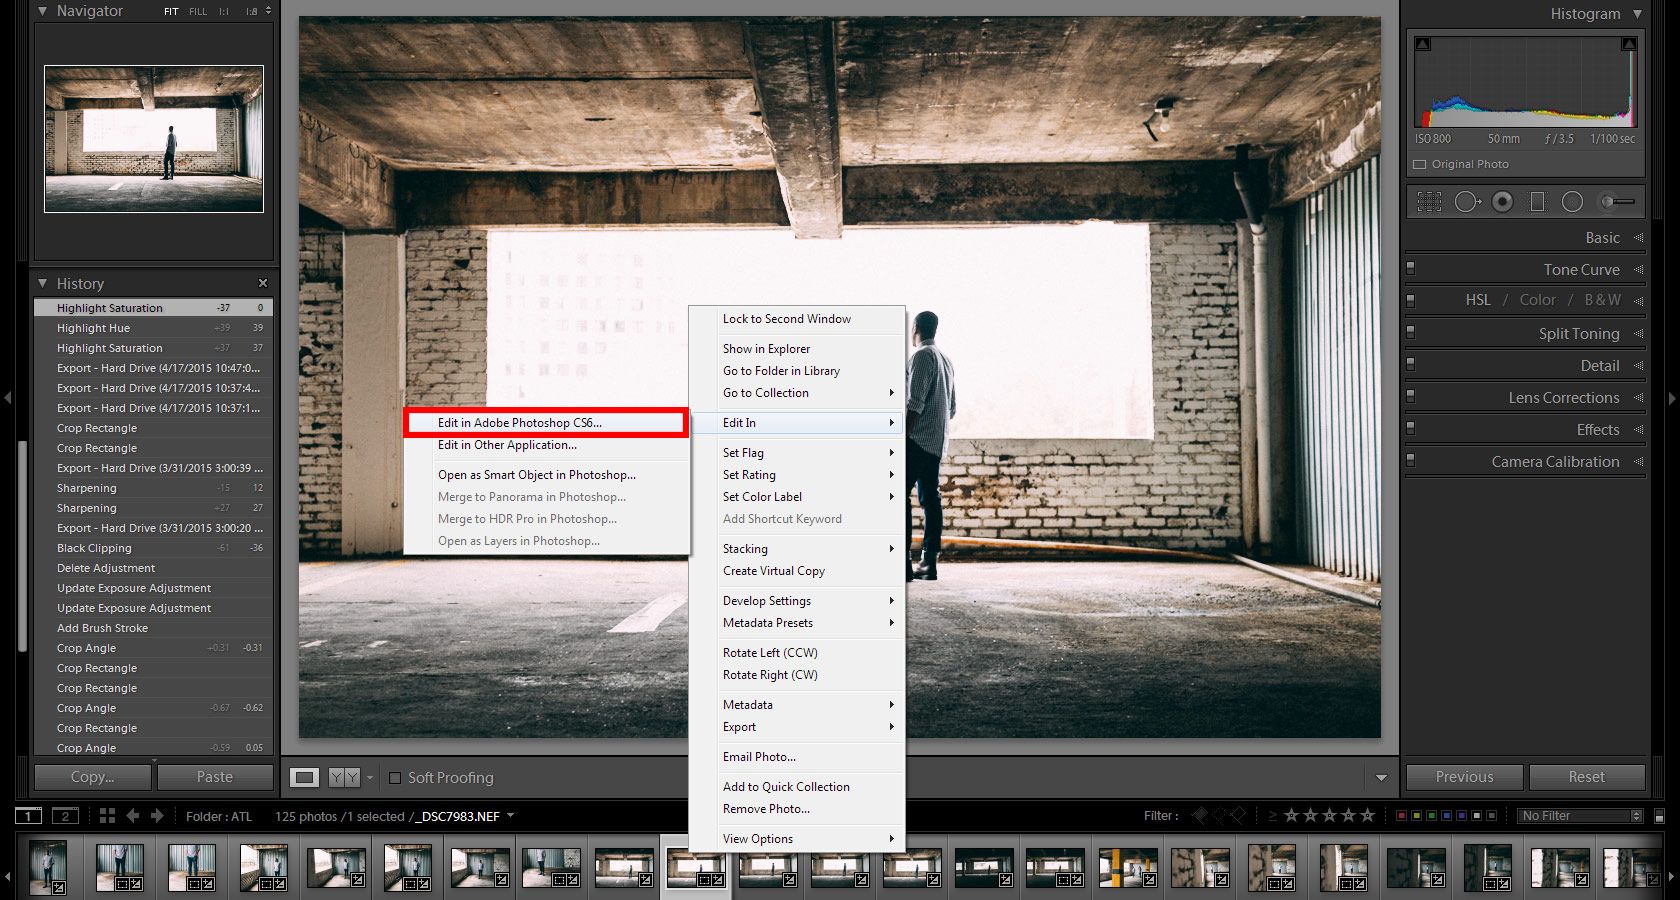
After you have changed your settings for the kind of file you want to export, then go to your image> Right Click > Edit In> Edit in Adobe Photoshop (your version). You can also Open as Smart Object, in which if you make any changes in LR they should automatically update in PS. I won’t do this now because I have no need for it in this case. If you look at the options in gray, you have the ability to do HDR and Panorama export from here after selecting a group of photos that apply.
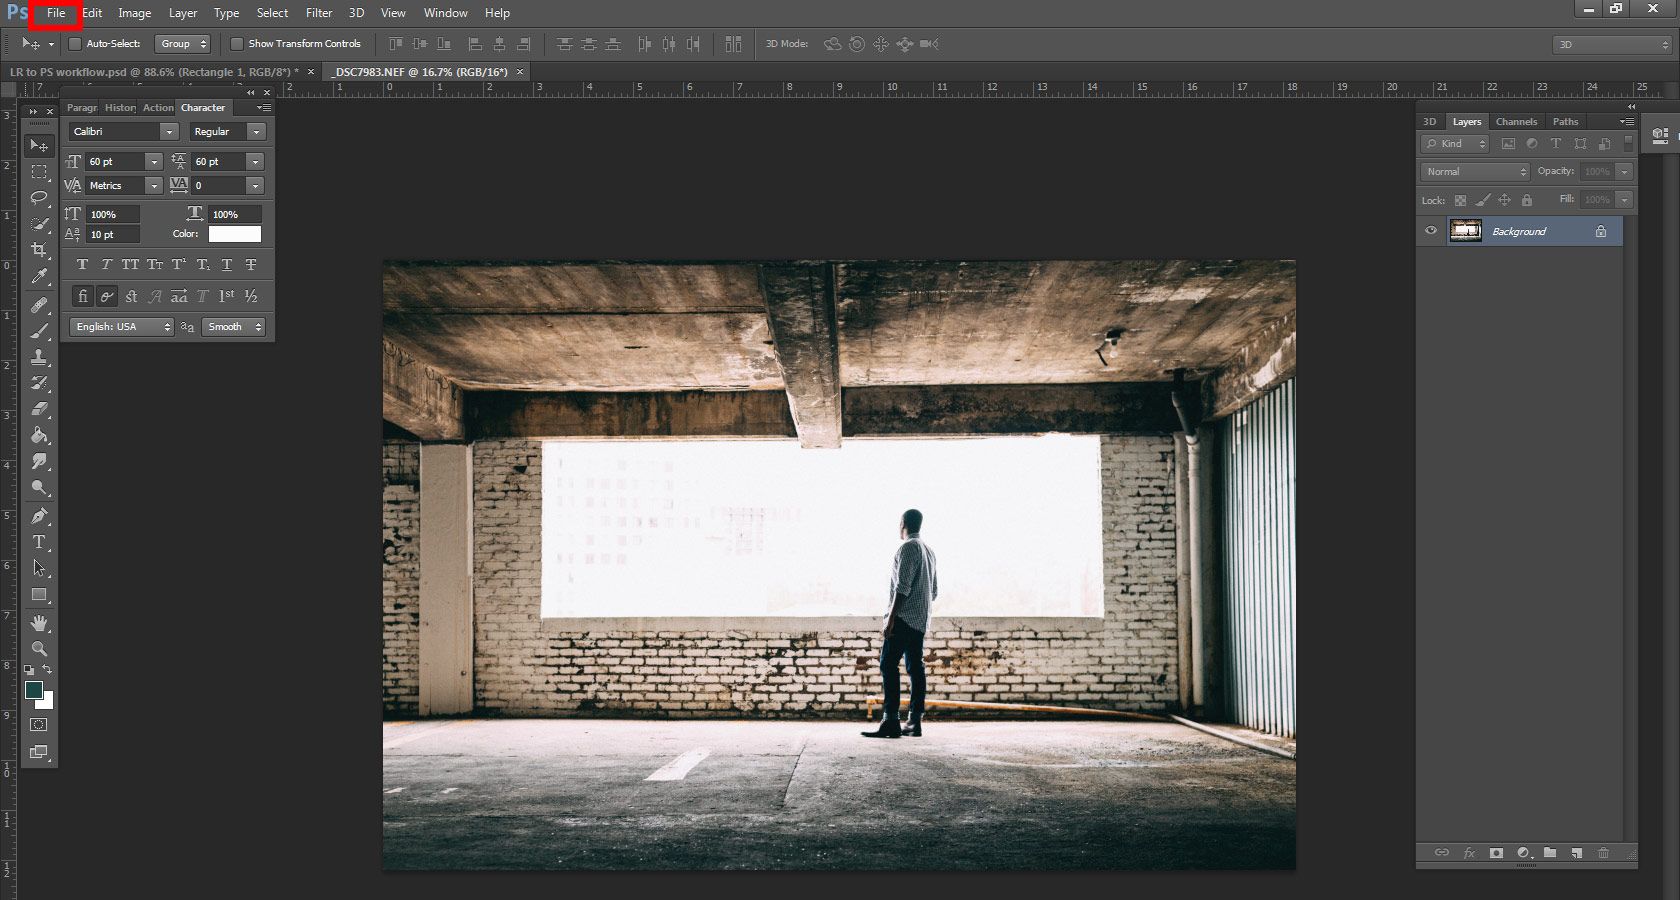
Now, this is what I get when the file opens in PS. In this case, after I have done all the edits I want, I click File>Save and it will save the file in the same folder as the original, which will also show up in LR as you will see in the next step.
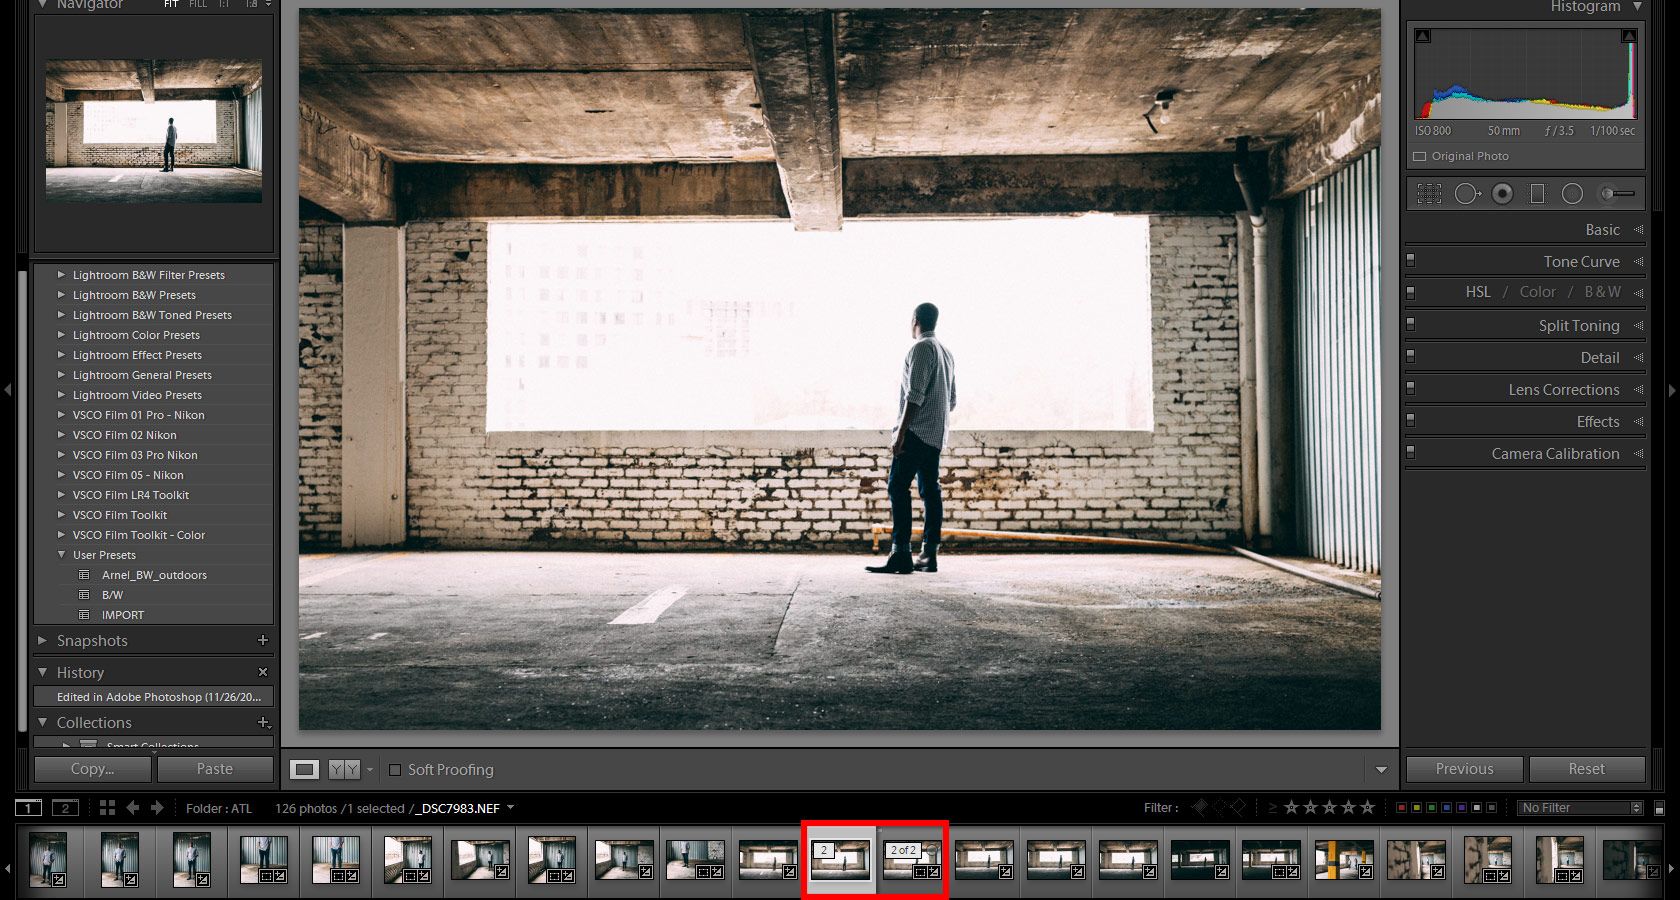
Once you have saved the image in PS you will go back to LR and possibly see the stack of photos icon on the original image. It means there is a photo stack of the related images and if you click on it, you will see the rest of images.

Once you click the photo stack, you will see 1, 2 or something similar, depending on which photo and out of how many. You now have the images with the PS adjustments back in LR for you to edit or make any further changes that you may need to. I generally would export straight from PS, but if you have any reason to come back into LR then this is how you end in itself. From here you can make your normal export from Lightroom.
It’s good to know how to jump from one software to another and there are several ways of doing it. This is just my way and the settings I use. If you have other ways, share them with me.
Comments (0)
There are no comments yet.