
Holidays are a good chance to get great color and lights in your shots. Winter, in general, is a great time to go out and experiment with ways of shooting scenes that are not always at your disposal. With all of those lights and colors for the holidays, also comes the opportunity to create some awesome bokeh. Essentially, bokeh is the way the lens renders out of focus light. It is circles of light like in the above image or the creamy background in portraits if taken with the right settings. Aside from having a nice out of focus bokeh in portraits, there are tons of objects you can use to create some great bokeh by holding objects in front of your lens. Incorporating out of focus elements can enhance your images and give it a mood you otherwise would not have.
Table of Contents
So what do you need to know before taking photos, and how to achieve bokeh in your images? Well, the biggest things that go into creating bokeh are the lens choice and the aperture you shoot at. The shape of the bokeh, a lot of times, is determined by the aperture blade amount. Generally, the better the lens the more blades (around 9), while the lower end lenses have about 5. The higher amount of blades creates more of a circle which creates the bokeh, more creamy and soft, where the lower blade count will create something like a hexagon. I tend to prefer the more round bokeh, but that is not to say that the less circular ones are not good and should not be done. Everyone has a preference but it is good to know the difference of why the bokeh might look different from lens to lens.
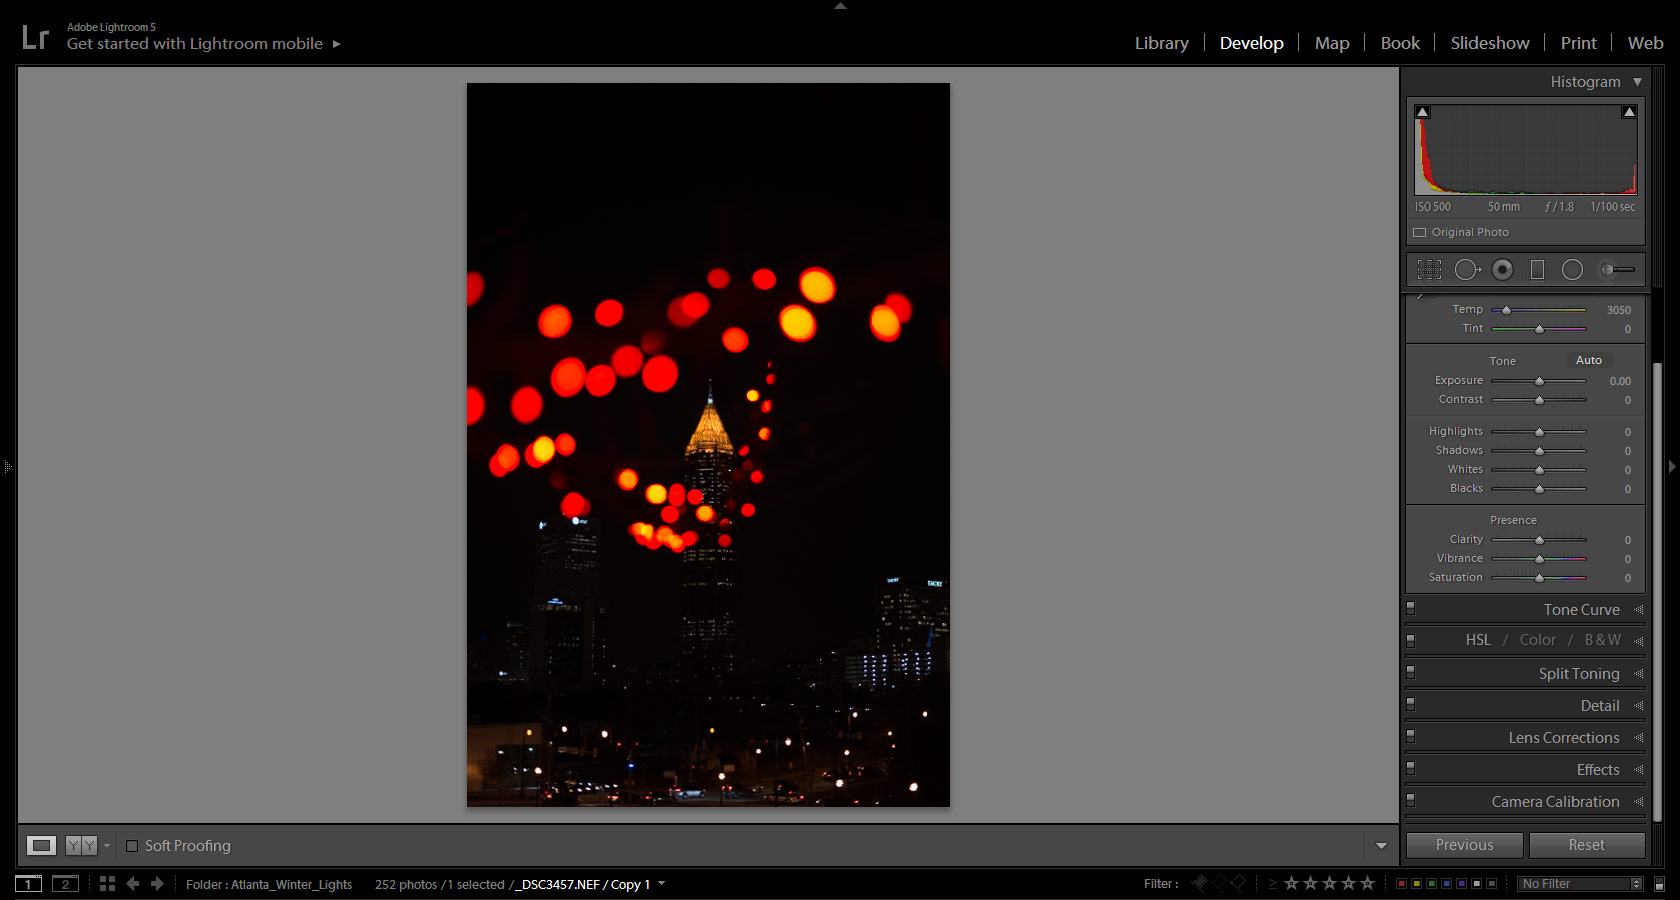
If we look at one of the images I started with, we can gain a lot of information by looking at the histogram below. I mentioned above that aperture also plays a role in creating bokeh. One of the things to keep in mind if you are trying to get nice bokeh, is shooting around f 2.0 or wider. Having the lens open wider allows for a smaller depth of focus, thus giving you the out of focus bokeh in your images. What you generally see in portraits is that the subject is in focus and the whole background is out of focus. In the images I shot, I used the foreground as a framing device and made that the out of focus part. So in my image, I made the foreground out of focus and used that as a nice way to introduce some interest in my image. Going, either way, works (either creating the foreground/background out of focus), just as long as there is enough difference in the field of focus to get one of the elements to go blurry. As an artist, that is up to you to decide on how you want to incorporate things being out of focus into your images.
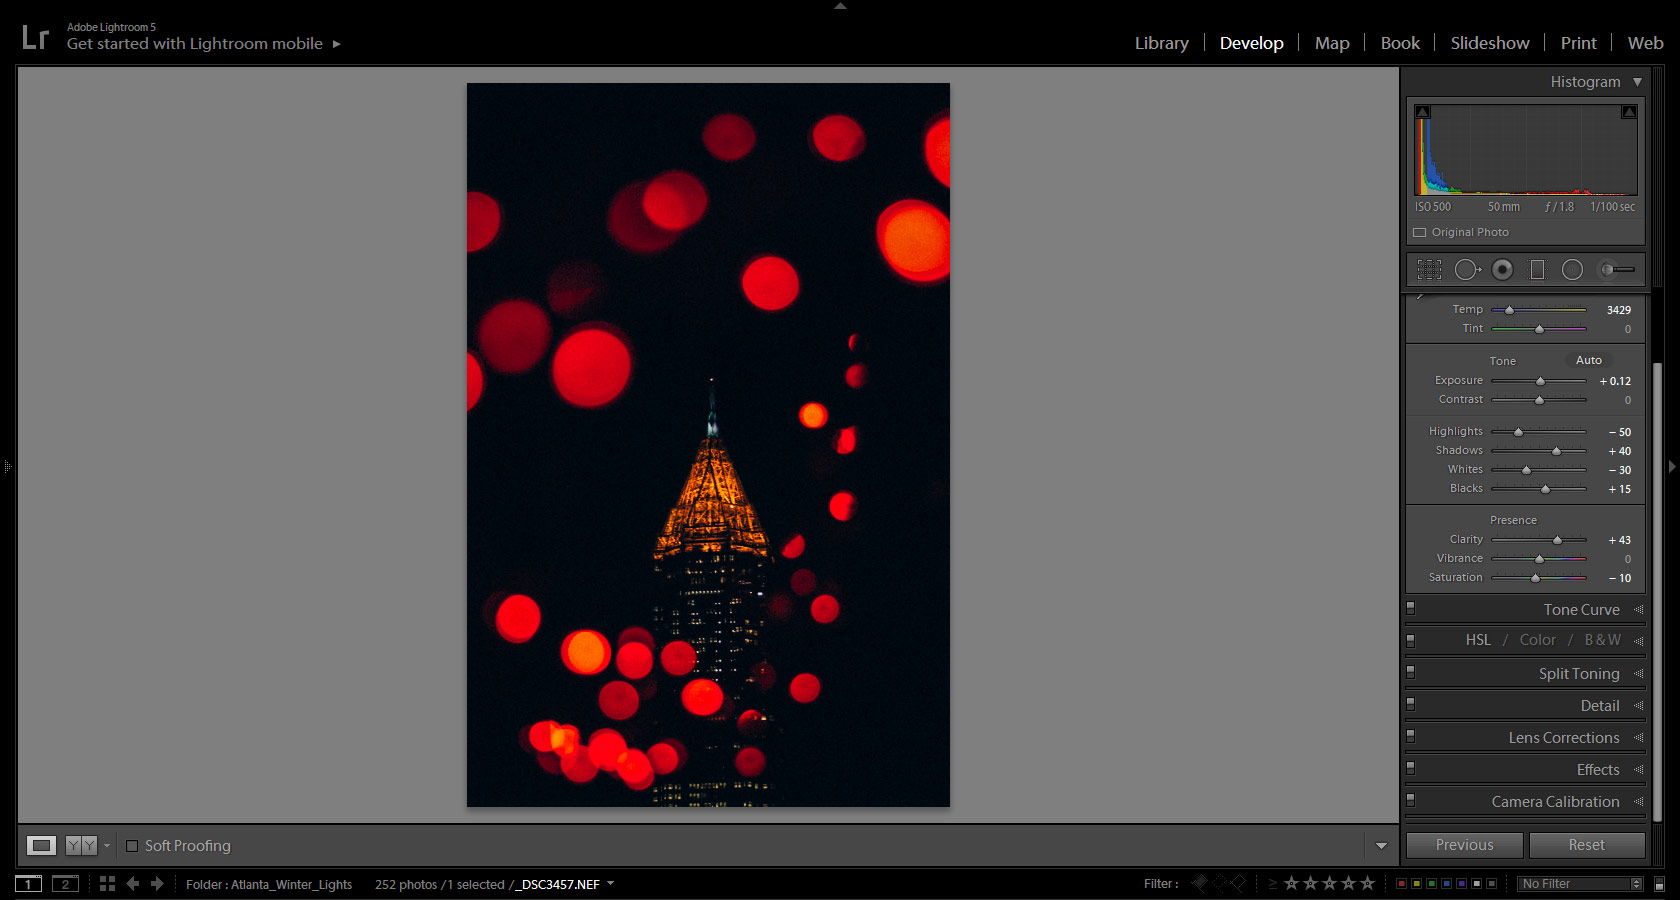
So, once you have in your head what you want the subject to be and how you want to incorporate bokeh into your shot, you then experiment! When shooting out of focus especially with the object almost touching your lens, it is often unpredictable and fun to see what slight movements will do with the light. In my case I kept adjusting, moving from angle to angle, making minute changes, to get something that looks like the image below. One thing to remember is that the color of the object out of focus can play a big role in helping you get a nice clean image. Before getting this shot I was using some more green light that did not look good against the color of the building, so I moved over to the more red holiday lights and that made all of the difference.
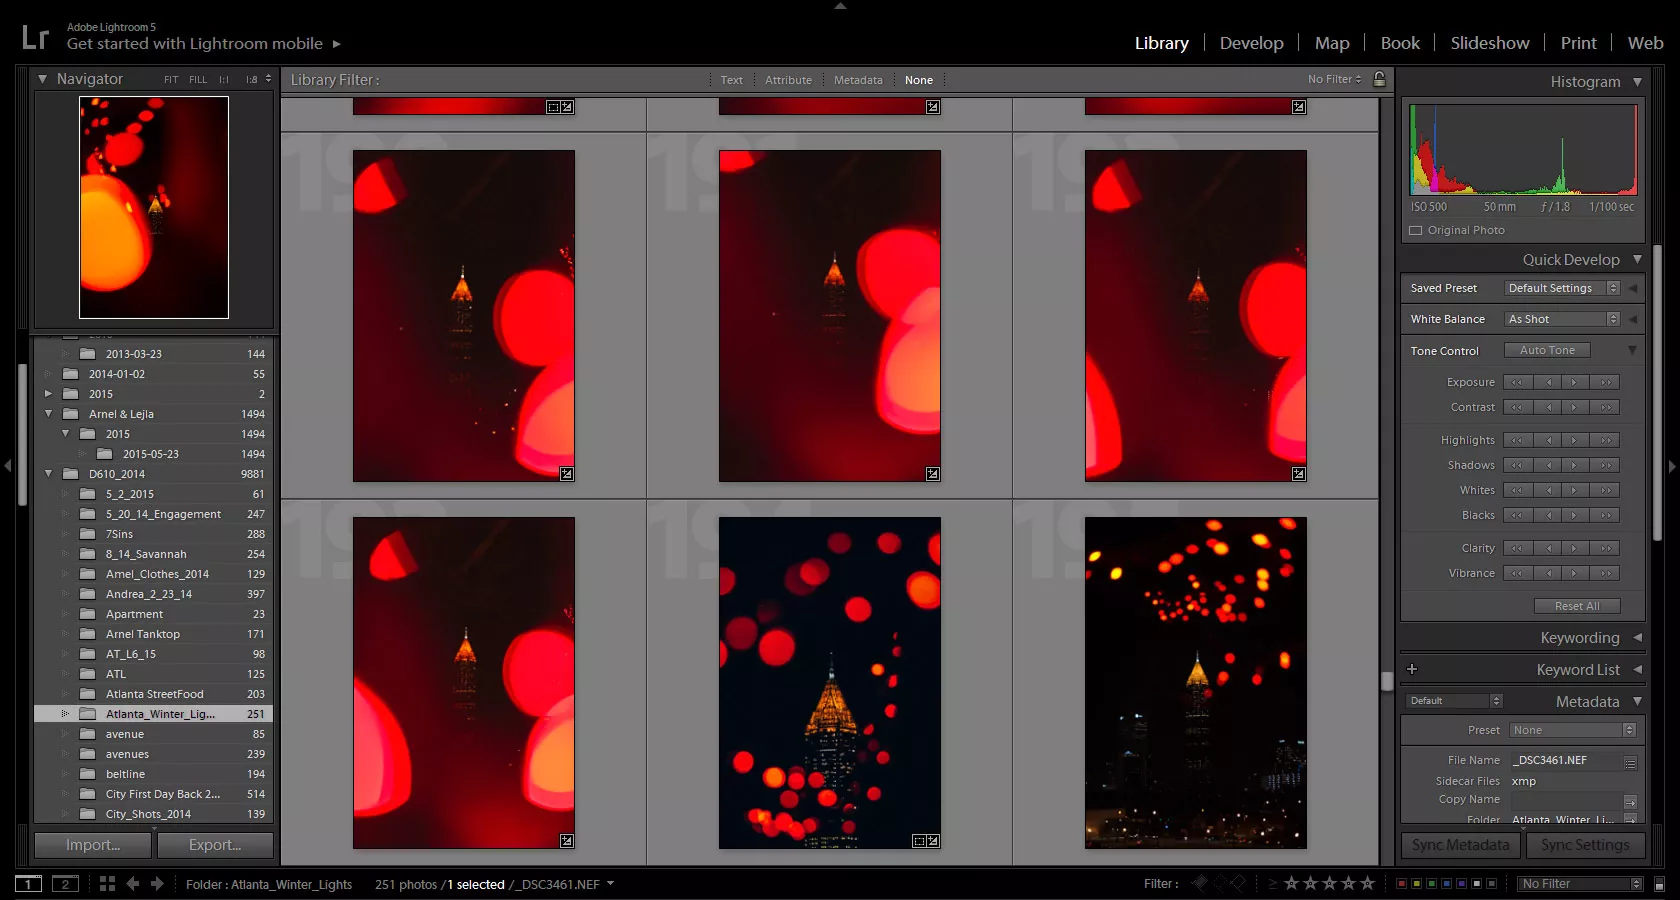
Did I mention experiment?! Trying out new things and making slight changes with your camera will yield two great and unexpected results that you can learn from. Shooting at night is not something I do a lot of, so when I get a chance to do something I do not normally do, I play around, knowing that there is no consequence for failing. Below is a small sample of the different angles and changes I made along the way to getting the image above. If you notice, a lot of the images look the same in a row, but one move up or down changed it. When working with light bouncing around your lens and it is so close that it almost touched the lens, the smallest change can get you to a winning shot.
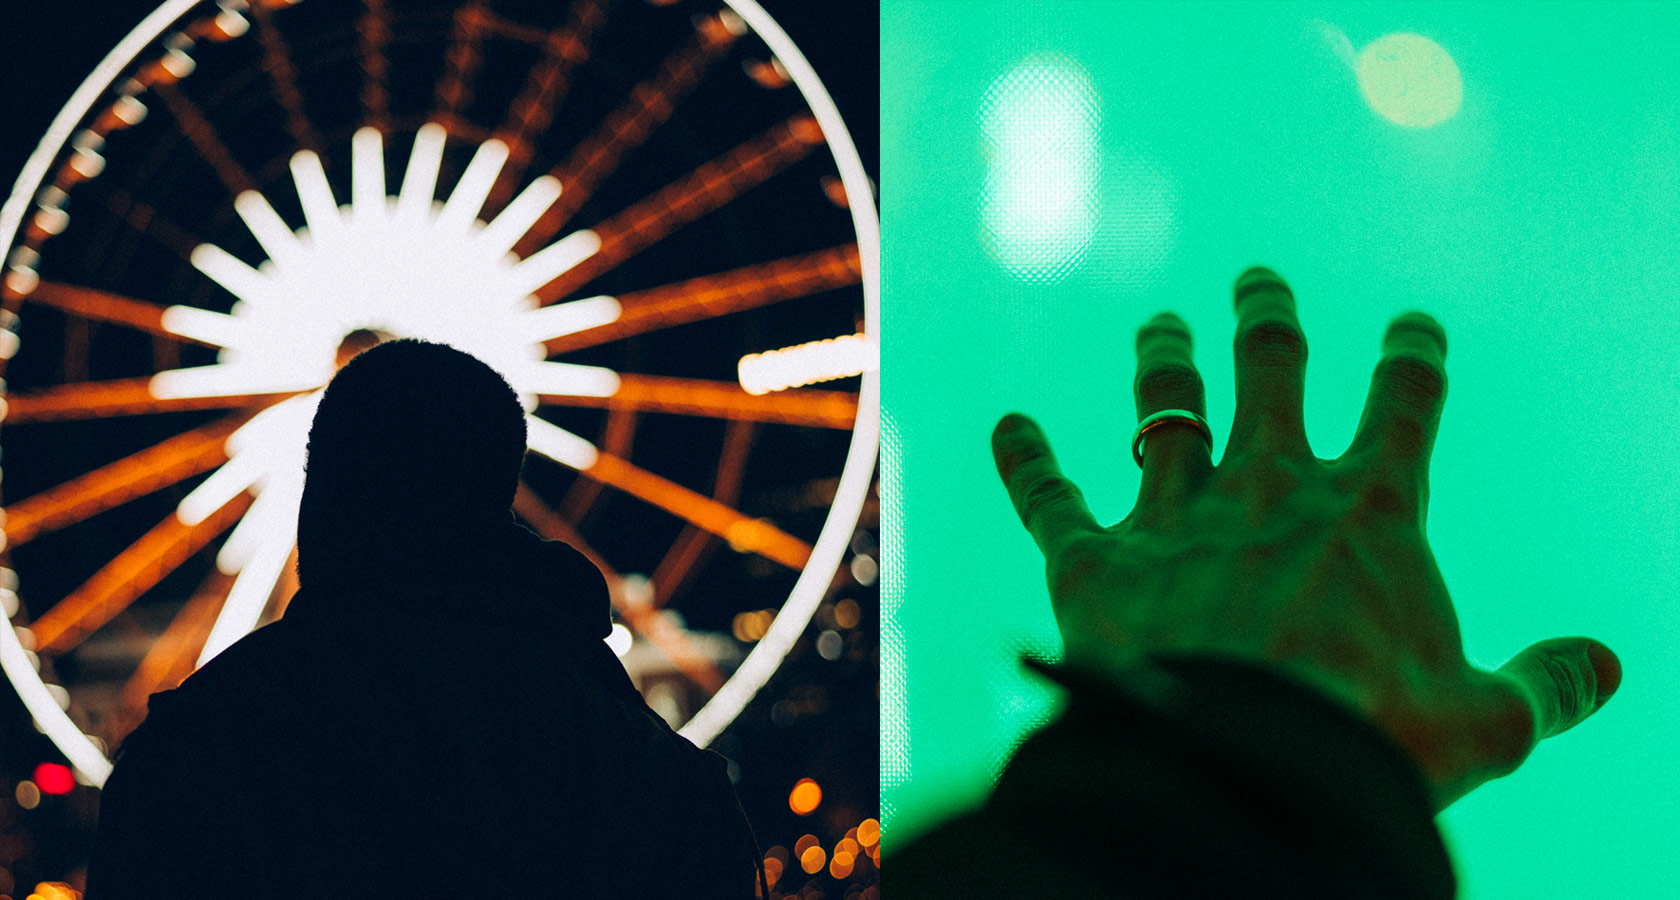
Shooting bokeh can be a lot of fun and there are a lot of different ways to incorporate it into an image. Sometimes used just for fun, and other times to hide distracting objects. Whatever the case may be, it’s fun to take a time to try new things and play around. Below are some other images and uses of bokeh during the night.


Please verify your software version before proceeding.
 I’ve verified my software version


 Facebook
 Google +
Comments (0)
There are no comments yet.