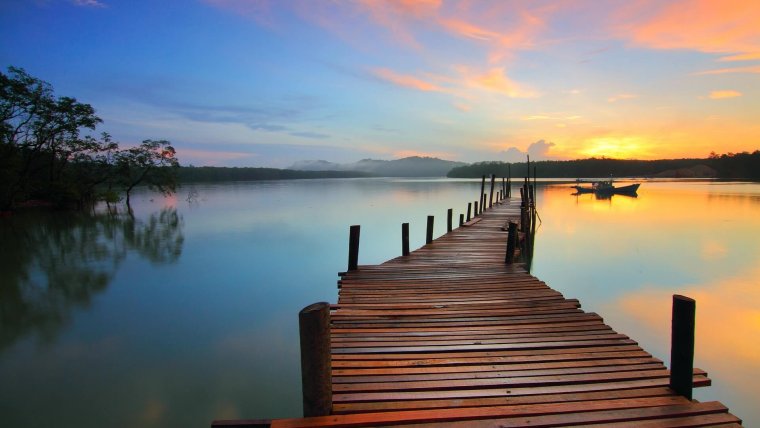
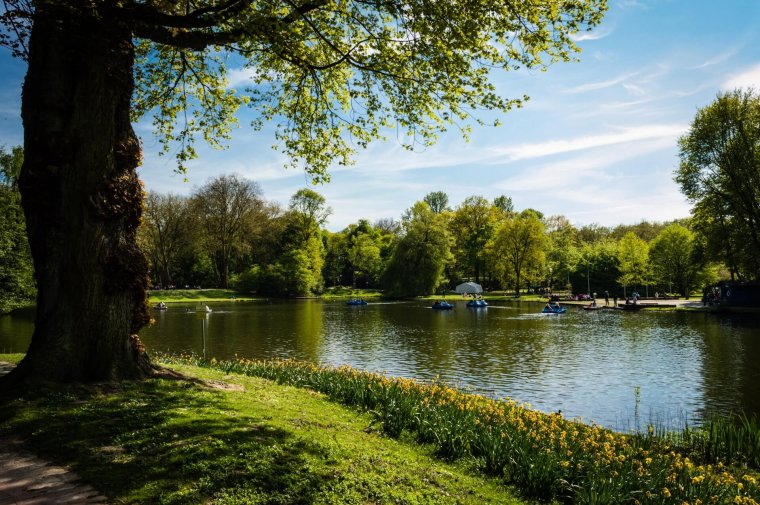
Shooting River Scenarios: A Beginners’ Guidewww.sleeklens.com
Being that it’s still summer, it’s pretty warm out and a good time gets to your closet river and catches some photos. Living in Jamaica also dubbed the land of wood and water I find that there are so many rivers and beaches all around that you’re bound to end up at one or the other during your lifetime. Shooting by the river can be both a fun session and also an adventure depending on what you make it into. I know a few people like myself that get timid when their camera is near any body of water even on the beach but in this article I’ll be giving you some pointers as to how you can successfully capture some amazing shots during a river session or just general river shots and still keep your camera dry and well. Can’t promise you however that you’ll stay dry because what’s the point of going to a river and not getting a little wet for the fun of it all.
Table of Contents
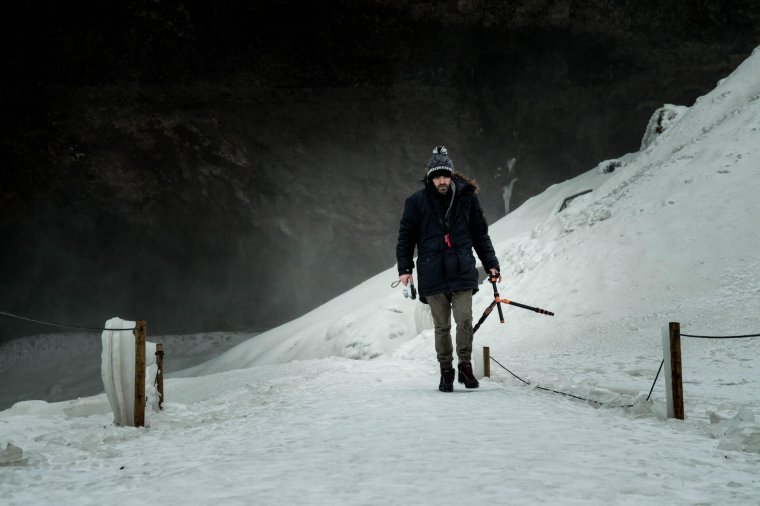
1. Tripod
I see where a lot of photographers forget the importance or relevance of their tripod. They’ve gotten so used to shooting free hand that they let their tripod gather dust and feel neglected. Safe to say I am one of those people and recently began to see the benefits of using a tripod in my day to day session. Whether it be shooting a model or just casually capturing a subject, my tripod is yet to fail me. When shooting river scenarios, you want to capture the essence of where you are, and a key part of doing that is to get the best quality possible. It might be a little hard depending on the terrain by the river but none the less it’s all worth the effort and trouble.
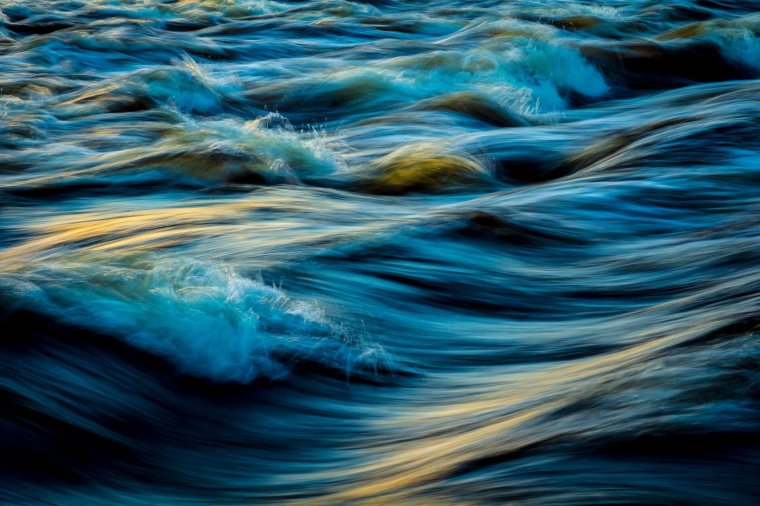
2. Shoot Underexposed
A trick I found out just recently is when shooting raw underexposed; it makes look bothering during the process but can yield some great results in post production. Unlike other scenarios in photography, recovering details of water in river scenarios can be a bit of a challenge. Reason being they tend to get blown out, and it just seems like a flash of white in the distance. This usually gives a bit of a headache to edit and recover so to help try and shoot a bit under exposed and do your magic in post production.
3. Get Your Feet Wet
Like I said earlier if you go to the river you have to get involved at least a little bit and get your feet wet. Many great shots taken in river scenarios tend to be taken from the perspective of being in the river itself. Be careful when doing this however as you have to keep in mind the force or power the current might have in addition to the traction you might have when stepping into the river.
Would be very sad to slip and injure yourself further more to damage your equipment so I urge you to be cautious and at least have an assistant or friend there to help you out with anything you might need. Most shots of the river are usually taken from the perspective of a bridge or a boat and from time to time these can tend to get just a bit boring to your viewer so becoming more involved with the nature around you should aid for a more interesting shot.
4. Polarizer
If possible try to use a polarizer during your session. Reason being is that it helps to get a lot of that glare you don’t want out of your shot. Most time you find where a beautiful shot can be taken but the sun is being your enemy and so you don’t have that problem just be equipt with a polarizer for whichever lens you plan to use on that day. I know some may be a thing a lens hood can get the job done, but that doesn’t help as far as you need it to regarding preserving colors and helping with image quality. All the lens hood might do during your session and stop some glare here and there, and then you’re back to fighting with the sun and going through to salvage colors and detail in your picture during post production. Polarizers on Amazon are not too expensive depending on which one you’re getting they might run you just about $10-$20 bucks. Small price to pay to preserve some color in your photos and fight back against the sun if you ask me, plus they benefit you a lot in the future.
I sincerely hope this article has been a stepping stone for you to capture some amazing photo by the river during the summer and look forward to seeing them posted all over. Thank you for stopping by and giving the article a read and until next time, happy shooting!


 Facebook
 Google +
Comments (0)
There are no comments yet.