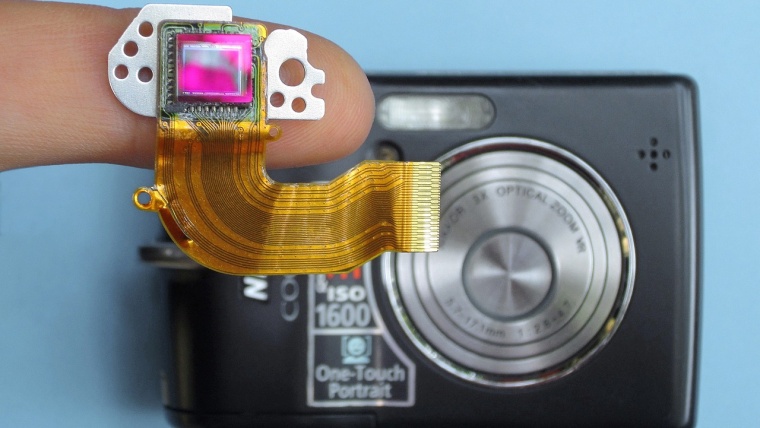
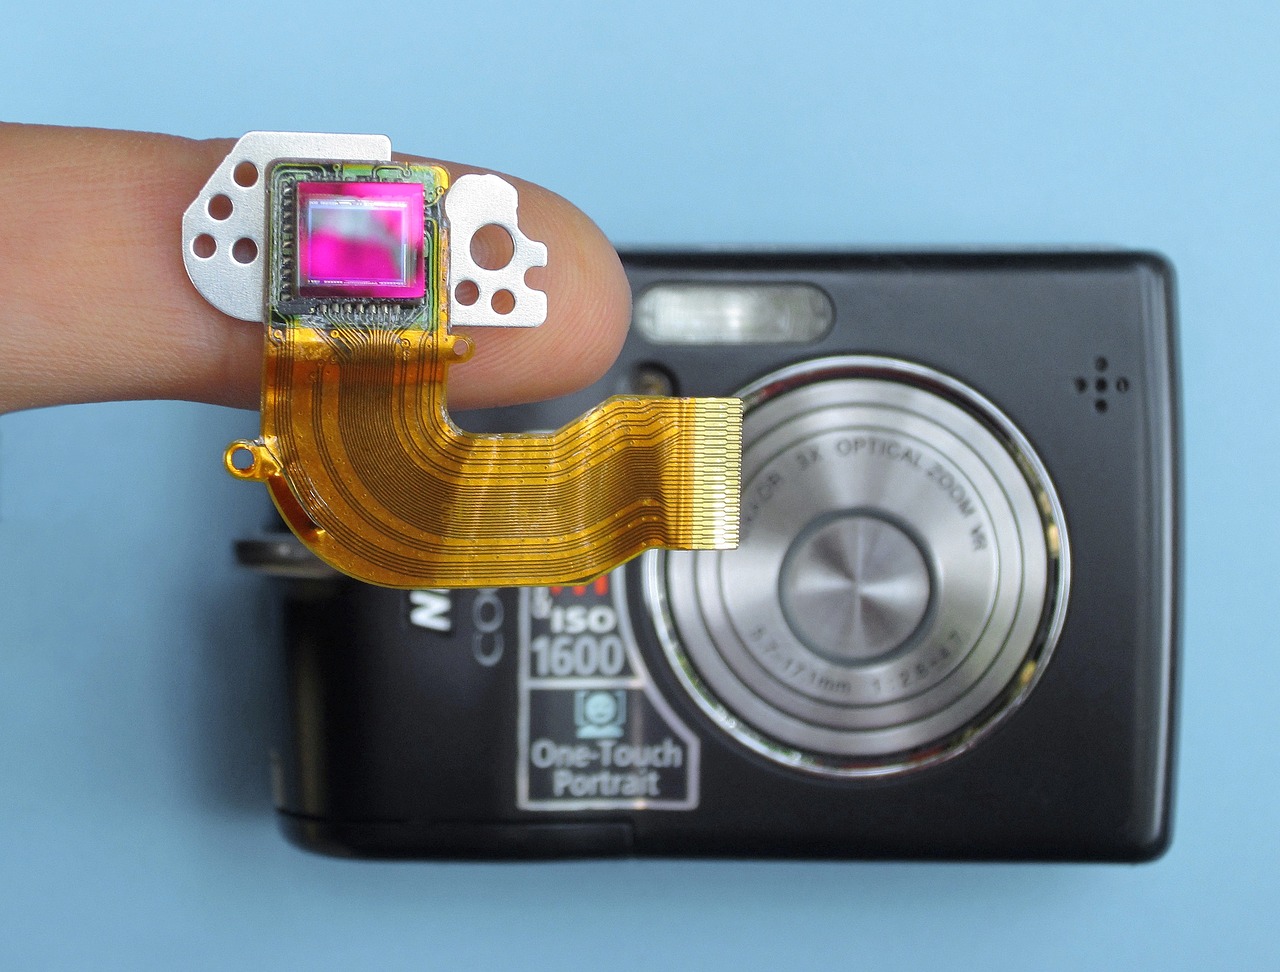
In this post, I want to give a brief explanation of how camera sensors work in order to capture a given scene. There are two main types of sensors on the market, namely CMOS (Complementary Metal-Oxide-Silicon) and CCD (Charge Coupled Device). In later years, CMOS has overtaken CCD in terms of usage for digital cameras, mainly because they are cheaper and tend to be smaller but, given the way the acquire images is basically the same, I will talk here about CCDs.
First of all, it is necessary to give a definition of light, which is what a CCD sensor ‘measures’. The easiest way to define light for our purposes is as a relatively constant flow of mass-less particles with no electrical charge called photons. Apart from being individual particles, photons have a specific frequency, which determines the color of the light. Visible light (the range of frequencies that can be detected by the human eye) ranges from 430 to 770 THz (terahertz, that is 1012, i.e. a 1 followed by 12 zeros, cycles per second!). In terms of wavelength (the inverse of the frequency), this corresponds to 390 to 700 nm (nanometers, 10-9 meters).
Depending on how many photons per second get to the sensor, the brightness of a given image will be higher or lower. This number is usually on the order of tens of thousands for a daylight scene and it is of course much smaller when capturing, for instance, the milky way on a clear night. So in a few words, the function of a CCD is twofold: count photons (to get the brightness of the image) and measure their frequency (to get the color information).
At a very basic level, an imaging sensor can be thought of as a matrix (formed by the pixels) with an extra row used to read-out the image.

The first 36 cells in the above image represent the pixels of a 6×6 sensor while the 6 cells at the bottom are what is known as the register. These pixels are actually covered (not exposed to light) and are only used to sequentially read the data from the active pixels. After the image is captured, meaning that the sensor was exposed for the given exposure time that we set in our camera, the read-out sequence starts. During this phase, each row is shifted into the register and from there the data is taken into the read-out electronics.
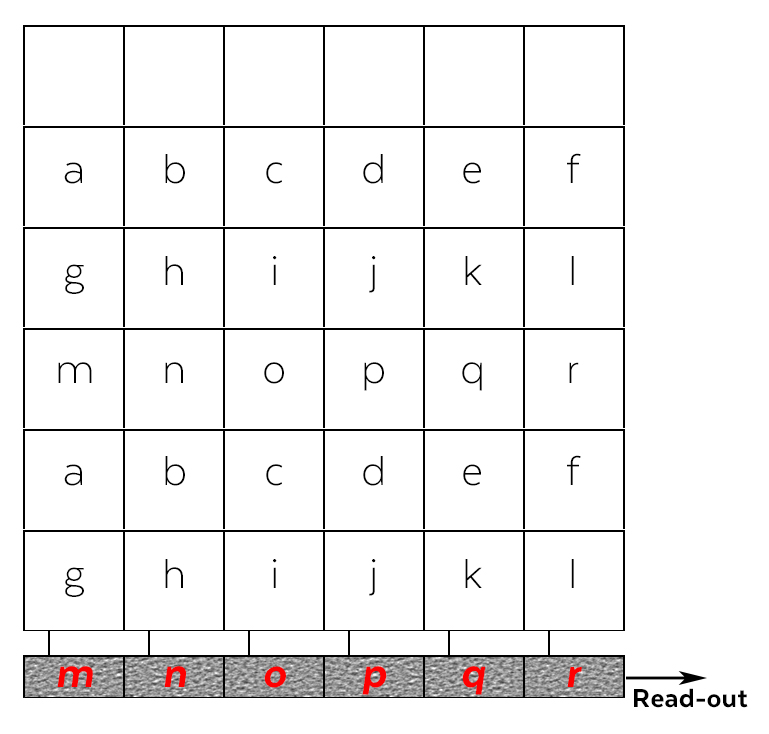
The process is repeated until all the cells are empty and the sensor is ready to be exposed again. For the read-out, the voltage contained in each pixel inside the register is passed through an amplifier and an analogue-to-digital converter (ADC) to finally obtain the information that will form the final image.
The process described above is a very simplified one. At different steps, there are complex processes that take part, from the conversion of photons to the voltage during the exposure to the compressing process to produce a JPG file, if that is the output we choose.
In order for the CCD sensor to capture an image, it first needs to transform the incoming photons into some sort of measurable quantity. This quantity is current, and it is achieved by an effect discovered by Albert Einstein called the photoelectric effect. In few words, when photons hit a material, part of the energy of the light will be transmitted to the atoms forming a given material and thus producing free electrons that can be collected to later be measured. Then, a number of electrons can be transformed to a voltage that will be proportional to the intensity of the light hitting the sensor in the first place.
All the process described so far is suitable for capturing the intensity of the light hitting each pixel within a sensor. This would produce a grayscale image since no color information is being retained at any step. There are different ways of capturing the color information, with the most common one making use of what is known as a Bayer filter.

The filter is a grid formed of red, green and blue filters (RGB), with each pixel being covered by a sub-grid of four filters: one blue, one red and two green. The reason for having two green ones is because the human eye is more sensitive to that wavelength. So what happens is that white light (light containing all colors in the spectrum) reaches the filter, and each of the small color filters allows only a specific part of the spectrum to go through, and so each pixel of the sensor is able to capture both color and intensity.
So that covers pretty much all the basics of how the sensor in your camera works. As you can imagine, all the processes I described here, including the complete read-out and saving of the image, need to happen before the next shot is taken so things happen quite fast. This is one of the reasons why the quality of a digital camera is given not only by obvious parameters such as the sensor or the lenses you can use but also by the microprocessor and the electronics inside. Luckily for photographers, pretty much the same way as electronics advance quickly in other areas with the consequent reduction in price, the same happens in photography and so nowadays what is known as an entry-level camera will outperform a high-end camera built some years ago, and there is a reason to believe this trend will change. This means that, even when there will always be cameras out there that will be out of our budget, by just waiting a few years, you will always be able to catch up at some point.
If you have any question regarding the contents of this article, just leave a comment below and I will be happy to answer you!


Please verify your software version before proceeding.
 I’ve verified my software version


 Facebook
 Google +
Comments (2)
Hi.. Thank you.. Would you please explain more on how the CCD works. Am struggling to understand.
Thanks. Just what I was looking for.