When it comes to photography, space is more than the final frontier – it’s totally unexplored. That’s because astrophotography, which is photography of the night sky, requires special equipment, planning, and patience. But with the right attitude and the right gear, you can capture some incredible celestial imagery.
Table of Contents
Everyone is a photographer these days, since pretty much everyone has a smartphone. Photography allows us to capture an image, whether it’s to preserve a memory or show off an artistically beautiful scene or moment. That said, certain types of photography are more difficult than others. Perhaps one of the more elusive forms of capturing a photo is capturing subjects that are millions or billions of miles away from your camera lens.
Many different types of photography allow photographers both professional and amateur to capture images of topics that interest them, whether that’s nature photography, travel photography, or portraits.
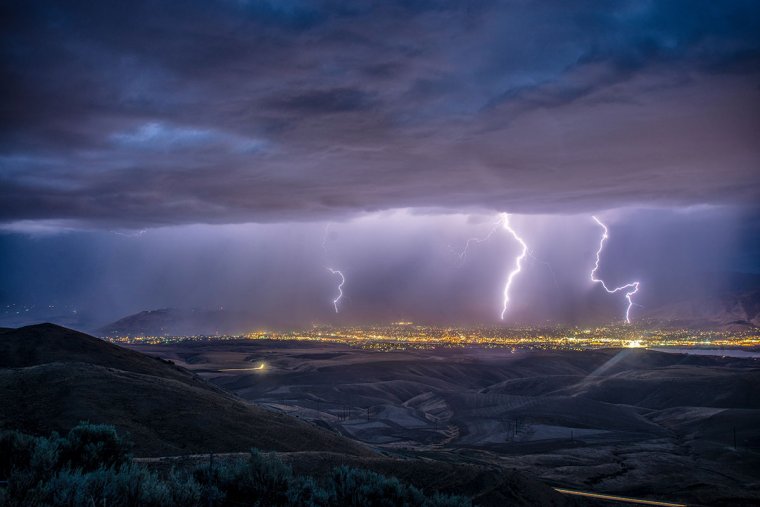
Astrophotography is the practice of photographing the night sky.
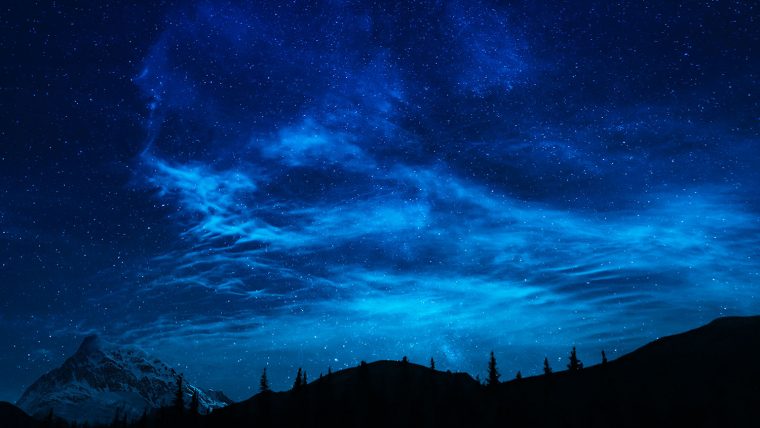
The first photographic image of the night sky was a daguerreotype of the moon captured in 1840 by John William Draper. Since then, millions of pictures of the cosmos have been captured, including stars, planets, nebulae, galaxies, comets, moons, northern lights, eclipses, and other celestial bodies and phenomena. While you might think it requires a satellite to capture images of outer space, that’s not necessarily true. Regular everyday people like you can also capture images of the night sky with the right equipment, planning, and skills.
As you may have seen from your social media feeds, capturing the night sky is becoming an increasingly popular photography trend around the world. If this interests you, perhaps it’s time to go boldly where no one has gone before – without having to actually leave the earth’s atmosphere.
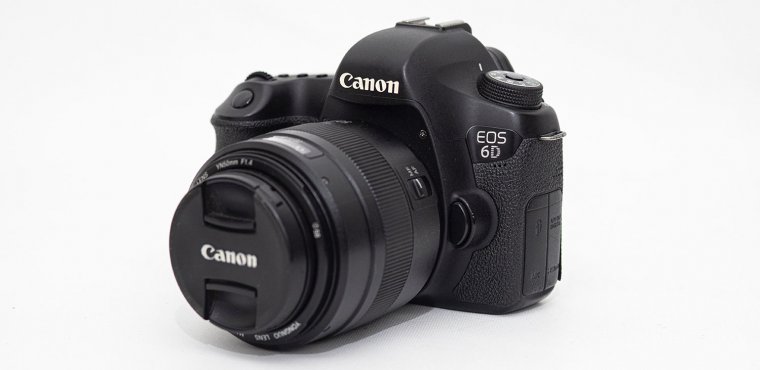
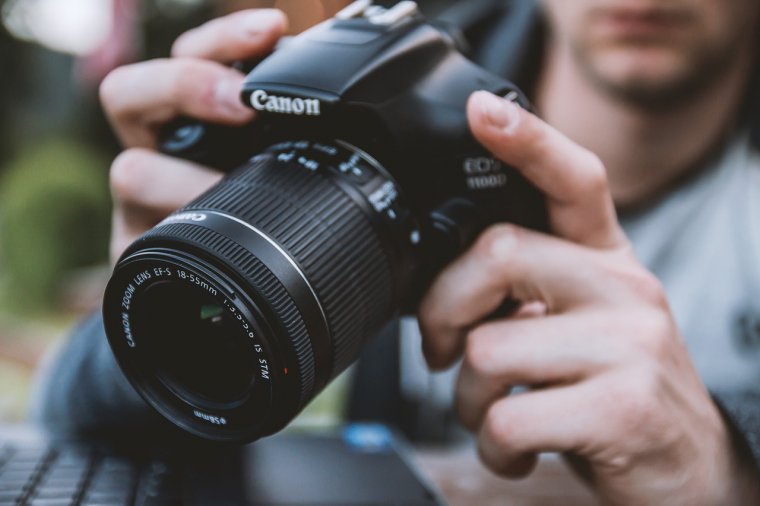
The first piece of equipment you’ll need is a good DSLR or mirrorless camera. A digital single lens reflex camera is different from a traditional camera because instead of displaying what the camera sees through a viewfinder, it shows you on a digital screen.
If you’re wondering why you can’t just use your iPhone or Android the same way, it’s because the sensors on a DSLR camera will facilitate much better quality images. This is something that can be especially hard to achieve photographing at night. DSLR cameras are noted for their low image noise – undesired variations in brightness – and high ISO – greater ability to capture images in low lighting. For taking pictures of bright pinpoints of light in the night sky, these attributes are simply a must-have. Some DSLRs can attach to a telescope lens, which can also vastly improve the precision of your photographs.
Other pieces of equipment can include lenses that can be attached to your DSLR. Lenses that are good for astrophotography are fast lenses with apertures of f2.8 and wider, which allow for as much light to reach the camera as possible. A tripod is often also a must-have so that you can keep your camera stable while photographing the night sky.
Some photographers like to use a remote shutter release, which allows you to trigger the shutter without touching the camera so you can minimize vibrations that could disturb your photograph during exposure. If you are going to be taking photos of moving objects like a comet or shooting star, an intervalometer will be a useful piece of equipment if one is not built into your camera. Some photographers also like to use a headlamp with red light so they can make sure their hands are free while they are setting up their shoot. If you’re photographing in cold weather, a lens heater can prevent condensation from ruining your pictures.
Most Americans live in urban or suburban areas that are heavily impacted by light pollution. But there’s a decent chance that just an hour away from where you live (or closer) there is a place with much less light pollution. You can use an app or site like Dark Site Finder or Light Pollution Map to locate a dark place near you for photographing the wonders of the celestial realm.
Timing is also an important consideration, because the stars and constellations move throughout the night, as do other heavenly bodies such as the moon and planets. Additional considerations are seasonal, as certain constellations, stars, and planets move across the sky throughout different times of the year, as you might be vaguely aware of from discussions of the zodiac and your horoscope. NASA, the U.S. National Park Service, and the Weather Channel can all be good resources for planning out astrophotography shoots of particular events in space like the alignment of planets, an eclipse, comet, or high visibility for the Milky Way.
There are many different things to photograph in the night sky, and this will influence some of the investments you make in terms of time and money into astrophotography. Stars and the surface of the moon are relatively easy to photograph, and some aspiring night sky photographers are even able to capture decent images with a smartphone.
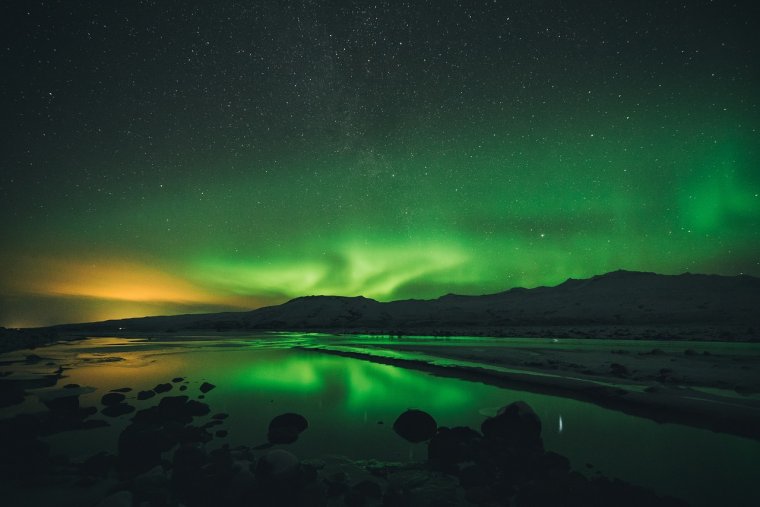
However, nebulae, galaxies (like the arm of the Milky Way in which we are located), northern lights, and images that are deeper into space will require more advanced equipment. It might be best to start with some simple types of astrophotography before investing money into cameras and lenses for capturing trickier imagery. That said, there are different types of astrophotography. Piggyback astrophotography involves mounting a camera to a telescope, whereas prime focus astrophotography involves using a telescope as a lens.
Afocal astrophotography is similar but involves taking a picture through the eyepiece of a telescope. And eyepiece projection astrophotography involves merging your camera and your telescope into one piece of equipment with a particular type of eyepiece on the telescope.
The main challenge with astrophotography is getting enough light in the shot since you are photographing elements surrounded by darkness. Some of the best practices for night sky photography will include using the manual or bulb mode on your camera. Fast apertures of f2.8 to f4 are better for capturing better images.
Setting your white balance to daylight or automatic may seem counterintuitive but also produces better results, as does manual focus and RAW image format. Shooting in RAW basically means your image will not be compressed into a JPEG, which is not only going to come in useful in terms of image quality, but in terms of the photo editing that you will be able to do. An ISO of 400 to 1600 is best, and some photographers recommend using the 10-second delay drive mode.
One standard rule that many photographers use is the 500 rule, which is basically as follows: divide the number 500 by the focal length of your lens to determine the longest amount of exposure (in seconds) before stars will begin to trail on your image. Keep in mind that the night sky is actually moving, so even just that small amount of time can result in a picture with star trails instead of clean pinpricks of light.
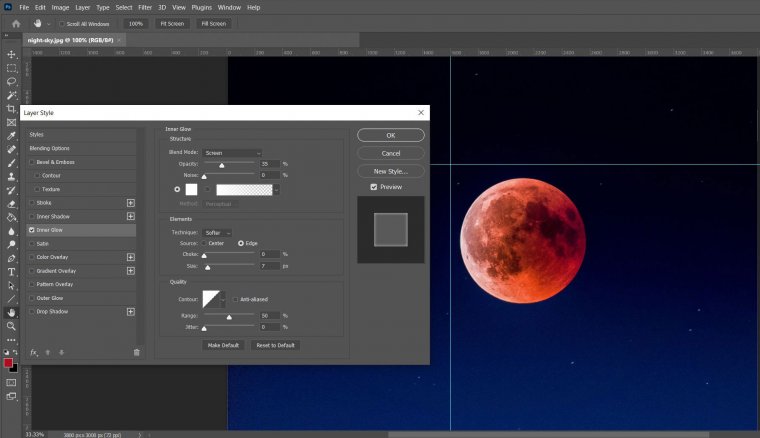
Of course, as any photographer knows, capturing a shot is just half the battle. The other half needs to be waged in the Lightroom, or digital Lightroom if you are working with a DSLR camera. Knowing your astrophotography Lightroom presets can go a long way towards having a professional palette of options to choose from in terms of editing your final photograph.
Even if the colors, lighting, and focus were not 100% to your liking as captured during the night time shoot, you can use your digital Lightroom to make changes to the photograph and bring to fruition the night sky as you wish to present it.
Mastering the art of photo editing is one of those skill sets that really set great photographers apart from those who dabble. You can invest in the best equipment out there, but if you do not have editing skills or the right tools for that, then you won’t get to enjoy the full experience of capturing the night sky. And don’t think that capturing the night sky in remote locations means you have to forgo the editing experience, either due to logistical constraints (the weekend ended) or lack of mobile access… because there are also astrophotography Lightroom mobile presets.
If you need some motivation to determine the importance of editing, browse through some of the social media posts that astrophotographers are putting up, using related hashtags (#astrophotographers, #space, #stars #nightsky), and see for yourself how many of the most standout images have been edited.
Amateur astronomers don’t need much to share a beautiful image of an intriguing or inspiring celestial object, whether it’s the andromeda galaxy or the north star against a clear sky. Although you might think it takes something like the Hubble Space Telescope to capture deep sky objects, all it really takes is a digital camera and maybe a few extra pieces of equipment like a wide angle lens and a tripod to prevent camera shake.
If you have more experience and want to go beyond the images that can be seen with the naked eye, deep sky astrophotography may require some additional pieces of equipment like a telescope for deep sky imaging. Generally speaking, a good astrophotography camera is able to overcome the challenge of low light and a dark sky, whether you are looking to capture a meteor shower or use some planetary astrophotography to capture your favorite planet. Once you’ve captured your image, it’s off to the digital darkroom where tools like Adobe Lightroom can help you really bring the work of your astrophotography camera to life.
Beyond camera equipment, you will also need to learn about the weather and the patterns of the night sky, so that you will know the best times and locations to engage in night photography. Learning the name of each and every star cluster and the layout of the solar system can also become one of the most rewarding parts of putting an astrophotography camera to work.
It can be very rewarding to share an image of lunar eclipses or a star trail with friends and family members, perhaps inspiring them to enjoy the wonders of the night sky as well. Many astrophotographers will tell you that one of the best parts of this hobby is being out in nature at night, with nothing but quiet and no light pollution… just the stars and celestial objects above to remind you that the universe is vast and inspiring.


Please verify your software version before proceeding.
 I’ve verified my software version


 Facebook
 Google +