Hi everybody, my name is Eduardo and this is my first Lightroom tutorial here in Sleeklens. For this first tutorial, I would like to show you a little trick I use when I’m in a hurry and want to do a quick-fix on a preview image for a project I’m working on, or for a set of pictures for a client to choose from. It’s very simple and only takes 5 easy steps. I recommend you check out the Lightroom Presets and brushes that Sleeklens sells if you want to create more professional edits.

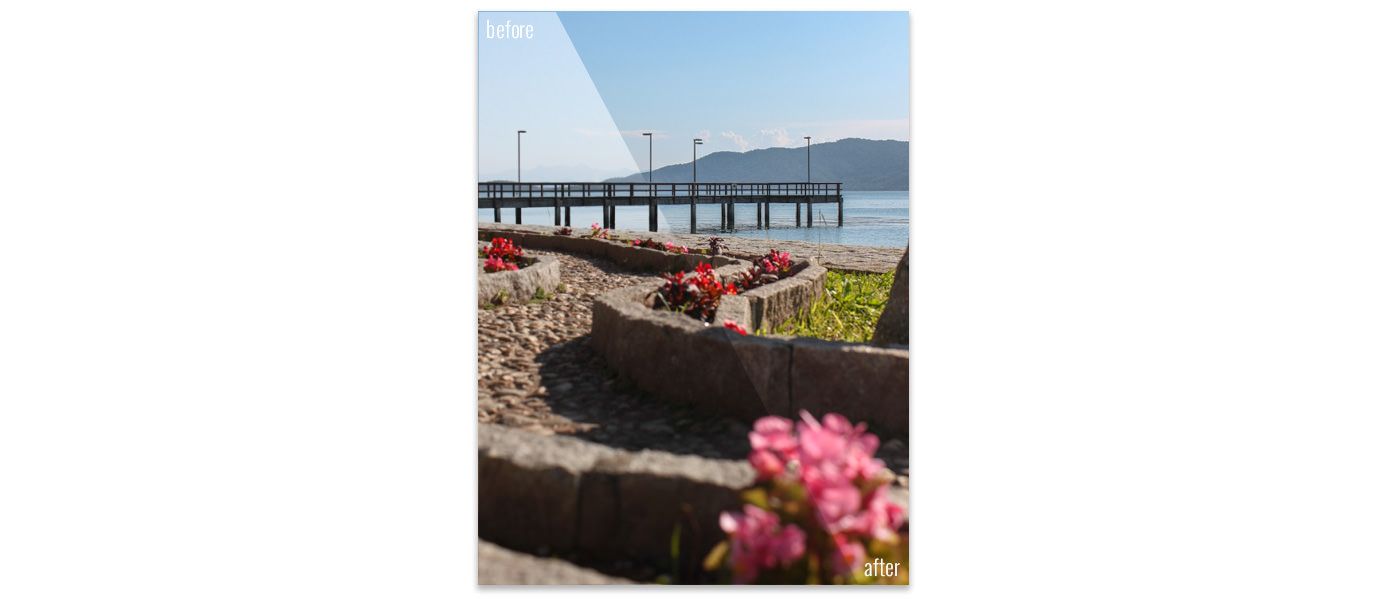
I’m going to use an image that I took a while back that unfortunately, was with too much highlight with the sky, clouds, and background blown out. So, I’m gonna tweak the tone control and bring those highlighted areas to life, increasing the details and washing the shadows a little bit. Above is the before and after, so you can see the difference. Let’s get started!
Step 1) The first step is to import the image into Lightroom, select it and go to develop mode. (in case you have no idea how to do this step, you can start with THIS tutorial)
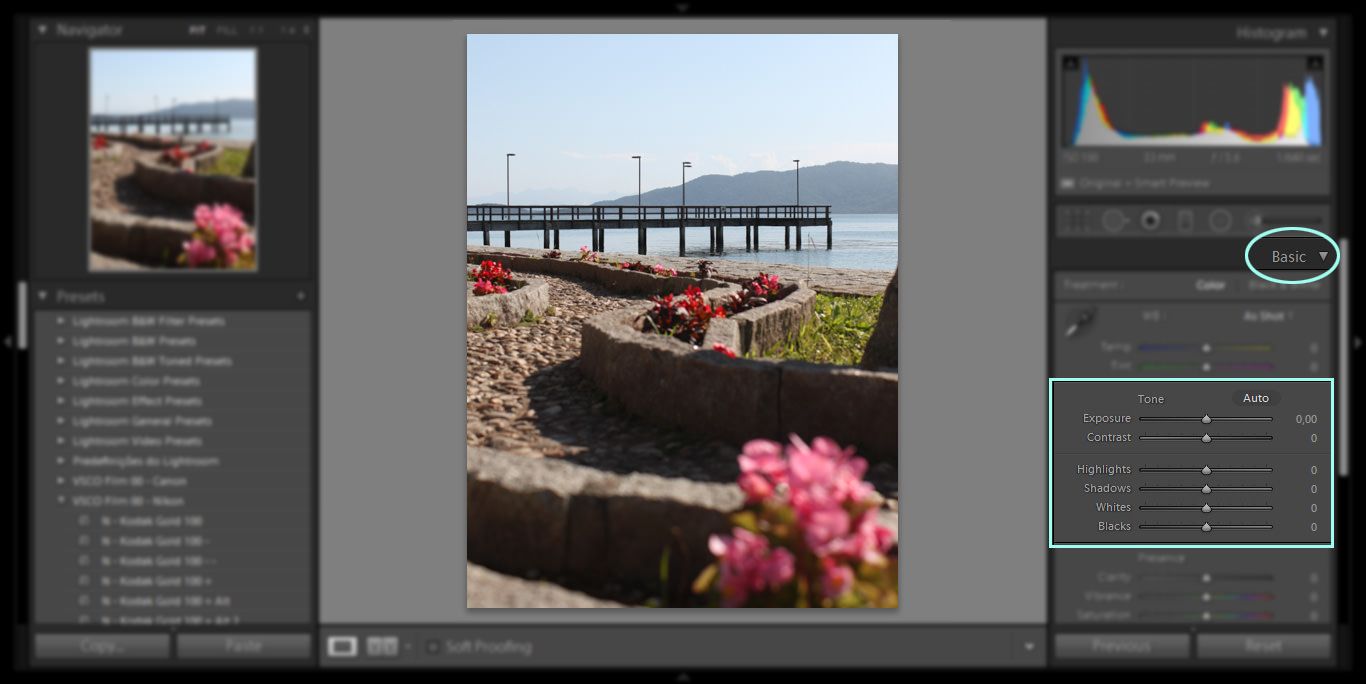
Step 2) What we’ll basically do is make some adjustments in the tone controls, decreasing the shadows and highlights levels:

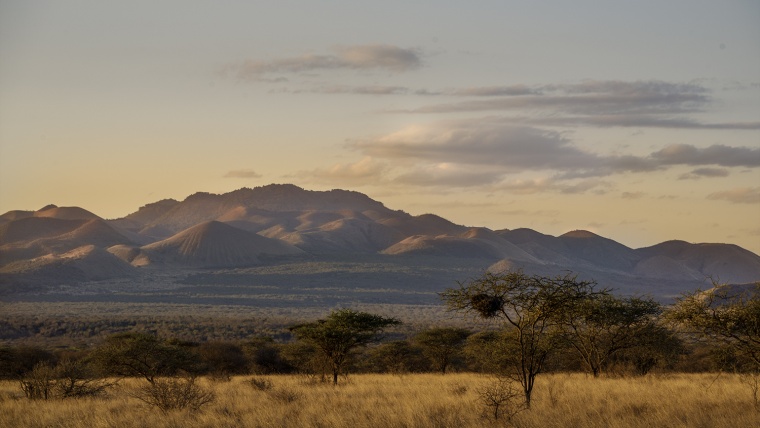
In the basic panel, under the tone control tab, we’ll tweak the highlight levels until we can clearly see the details of the highlighted area coming to life (in my case, the mountains in the background). Also, we’ll increase the value of the shadows, that way we can soften the shadows a little bit, and the ending result will get closer to the ambient lighting at the very moment we’ve taken the picture, almost like an HDR picture. (you can check a great tutorial on how to add an HDR look to your BW photos HERE )
Step 3) To increase even more of the details in the highlight areas, we can also tweak the contrast and clarity controls, but it may vary from image to image. In my case I’ve used the values below:

Step 4) The next thing we can do is to adjust the vibrance, located in the presence control tab, bringing the original colors back to the image. In these steps, you can work with different values depending on your style of post-processing and/or subject you´re shooting.
Step 5) The final step is totally optional, but I like to tweak with the sharpening tool, located in the detail tab, so that way you can improve the quality of the image and sharpen some details in the foreground or background, that may get a little blurred when you took the picture.
This is the final result and we can note how really simple it is to improve your images, using only small tweaks and adjustments, and the final result is great!
Hope you guys liked my first tutorial, and I’ve got plenty more to come. If you have any suggestions or doubts you can write a comment below or contact me directly. See you next time!
Comments (0)
There are no comments yet.