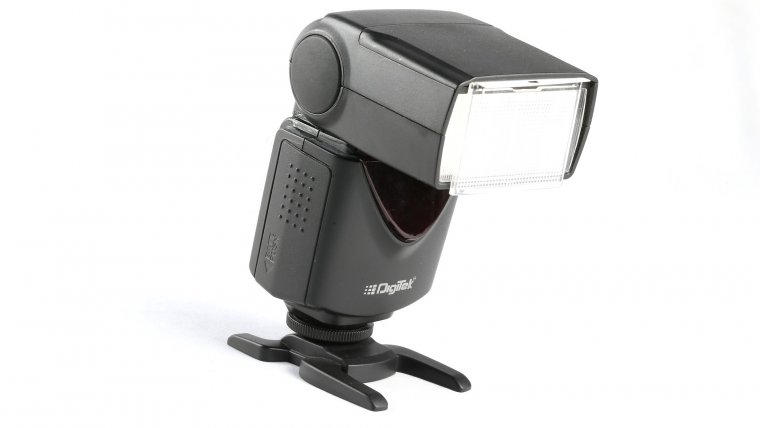
For some photographers, flash is a must-have accessory in their toolkit. Other photographers may go by the motto, “Natural light is the best light”. Where do you stand in this spectrum? Personally, for many years I only shot using natural light. I did not know how to use flash properly, so I just avoided it altogether. In order to overcome tough lighting situations, I eventually adapted my lens setup to include lenses that were great at low-light, such as the Canon EF 85mm f/1.8, the Canon EF 50mm f/1.4, and the Sigma 35mm F1.4 DG HSM Art lens. The camera body that I was using also had great high ISO capabilities and had low noise. Even so, there were limitations to the type of photos I could take in low-light. Most of my photos in low-light had a very large aperture such as f/2.5, f/1.8, or even f/1.4 at times. The depth of field was limited. I eventually transitioned into learning how to use flash. It has greatly increased the number of opportunities I have to take a great photo in different lighting conditions.
To help you understand if flash is necessary and beneficial to have in your toolkit, let’s consider the uses of flash. We’ll take a look at a few different scenarios, and see how flash can or cannot help improve the lighting of the photo in that scene. Keep in mind here that we are referring not only to professional external flashes for DSLRs, but also camera-mounted flashes on mobile phones and camera bodies.
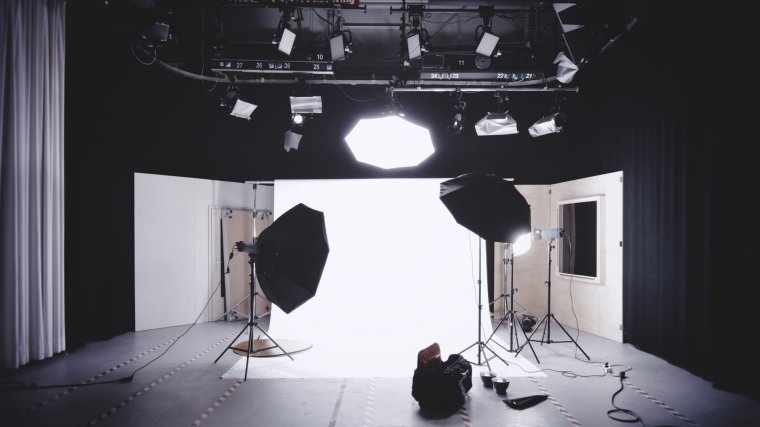
This one’s a bit obvious – studio settings invariably will always require flash units in order to properly light the subject. The advantage of a studio setting is being able to setup in advance and change the lighting/background during the photo-shoot, so having flash units on hand is essential. A very basic flash setup involves setting up two umbrella flashes on opposite sides, pointed at the subject. The main flash will be slightly above the model’s head looking down at a 45° angle, while the other (fill) flash will be lower and looking straight at the subject at a 90° angle. This setup is very easy to work with and can be setup quickly.
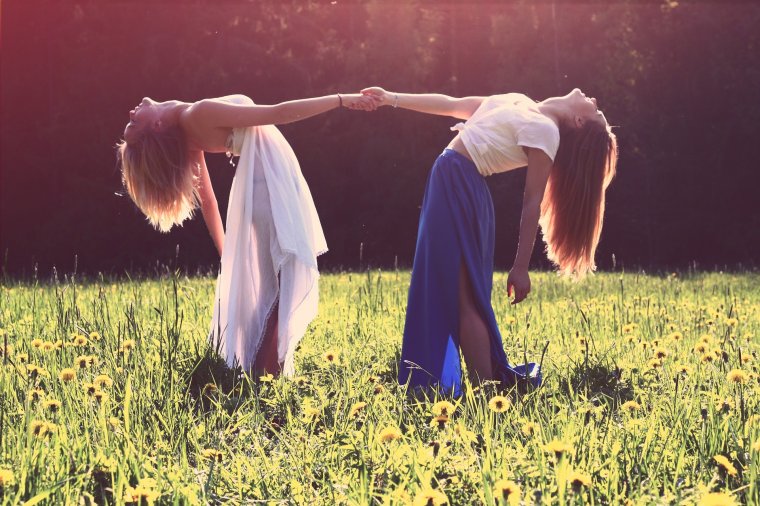
When the sun illuminates a subject from behind, it creates a beautiful glow. The downside of back-lit subjects is that it can be hard to properly expose the subject because the contrast is so high. If you have a flash, however, the issue can be lessened greatly, or even fully resolved. The use of a flash to “fill” in the light on the subject can save an otherwise blown out photo. To use a flash as a fill flash, simply lower the brightness of the flash through your camera settings. As a rule of thumb, going down one f-stop is a good place to start. From there, you can experiment and see how much fill flash you need to get the proper exposure.

In the photo above, we see that the lighting from the window looks great on the subject. There are no harsh shadows on her face, and the lighting is very subtle on the subject. This effect is often achieved through window lighting. Many experienced photographers will use window lighting as an alternative to flash. Usually, the goal of a photographer is to make the photo as natural looking as possible. Using flash contradicts this rule because flash is unnatural light. On the other hand, window lighting always looks natural and beautiful because it is natural light. Flash would not be able to enhance the photo above in any way, shape, or form.
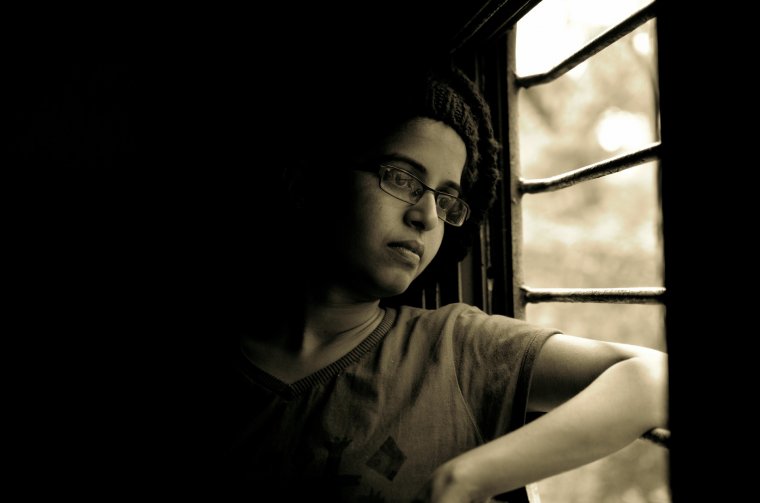
Here, too – we see a great example of window light. The light subtly illuminates the subject’s face and provides very soft light. This soft light eliminates the need for the photographer to have to use a flash in order to light the subject. Of course, window light is not always available. In those cases, having a flash handy would be preferable.
There are many benefits to using flash, but as we have seen, there are great alternatives to flash in certain scenarios. By thinking ahead to anticipate the possible lighting situations we will encounter, we will be better able to decide where to use flash or not.
Happy shooting!
Comments (0)
There are no comments yet.