The core fundamental behind any great photo is the interplay between light and shadow. When you get it just right, the two will work together to create an image that emphasizes the foreground without completely losing the background.
This is especially true when the subject of your photograph is a person because, as any artist knows, the shape of a face is determined by the interplay of light and shadow. Sketch artists know that a big part of their craft is understanding how to use shadowing to give depth to an image.
The same is true for photographers, and the way you shape light in the studio will determine whether your image is more two-dimensional or three-dimensional. Working with soft lights in a studio allows the photographer to capture the right balance between light and shadow to create an image that is not harsh while also appropriately emphasizing the foreground of the shot.
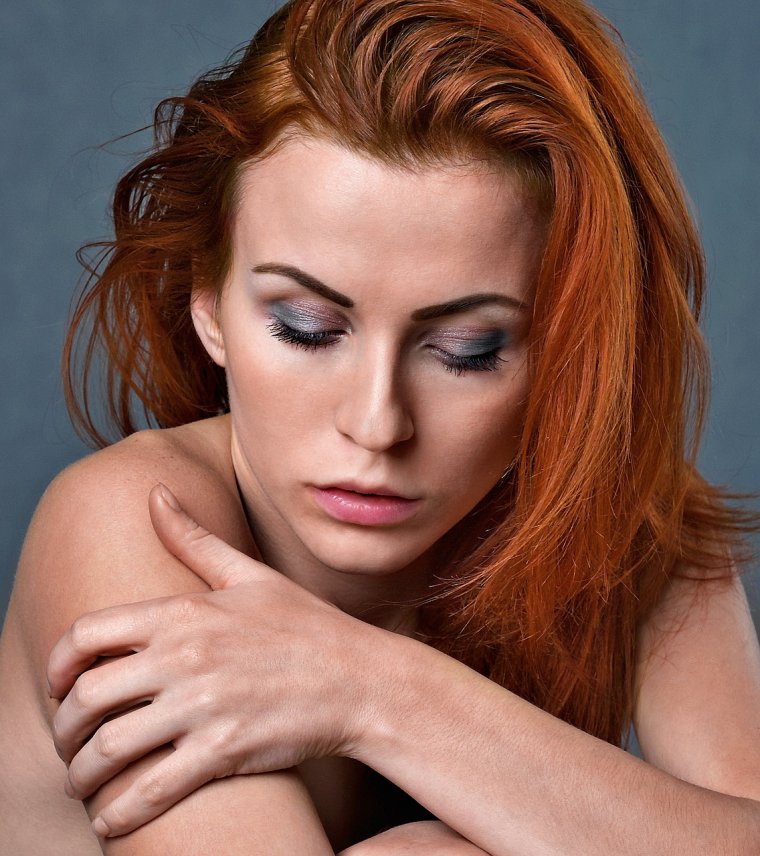
Table of Contents
There are multiple ways to shape soft lighting, and they will produce different styles. A common tactic is to use a softbox. Place the softbox over your light source, then aim it directly at the subject of the photograph.
This will effectively illuminate the foreground of the image, but it can also create deep shadows that one would normally associate with a harder light while also losing clarity in the background. Deep shadows give more form to an image, whereas soft lighting should result in a less-defined form. So, what can you do if you’re looking for a softer image that has less of a contrast between light and shadow?
Think about the physical properties of light. Light travels as waves and particles and shadows are composed of particles that rush in to fill an area where there is an absence of light. So, anywhere that light does not travel, you will end up with a harsh shadow.
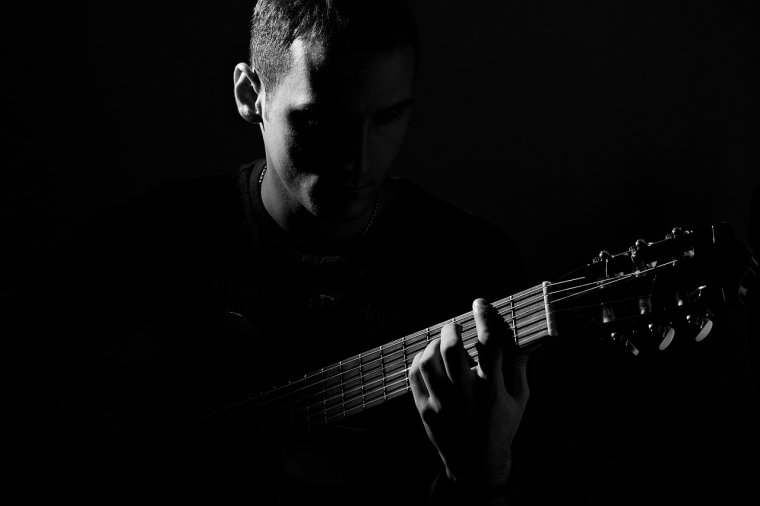
This is why hard lighting uses a narrow-angle and soft lighting uses a wide angle. A narrow-angle for lighting focuses on the subject, creating a deep shadow that has the little gradient between the shadow and illumination. The wider the angle of the light source, the higher the gradient. This produces a soft effect, blending shadow and illumination in such a way that the foreground is emphasized without creating harsh shadows.
With this in mind, the question becomes how to create soft lighting without getting hard shadows from the direct light source. The answer is simple, and it may go against everything you’ve learned as a photographer so far.
To start with, instead of aiming the light source at the subject, you’ll be aiming it at the walls. That’s right, the walls.
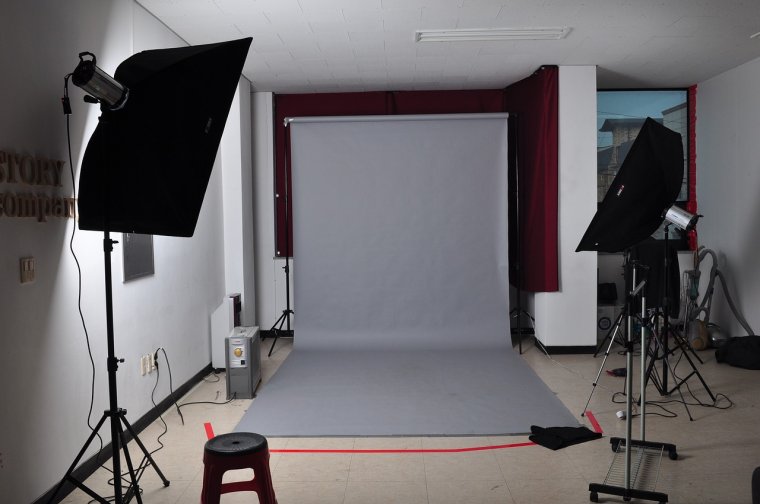
The point of diffusion is to cause the light to bounce around, refracting off of the walls, floor, and ceiling to effectively fill the entire area with an even light. It helps if the area you’re working in is bright white as light refracts more evenly off of a white surface.
You can use a photo cube, paint a section of your studio in an ultra-white hue, or even use large sections of Styrofoam to put together your own little studio box. No matter what size space you’re using, aim the lights at the walls of the area.
Move your lights around until you strike a nice, even illumination. As the light is evenly filling the area, you will end up with smoother shadowing that doesn’t stand out as starkly in the image.

You’ll also notice that the light itself takes on a different hue. Instead of having a foreground image with a high white-balance where the directional lighting is focused, the subject appears softer with a better balance of coloring. This actually gives a more accurate portrayal of the subject, especially if it is a person, as hard shadows can change the shape of the image.
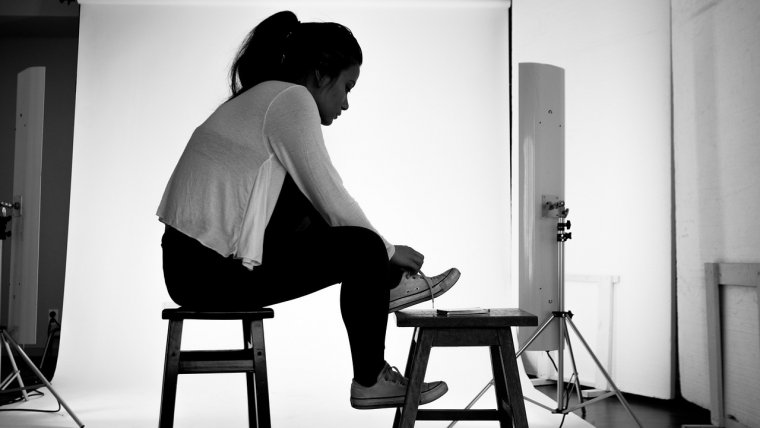
When you use directional lighting with a softbox, the position of your subject has more of an effect on the image. Too close to the background and you end up with hard shadows behind the model, too close to the foreground and you’ll wash out the subject. You’ll also end up needing to use additional lighting techniques in the background to counteract some of the shadowing effects.
With diffusional soft lighting, positioning is still important, but you won’t have to play around with as many secondary light sources to eliminate noise from the shadows.
If you’re feeling experimental, take off your softbox and give this method a try. Take the same photograph with directional soft light and diffusional soft light to really get an idea of the difference between the two methods. Let us know how your experimentation works out in the studio!


Please verify your software version before proceeding.
 I’ve verified my software version


 Facebook
 Google +
Comments (0)
There are no comments yet.