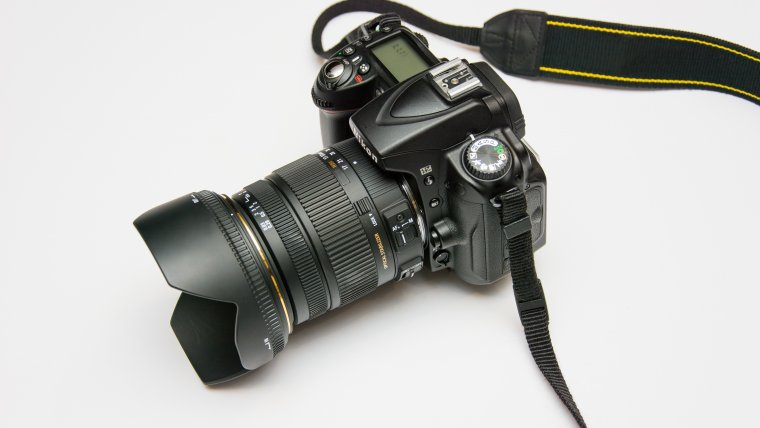
In this tutorial, I will go over the camera mode dial and look at all the most popular options that are on the most DSLRs out there. I will also give you an example of what you would use them for and exactly what they mean.
First, your mode dial may differ from another camera depending on which camera model you have. For example, the menu mode or the shutter speed mode in our tutorial camera is labeled “S” while in Canon it might be labeled “TV”. It is good to read the manual to ensure that you are looking at the right one here. However, there are the typical modes that we will discuss here.
The first one is usually very popular and common with many beginners and this is the ‘Automatic Mode’. Just as the name suggests, the automatic mode kind of sets everything for you automatically and this works well for every beginner who’ve not had the opportunity to explore his DSLR camera fully. The mode mirrors everything for you and you don’t have to do anything. All you need is press the shutter button and that’s it. This mode is very common for many people and this is because it’s easy but if you want to learn photography and master certain lighting techniques, you have to break away from the Auto mode at some point.
The manual mode is our next option and many people are afraid of using it. Manual mode means that you have to change everything right from the shutter speed to ISO and aperture depending with the scene you are shooting. The way to do this is to point your camera at the scene and look at the light mirror that is in your viewfinder and see whether it’s going to be too dark or bright and adjust that accordingly.
The next mode is the shutter speed mode or Time value mode as it’s called sometimes. This mode simply means that you have to select the shutter speed and what the camera does once you select the speed is to stay in that specific speed. So, it is going to change the aperture in the ISO to make sure that you have that shutter speed. This is good for shooting sporting events where you know that the light is going to be changing regularly and you know that you need at least one thousandth of a second or eight-hundredths of a second, it’s a really popular one to let the camera do the work for you so you can do the shooting.
Aperture mode is the next one and I will stay on it because I’m used to it. What you do is that you set the aperture much like the shutter speed. You set the desired aperture, so if you are taking portraits and you want an aperture of 3.5, you will set your aperture at 3.5 and the camera will change the ISO if you set it in Auto or change the shutter speed to make sure that you get the right exposure for that setting.
P is the program mode and this is what many people call the advanced Point and shoot mode. Program mode takes your aperture and shutter speed and changes it to make sure you have a very even scene. A lot of people don’t use this much but it’s because they use auto mode and this is what they are familiar with.
So, those are the more advanced modes but I will run through the ones that many people are familiar with. People should know what they are but not get to these modes if they are trying to learn photography and get better at taking photos.
The little flower in most cameras means macro and this tries to focus in and give the right exposure for really closer focused items. The mountain kind of head towards a landscape scene and this gives you a larger aperture maybe a high like f8, f11 or something of that sort and the camera will increase the blues and the greens so that your colors look more saturated when rendered JPEG.
Next one is the Night Portrait Mode which gives you a low aperture and high ISO and will also pop the flush so you can get a really good portrait. Again, these auto modes do not require you to set anything at all since they are beginner modes.
Then we have the regular portrait mode and this will give you a very low aperture which will give you a more blurry background. The last one is the Running Man mode or sports mode which gives you a higher ISO and Shutter speed so you can capture motion easy and freeze motion.
Those are the main points of a camera DSLR mode dial. Some other cameras have what maybe called a custom mode like C1 or C2 and what this allows you to do is set the settings yourself and program those custom modes if you know you will need a higher ISO or higher shutter speed. Once these are set, your camera will automatically change to the programmed settings when in a custom mode.
You can check more tutorials to help you advance in your photography or check our site more Lightroom presets and Photoshop Actions.
Comments (0)
There are no comments yet.