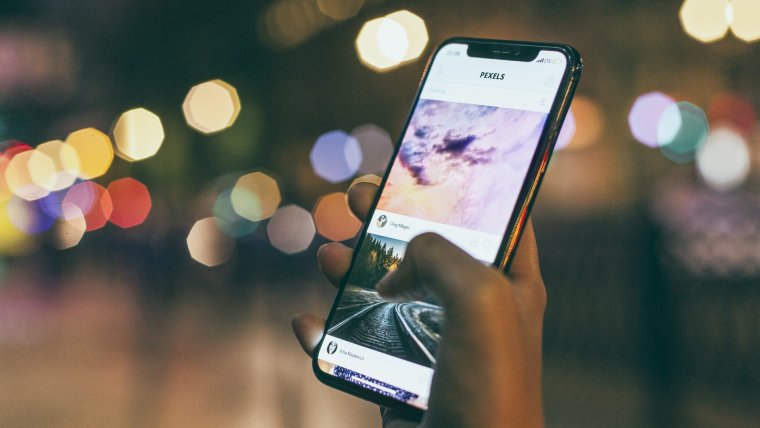
In a previous article, we spoke a bit about how lucrative mobile photography can be in today’s market. However, in this article, I will be focusing more on the technicalities as to how you can get amazing shots doing mobile photography with your iPhone X. If you’re anything like me, you’re probably an iPhone or Apple fanatic like myself and this article might have you glued to the screen. I was inspired to write this articles because I’ve noticed a trend happening for about the past 2-3 years since apple been releasing new iPhones with some amazing features.
I’ve seen some of these amazing features be ignored and undermined by a lot of beginners and creatives like myself. I never really understood why so many creatives get the lasted iPhone but never really utilized its creative features to its full potential. In this article, I will be giving you just a few secrets or tips that are guaranteed to be useful on your venture into mobile photography with an iPhone X. In addition, please note that some of these tips can also work with other iPhones such as the iPhone 6 and up. Some features may be excluded depending on your model and IOS version but nonetheless, some of the general things stay the same.
This probably one of the most important things overlooked by just a vast number of individuals who own iPhones and want to practice mobile photography. You often find people just taking out their iPhones and point at the subject, then take the image. Of course, apple’s autofocusing sometimes get the job done perfectly but there are other times where it might just mess up and you’re left with a blurred or out of focus image. When capturing a subject I would advise tapping on a particular area on your subject before taking the image. This gives the phone a more accurate focal point for the best quality and sharpness. You can also set an autofocus lock while capturing your subject as well, just in case the subject or person moves. This autofocus lock will make sure you get a clean, well-focused shot regardless of any movement. Make this a practice when capturing any subject or person on your iPhone as this step will ensure you get the sharpest quality possible from your shot.

When it comes to exposure, it’s also relatively easy to set. While you tap to focus on your subject you can simply hold your finger down and slide it up or down to adjust your camera’s exposure. If you slide your finger down you will notice the live view of your shot becoming a lot more underexposed and if you do the opposite and slide your finger up then you will also notice the difference with your shot becoming a lot brighter. This can be very helpful in low light photography or when trying to create some contrast in your shot. This tip has helped me so much in creating some well focused and exposed shots and will come in handy for you as well. This tips can work with any iPhone from the iPhone 6 and up.
I think portrait mode is one of the best features Apple has ever implemented in their iPhones for many reasons. One of these reasons is that very soft depth of field look that is created. It gives your images a very professional look as if it was taken by a 50mm f/1.8 lens on a DSLR or mirrorless body. However, it is sometimes overused or not used properly. It is safe to say that not everything should be shot in portrait mode so you should gage as to if its worth it or not.
The portrait mode can yield some pretty amazing results if used for its official purpose to take portraits but when used incorrectly you can find yourself taking images that look weird. That soft bokeh layer that separates your subject from your background plays a huge part in making your image appealing to the eye. However, some shots don’t necessarily need that bokeh there as it also takes away from the sharpness and the potential of a great shot. The portrait mode is not available on all iPhones to please check to see if your phone is equipt with this feature.
While the zoom feature is available in all iPhones, I advocate noting use this feature. When using the zoom feature on your iPhone you lose a significant amount of image quality and your image becomes a little pixelated as well. Some iPhones are equipt with what they call a “2x”. This feature is actually not the same as when you manually pinch zoom on your camera. This feature is equivalent to pretty much putting a new lens on to a DSLR or mirrorless camera. It maintains its image quality while increasing the focal length between you and the subject. If your iPhone is not equipt with this feature then I would advise doing too much zooming when taking your shots.
I truly hope these tips have been a help in perfecting your skills in mobile photography. I will continue by sharing some amazing apps that are great for mobile photography and videography. Until next time, thank you for stopping by!


Please verify your software version before proceeding.
 I’ve verified my software version


 Facebook
 Google +
Comments (0)
There are no comments yet.