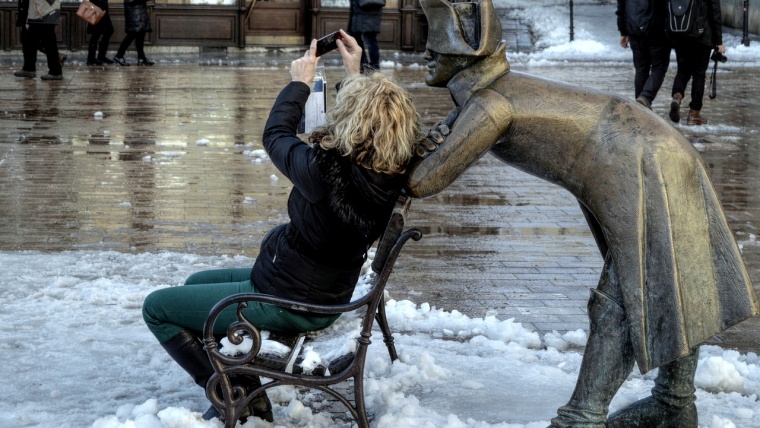
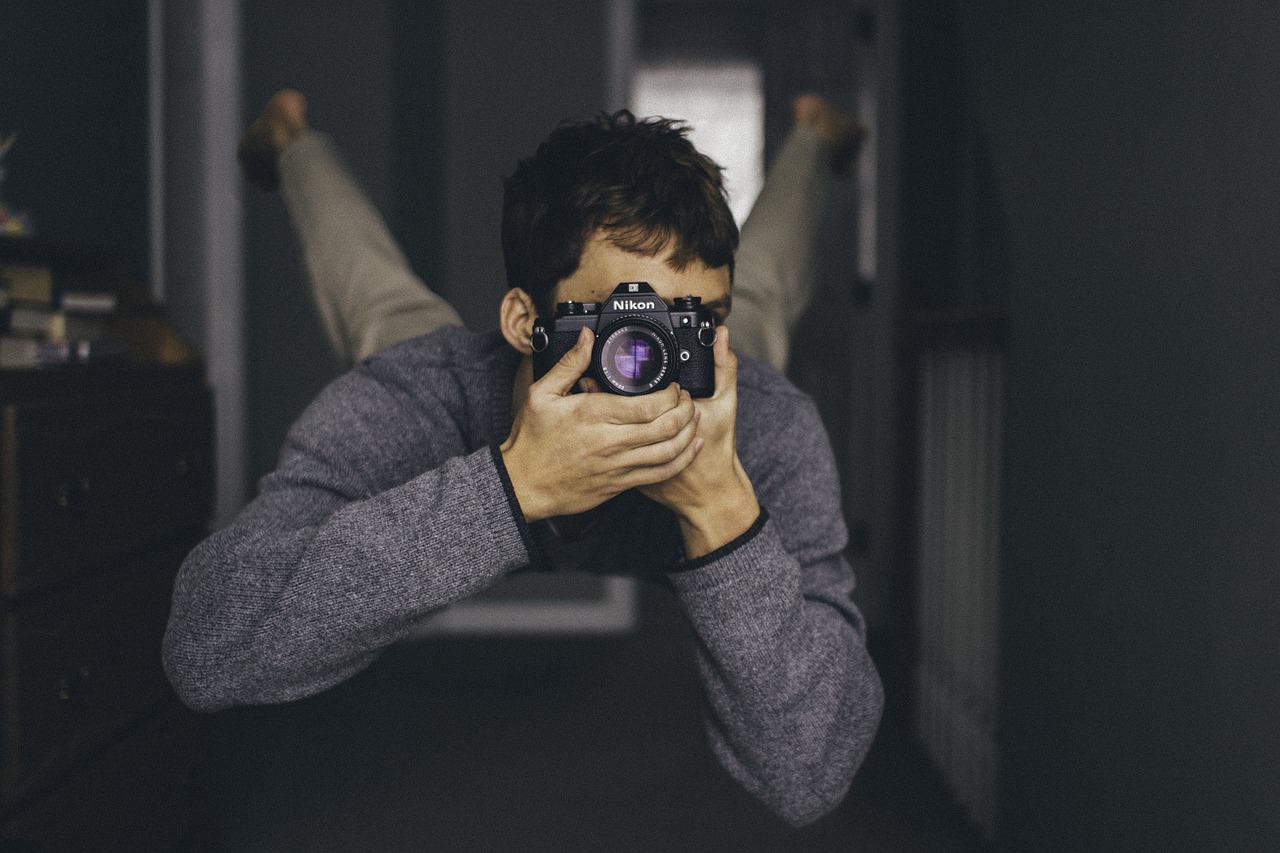
Not so long ago, capturing a photograph was a task which required a bit more work: preparing the lens, loading the film roll, with extreme care not to prematurely expose the film, only seeing the end result of it after completing the entire post production process. Today, with the advancements of digital technology with regards to DSLR equipment and compact cameras, it isn’t overly surprising how rapidly advanced that mobile phones have become in less than 10 years. From those first VGA phones with cameras to the current top of the line smartphones such as models like the Samsung Galaxy S7, the LG G4 or of course Apple’s iPhone 6S, ‘selfies’ have managed to stick around for the long haul, becoming a trend that will last for quite a while.
In this guide, we’ll cover the fundamentals for capturing incredible selfies for use in our social networks using an iPhone.
Note: This guide can also be applied to smartphones with Android system. Although commonly used applications or specifications may differ in operation, most are generally similar.
Table of Contents
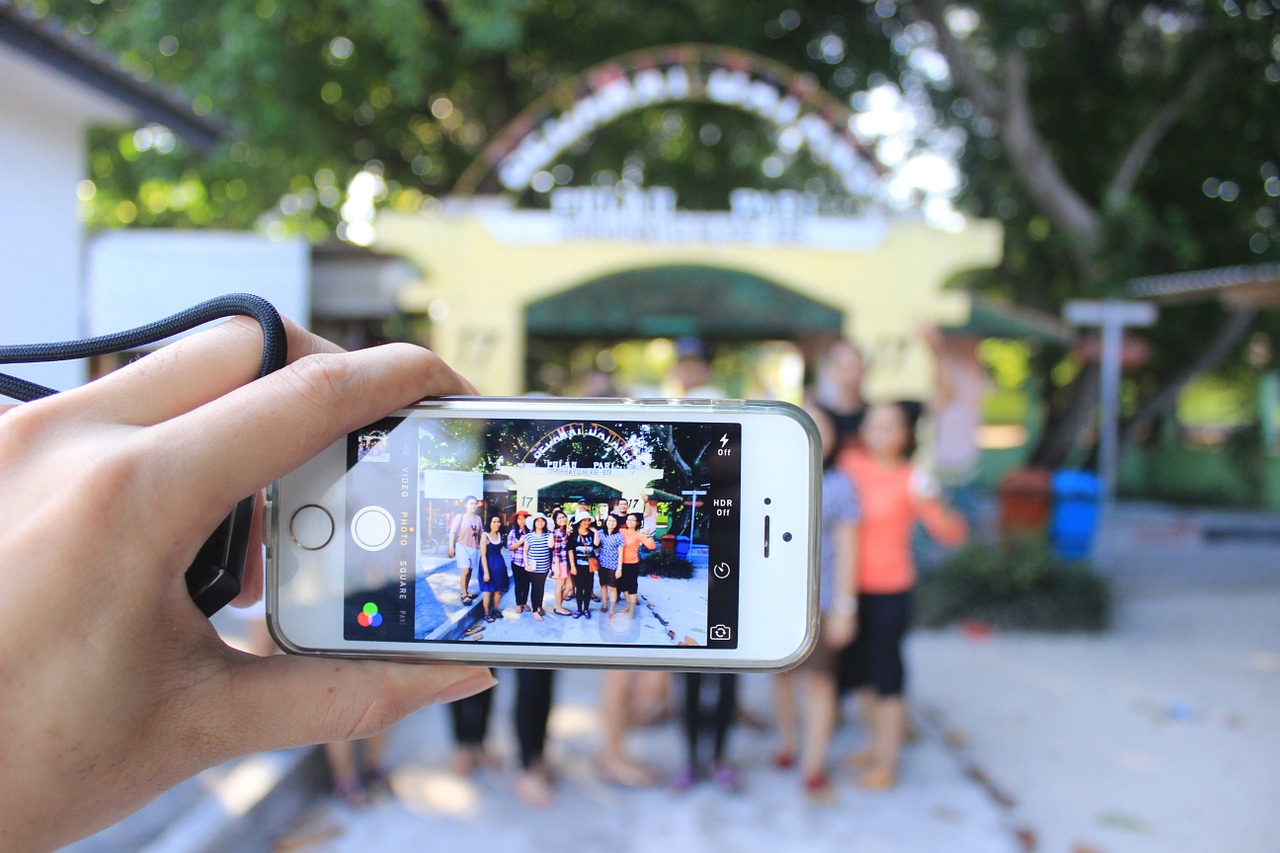
Obviously the first thing we will need is a fairly modern smartphone. If we refer to iPhones, we’ll say as a general rule, any model from the iPhone 4S onwards will be what we consider as a fairly modern smartphone; preferably models like the 5S or higher. What are some of the variations between the different versions? First of all, with regards to specifications such as processor speed or camera features, the most noticeable differences can be seen in the jump from the iPhone 5S to iPhone6. The Smartphone’s storage is another aspect to consider as iPhones do not allow external storage like Android devices do. But with the latest updates to the operating system, devices with 8 GB of storage capacity can, for many of us, be enough space to hold what we need; however, it is recommended to have a minimum of 16 GB of storage to work comfortably, also storing a variety of apps, or just jump to 32 or 64 GB (the bigger the better) so there is a smaller chance of being inconvenienced by running out of storage space and having to offload some content to continue on, for example, on long journeys or similar situations.
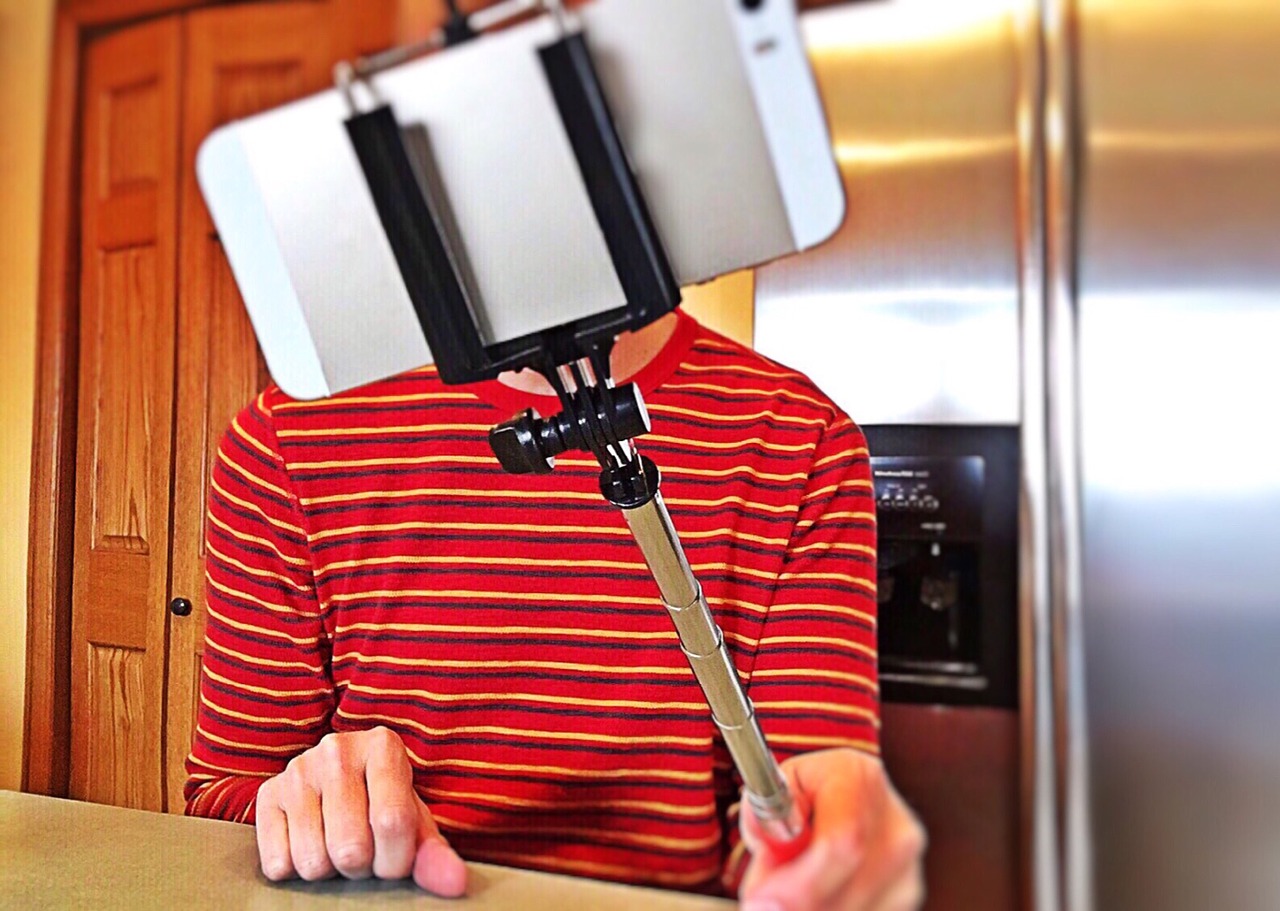
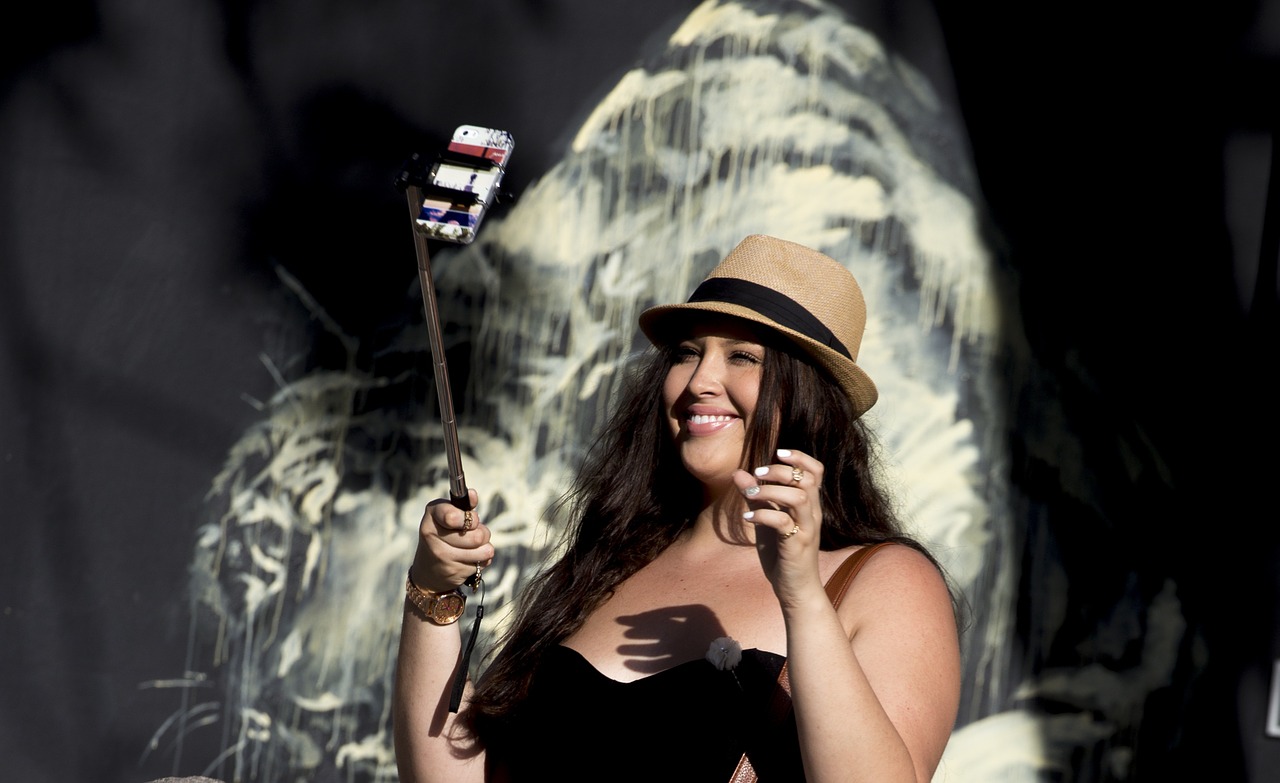
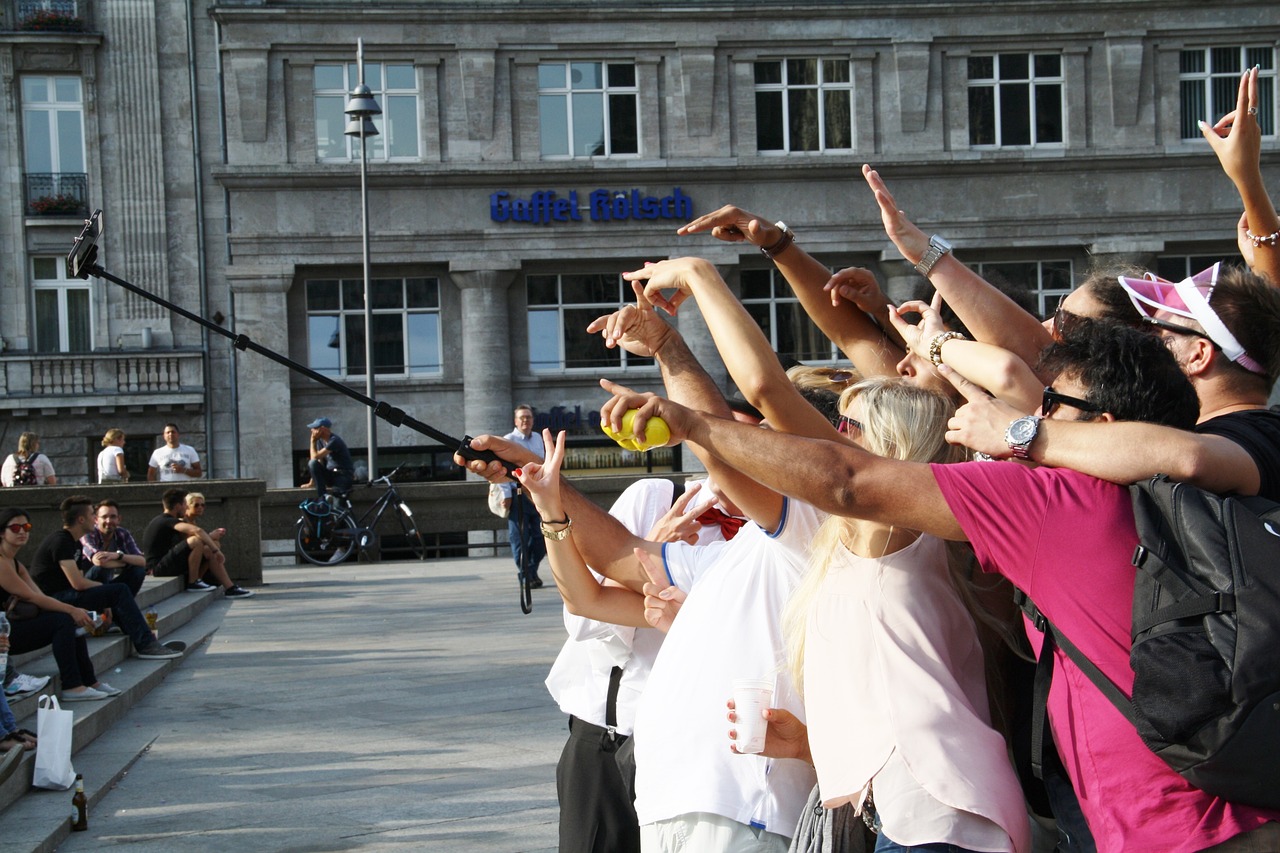
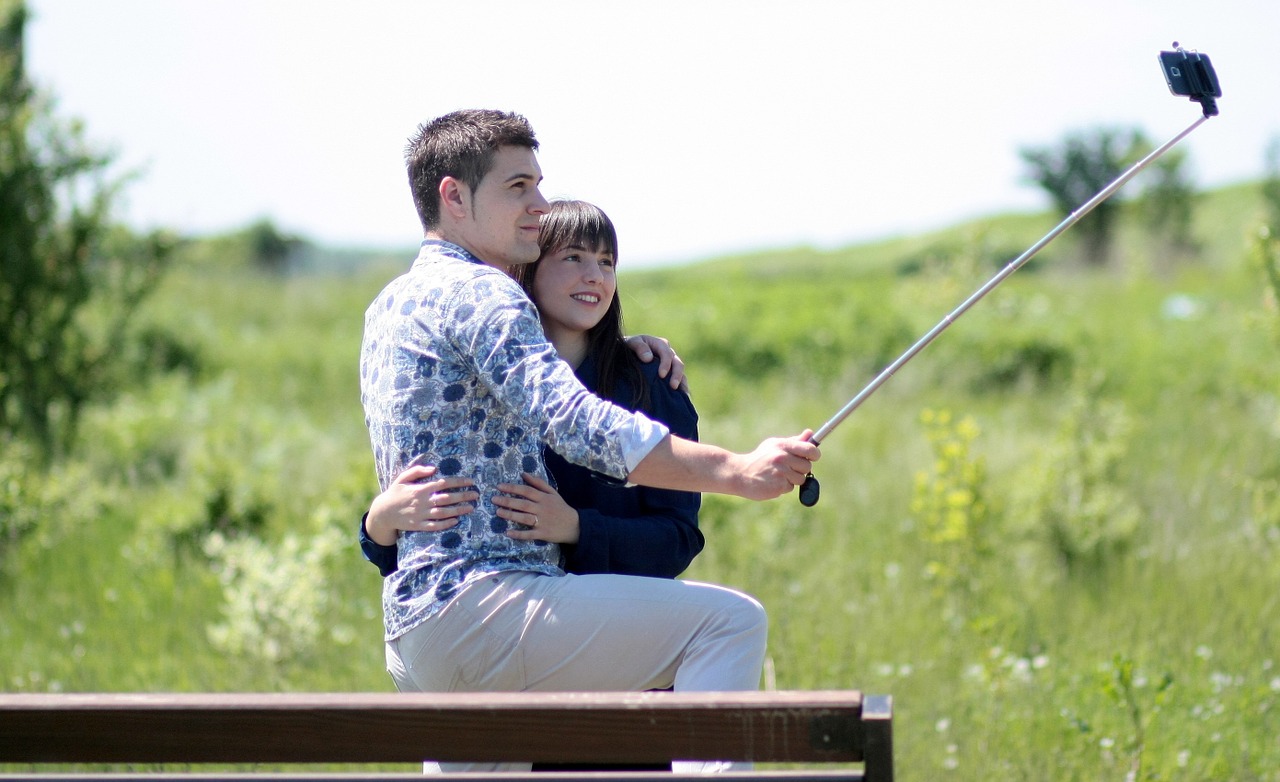
Among the accessories to get for a quality selfie, one of the must-haves is a Selfie Stick. As a personal recommendation of an iPhone 6 user, I’d advise you to take a good look at the quality of the selfie stick. The quality and sturdiness can be misleading at first sight, but considerably heavier and larger sized phones can be a problem if the selfie stick is very flimsy or fragile. It may be necessary to invest more money, but I don’t think too many people are going to complain if about spending $20 or $ 30, compared to the fact that an iPhone 6S costs at least $700. Whether you do or do not use Bluetooth is up to taste of the consumer; personally, and despite having a higher consumption of battery, I prefer the freedom that having a remote shutter with Bluetooth gives me rather than having to connect to my phone with cable.
The Gorillapod is an excellent option for those who choose to be more adventurous with their selfies, It’s highly recommended that you try one out for yourself.
In terms of software, you can work with the native iPhone Image Editor, or use apps like Instagram, Lightroom Mobile, Photoshop Express or Snapseed.
If we want to be successful in this venture, the first thing we have to bear in mind is that our iPhone lens is equivalent to a 30 mm lens, so it is not an ideal choice as a portrait lens, given the fact that it’s a wide-angle lens.
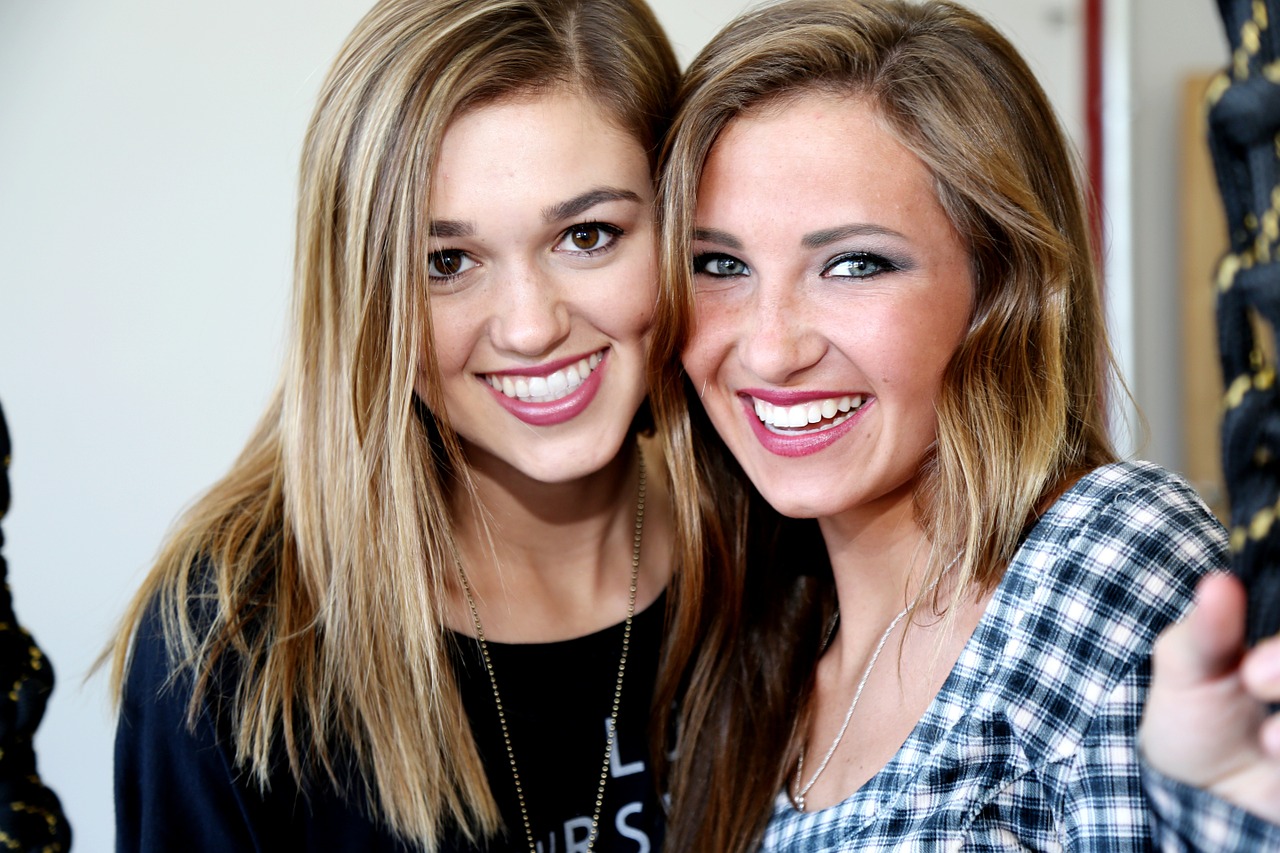
How does this affect our selfies? When taking a close up shot, you will notice distortions like your nose or lips appearing much larger than they actually are, giving you a funny appearance in your photo. To reduce that kind of fish-eye effect, we must make it a point to maintain a minimum distance of 3/4 of an arm when taking a selfie.
As it’s not meant to be a lens for portraits, we cannot natively perform a DOF effect, so the photo editing is a must-have.
Another aspect to consider, especially with older iPhones, is that the front camera has less quality in comparison with rear camera; in some cases, as with the 4S or 5, they possess a very low resolution camera. Is there a solution to this? Yes, take a selfie with the rear camera, which is difficult to get used to, and really only possible to do well if we are in an indoor scenario or a studio, where there is a mirror available to see how our selfie is going to look.
Note: Remember to look at the lens, no matter how tempting is to see at the screen; in the end what you want is a natural-looking selfie of professional quality and not a planned and set up selfie look.
The lighting will depend mainly on two factors:
1) Where we are: indoors/outdoors/studio
2) The extra equipment with which we have to capture the selfie (if we make it in professional way should have fill lights, reflectors, etc.)
I don’t want to go too far into this topic because it is not the point of this particular tutorial, but I invite you to take a look at this complete guide to lighting for portraits; but yes, I would like to highlight the importance of getting even lighting, with defined lights and shadows, avoiding (if possible and especially if our Smartphone is not very modern) pronounced shadows in the middle of our face, as it can occur in scenarios with side lighting – unless it is your intention to create a dramatic lighting effect for your selfie.
For starters, make sure that the Smartphone is perfectly positioned at 90 degrees to the plane of the floor, regardless of its orientation. If you are looking for more dynamic poses, you can position the device with a slight inclination of above facing downwards, never in the opposite direction. If we took the shot from below facing upwards, the majority of cases would just basically highlight the defects of the face or even make us seem heavier.
Consider using the grid system provided by the iPhone software. It is an added value when you want to obtain beautiful compositions in your portraits.
Test with natural poses: there is nothing worse in a portrait than a feigned smile. If smiling in pictures is not your thing, try to do a discreet smile with your mouth closed, or better yet, ask for help to a friend to make you laugh naturally.
One of the tips that is important to keep in mind is the AE Lock, since by default the iPhone assigns an automatic exposure.
How can I change this setting? Hold your finger on the screen until a prompt appears that says AE Lock. Once that comes up, you can move the slider in your focus point showing a Sun: moving it upwards will increase the exposure, while down will decrease it.
Don’t rely only on this. You can use tools like Light Meters to help you decide what the approximate value of exposure is correct for your situation, but you will have to enter it to visual mode and not with numbers. If, for example, you notice that your face is too overexposed in some areas, try moving further away from the source of illumination before reducing the exposure directly.
As I said before, this is an area where the choices are completely up to the photographer. Depending on the application that you use, there may be a greater or lesser range of tools that you have available to you. Obviously, the iPhone’s Native Editor will not have as many resources as a specific photo-editing application.
My two choices are, in order of preference, Snapseed and Lightroom Mobile. Previously, it used to be the opposite, until I noticed how easy it was to perform DOF effects with Snapseed, so now it has become a must have in my photography kit for my smartphone.
I hope that this guide has been to your liking, and see you next time!


Please verify your software version before proceeding.
 I’ve verified my software version


 Facebook
 Google +