Tips For Shooting Overcast Portraitswww.sleeklens.com
Photographers like myself sometimes play a constant gamble with the weather as we can never be completely sure what to expect. Of course, we try our best with keeping up on the weather channel or even constantly checking the apps on our phones but mother nature is her own boss and can sometimes be very unpredictable. This often makes our job difficult as a photographer or even a videographer as it becomes a cat and mouse game to decide on a particular day with hopes for good weather. Sometimes the days work out in our favor and other times it does the complete opposite, leaving us having to reschedule a shoot of having it completely postponed. However, we don’t always have the time in our schedule as the photographer and often find that the client themselves also don’t have the time to reschedule a shoot so find ourselves having to work with Mother Nature’s plans. In this article, I will be sharing just a few tips on how you can effectively shoot portraits in overcast weather and work with mother natures plans.
Table of Contents
1. Be Mindful Of The Sky
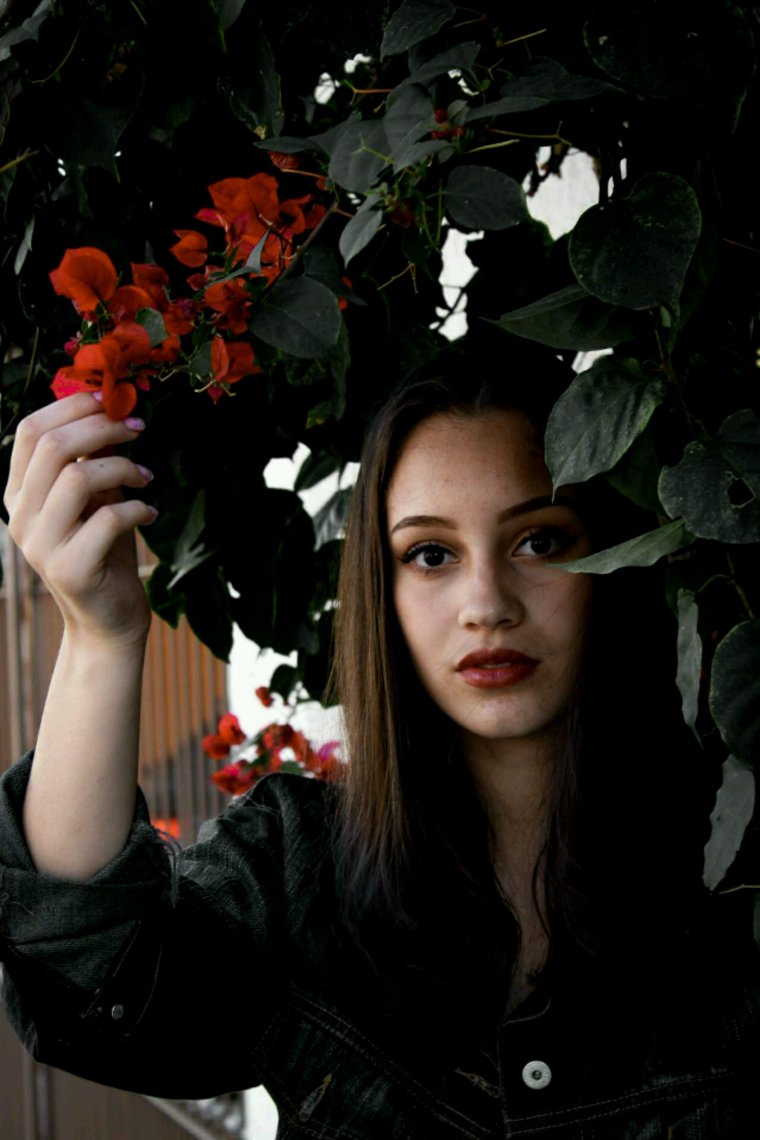
When shooting cloudy day portraits in overcast weather it can be a tricky decision to make if you want the sky in your image or not. Overcast skies are not always the most appealing thing to have in your photo but this also depends on the mood or theme of the images you’re taking. For example, if you intend to edit the set of images in pure black and white then having a slightly overcast sky in your image shouldn’t really matter unless you’re picky and don’t particularly like how it looks.
If you’re shooting in color however and not looking to have too much of a dark or disturbing sky in your image then I advise you compose your shot with as little of the sky in it as possible.
2. Use A Reflector
Using a reflector on an overcast day can definitely come in handy when you need to bounce some light on to your subject. Not because it’s overcast means there is no light at all to bounce. If you position your subject or talent properly then you can easily and successfully bounce whatever light there is unto them to help cast out too many shadows. Shooting in overcast condition can easily produce a lot of shadows on your subject which is not always bad but it’s also something you don’t always want to have to fix in post. Carrying a reflector around on your sessions that are overcast can prove very helpful and might just help you in a rough time.
3. Shoot A Little Underexposed
An overcast sky is mother nature basically creating a huge softbox for you so there is no direct harsh light shining onto your subject. What I usually recommend is shooting just a little underexposed so you have the freedom to play with your shadows and highlights but also your colors and contrast. This huge softbox gives you the ability to easily enhance the colors in your image and make them even richer while still maintaining some very smooth and pleasing shadows as well. Shooting underexposed will give you the freedom to play with many essential things during your editing process.
4. Shoot RAW
I’m confident that beginners have heard this enough and professionals like myself already know the importance of shooting raw but I would just like to remind you again. The importance of shooting RAW during a cloudy day portrait session in overcast weather will always work to your advantage. With the potential of having so many shadows and a considerate amount of contrast in your image, you need to have the freedom to effectively play around with key elements in your photo without losing the quality in your image.
5. Aperture
Shooting with a wide open aperture can help to produce a very beautiful bokeh or shallow depth of field around your subject. This looks beautiful especially in overcast settings where you want to bring in as much light into your camera as possible while at the same time isolating your subject. Creating a shallow depth of field will help to make your subject stand out in the frame more and demand the attention of the viewer.
6. Select One Focal Point
Try to not have your camera decide on its own focal point but rather select one yourself and make sure it is composed properly on your subject. Sometimes our camera will get it right and select the right point of focus but in the event of an overcast session, it is best you select a focal point yourself. This will assure you of a very well focused subject as well as capturing key details in your cloudy day portrait as well.
Shooting overcast portraits can sometimes be very fun and easy due to the conditions around us. It’s safe to say that mother nature can decide correctly on what it is we need and not exactly what it is we want. I hope this article has been a huge help to your next portrait session and thank you for stopping by.


 Facebook
 Google +
Comments (0)
There are no comments yet.