
Simple portraits are beautiful and worthy of being shared online, but sometimes, they can look a bit boring.
However, that doesn’t mean you need to delete every portrait that looks too dull. Knowing how to enhance simple photos will:
Before you’re even tempted to delete that rich collection of simple portraits, try to enhance them using these incredible Photoshop tools.
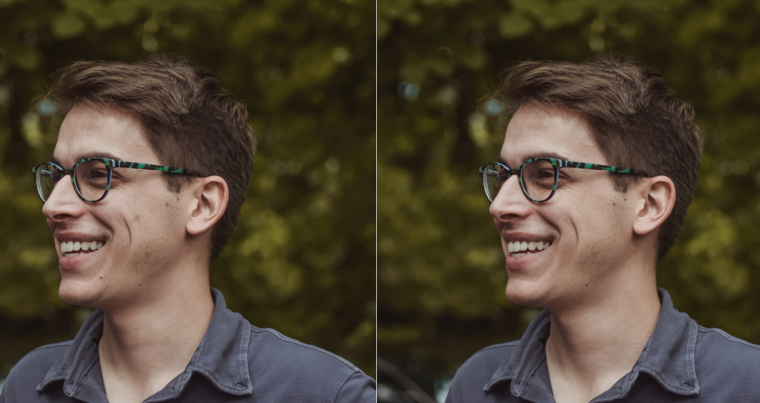
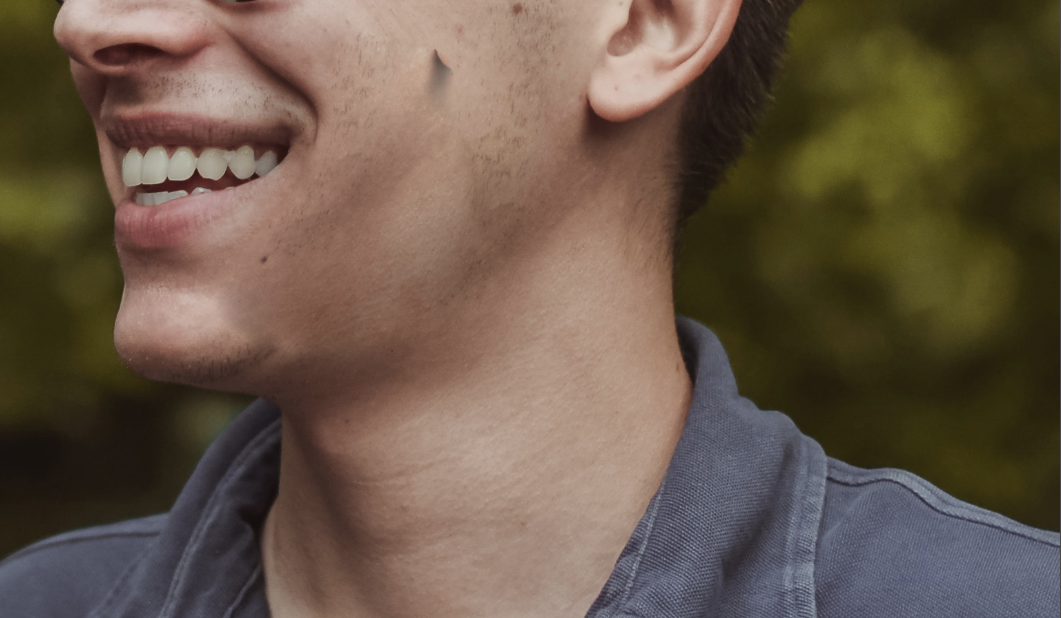
This handy tool will patch up any blemishes on your model’s face. You can also use it to get rid of wrinkles, stray hairs, and facial hair. Simply draw over the area you’d like to fix and drag it to a clean patch of skin. I recommend dragging your selection horizontally, as this will create a more natural look.
I don’t recommend using this tool to fix large areas on your model’s skin. Dragging a very large selection away from its source will result in blurred, unflattering-looking skin like this:
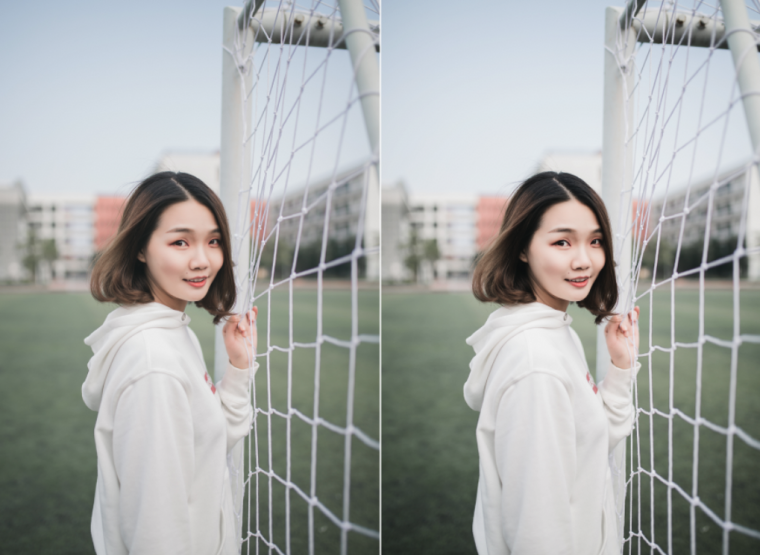
If your portraits are lacking in contrast, you don’t necessarily have to use Curves or Levels. Gradient Map, a tool that’s often overlooked, will make your portraits stand out within seconds.
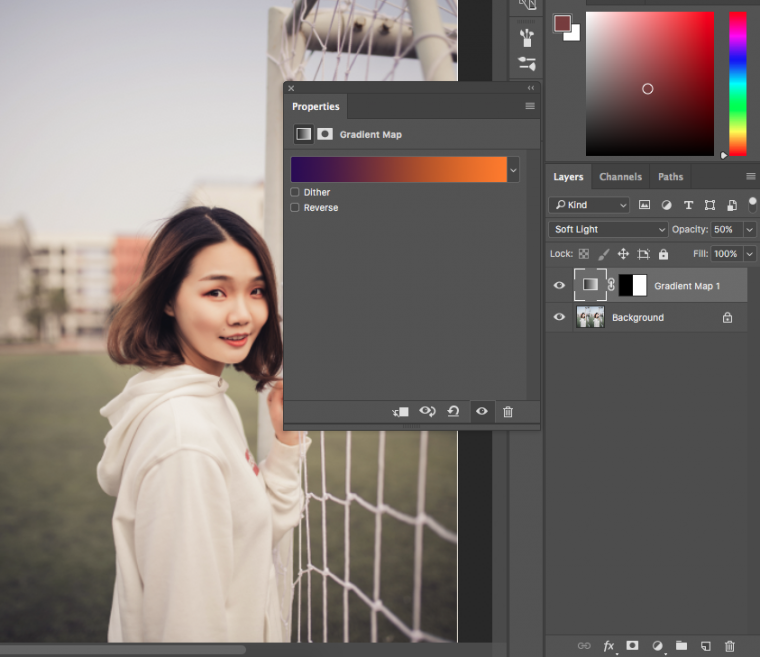
Before you create a new layer, press D on your keyboard. This will set your colors to black and white.

When you select Gradient Map, a small window will pop up. Make sure Dither and Reverse are unticked and click Okay. Then, change your layer mode to Soft Light and lower your layer’s opacity until the results don’t look too dramatic. Even though Gradient Map can look images look intense, you can use it to add a bit of contrast to your images without wasting a lot of time.
If you want to give your photos a more nostalgic feel, change your colors to something other than black and white.
Screen mode is a layer mode that’s often used to create double exposures. It can also be used to add reflections and textures to photos of all kinds.
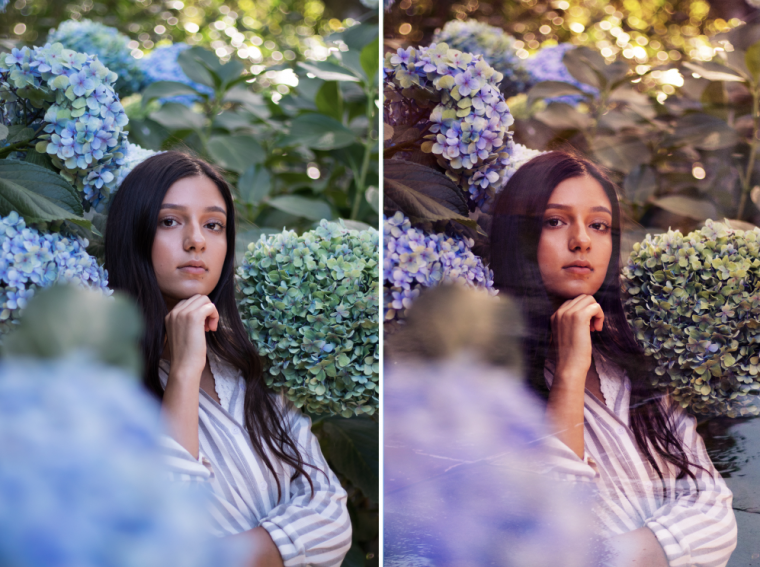
For this to work, you need to have a variety of stock photos. You can either take them yourself or download them from a website like Pixabay or Unsplash. Use photos that have a lot of light and space, but also remain open to using photos with unusual compositions.
Place your stock photo over your portrait and change your stock photo’s layer mode to Screen. This will immediately brighten your entire image. If the effect is too dramatic, use the Curves or Levels tools to edit the stock photo only.
If you’re not satisfied with the results, use another image or add multiple photos to your portrait. There’s no limit to how much you can do when it comes to these “double exposures.”

Using these simple Photoshop tools, you’ll be able to enhance even the simplest of portraits. And the next time you’re tempted to delete that precious photo, open it in Photoshop and give it a chance to show its true potential.
Comments (0)
There are no comments yet.