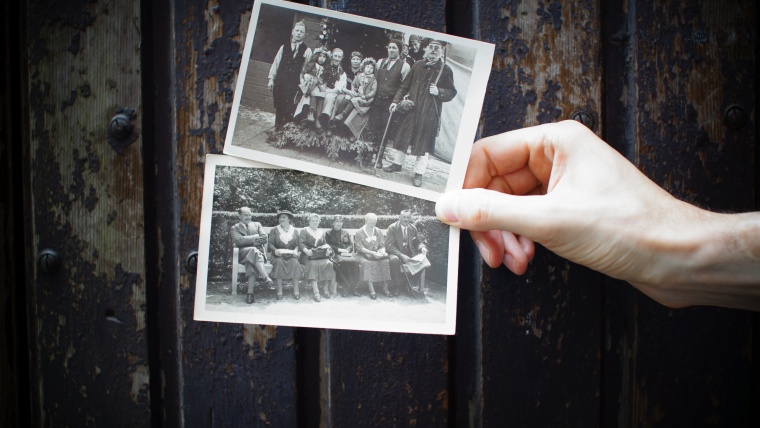
In this video, we will learn how to repair photos that are damaged or prints you may have but with some scuffs on them. This method is fairly simple and fun as well while using a couple of tools. This video was created after a request from one of the group members of Sleeklens exclusive Facebook page.
The first thing we do is get our image. We will then create a brand new layer and instead of doing the adjustments in the original image, the layer will allow us to make all the adjustments without affecting the original image. With this, we can always revert back to the old image in case something happens.
Before doing anything, we will choose the ‘Spot Healing Brush’ which is designed for blemish removal. In the latest versions of Adobe Photoshop, you will find the brush under “Content-Aware” feature. That is the best feature to use in situations like this because as you zoom in, you will see a multiple tiny dots. You can take the Clone Stamp Tool and clone all the dots out but it is much easier and faster to use the “Spot Healing Brush’ with the Content-Aware feature added.
The other thing you need to make sure is sampled is the “sample all layers” to make sure the Check Mark Box is checked so that it knows to sample everything. If we leave it unchecked when we paint over it, then it will do nothing because it is sampling from a blank layer.
With this done, we will start painting. Start by zooming in and start taking some of the dots away by simply clicking and drawing a small circle around each one of them and they will disappear. You just need to get rid of the tiny dots is just go around paint and since you have the “Content-Aware Tool” it works very well even with different colored areas. Just keep painting and the dots will be removed with ease. Again, this could have been done with the Clone Stamp Tool but it is much easier to use the Spot Healing Brush when you have the Content-Aware tool.
With the painting extensively done, much of the stuff is removed leaving the image a little better than the original. When you toggle the original off, you will be able to see the adjustments made in a much clearer way.
From here, you can go for your Clone Stamp Tool and work on all your adjustments on this very layer. You will notice that there are a couple of repeating patterns on the hair, darker areas and there are different areas that need to be worked on so they can blend in well. The clone stamp tool does a fairly good work when it comes to blending the different parts. What you need to do is hold the “Alt” button on your keyboard and you will see it changes to a close hair. As you continue painting, you will see the effects where the hair was.
The goal is to try and replicate the hair and this can go along the same pattern and path without seeing the repeating patterns. This can is mostly the tough part but as you continue painting and sampling, it will remove the repeating patterns. You can try to break any repeat patterns. Edits done to repair a damaged picture can take a long time but with time, you will eventually get the desired results.
You may need to go through small edits at a time. In places where you have scratching and black parts is to do a little bit of enhancement by going to “Adjustment Layers” and choose “Levels”. This might not be specific to the image you are working on but we are choosing this because the image has a lot of black. You can choose the appropriate level of enhancement for your image depending with the extent of scratching and blackness.
With this done, you can do some cloning to try and correct all the stuff you see in the image. Once you are through with the cloning and things look better than they were, just take a regular paint brush and raise feather to 100%, drop the harness to 0% and get a black brush opacity and flow all the way up to paint black as seen in the video. This is however specific to this image and you will need to choose your features based on the extent of the damage and issues you are dealing with.
However, these are the main tools that will help you achieve great results when repairing your images in Adobe Photoshop. Once you are done, you can compare the before and after photo and you will realize that the ‘after’ photo is much better and has been restored by a great deal.
If you loved this video, you can visit Sleeklens.com for more Lightroom and Photoshop tutorials, blogs and other essential products to enhance your photography skills and results.
Comments (0)
There are no comments yet.