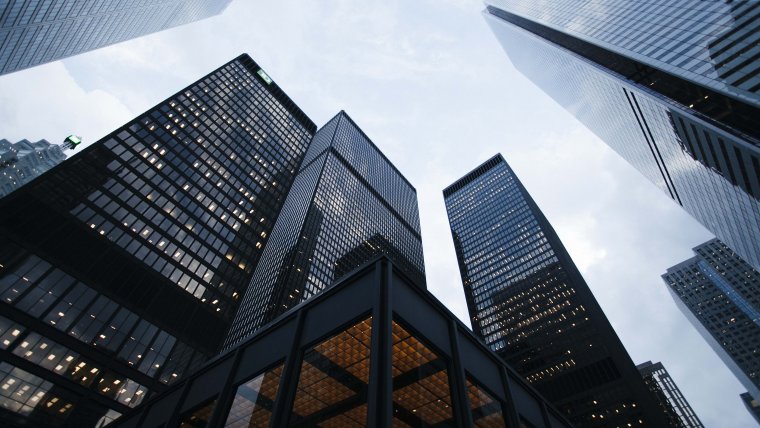
When shooting subjects using a wide-angle lens, perspective problems are common and these normally occur in form of lines which should be straight but normally look curved and distorted. This occurs in wide-angle lenses and is commonly known as barrel distortion. It’s caused by the decrease in image magnification due to the distance of the subject from lens’ optical axis. The distortion will appear more visible on the edges of the frame thus appearing curved.
This video will show you how to remove the distortion from your images using the adaptive wide angle filter. The adaptive wide angle filter is basically a filter that will allow you to take draw lines to tell the photo where the image is supposed to be straight and Photoshop will automatically make them straight for you. This is fun and very easy to use.
To get the filter, you will need to go to the top angle filter and then choose the adaptive wide angle filter. This is a feature that is available in the latest versions of Photoshop such as the PS 6 and later. When you click on the feature, it’ll open in a small box which appears a little bit strange but you’ll have different options including Fisheye, perspective, auto and full spherical. You can play around with the different options but leaving “Auto” checked helps Photoshop to straighten up the photo. We will keep it in auto for the purposes of this tutorial.
Once you check the auto option, you will notice that there are some buttons on the left-hand side of the Photoshop window which you can choose from. We will concentrate on the Constraint Tool (C). We will draw some lines and tell Photoshop where these lines need to be straight. We will start from the top of the door frame since this is one of the troubled areas. Once we click and drag down, you’ll see we have a blue line which follows the curve of the wall and but it’s not perfectly straight. If you click, drag and release at the bottom of the wall, it constrains it up but the line is still crooked. What you need to do is to draw the same line and hold the “Shift” key on your keyboard. This will give you a pink line and once you do that and release, Photoshop tells the photo that this portion needs to be perfectly straight up and down. When we do this, it shifts the photo a lot more that when we do it with the regular constraint.
So, we will repeat this on other areas which are supposed to be straight but make sure we hold the shift key. The more lines you draw, the more information you give to Photoshop and the better your photo will turn out. It is possible to wonder where to use the regular constraints with the blue line? This would be used in areas such as the horizontal corners of the wall. As you draw a line that contours with the wall, it’ll straighten things up.
When everything on the wall of our tutorial photo is perfectly straightened up, you’ll realize that the boards on the floor are a little bit warped. We will draw a blue line by following the groove on the floor to the end and then release. You can draw this line in a number of areas on the floor and this will straighten things up perfectly well. However, you’ll have issues with areas that have no data such as the top corners of the image where the photo was warped. But you can use a clone stamp tool to fill data in manually or scale the photo up to get rid of those areas. You can also click ok to accept the changes so far and then crop the image to get rid of those transparent areas.
This done, you will have your image perfectly edited with all the distortions eliminated. You can look at the before and after images and you’ll notice a whole lot of differences.
You can check for more of our tutorials on how to do your image editing or look out for our Lightroom Presets and Photoshop Actions for use in your editing work. Just click under either Lightroom or Photoshop Tab for the different options available.
Comments (0)
There are no comments yet.