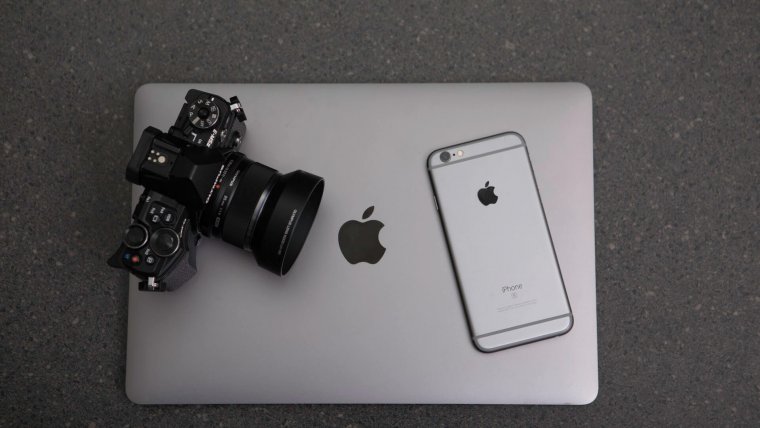
Hey, guys, it’s me again ready to give you some more key tips that will be beneficial in your day to day photography. I hope your summer was good and you got a lot of outdoor sessions done with some amazing images. With all these images can come a bit of a clutter and if you’re anything like me, you probably hate the mess and confusion. Happy to be here today to share with you a few quick ways and tools that can come in handy when trying to keep your photo library in order. I don’t use Lightroom, but I’ve seen where it forces you to get organized with your photos. Sadly I’m not as interested in Lightroom as other may be, but I do love myself some Photoshop. I’m often asked why when Lightroom is so easy, but I rather am in a program where I can control and manipulate almost anything in my image freely as I like to. But we’re not here to discuss why I like Photoshop but if you’re someone like me and don’t have anything in place to get you organized, I’ll be happy to give you a start.
Table of Contents
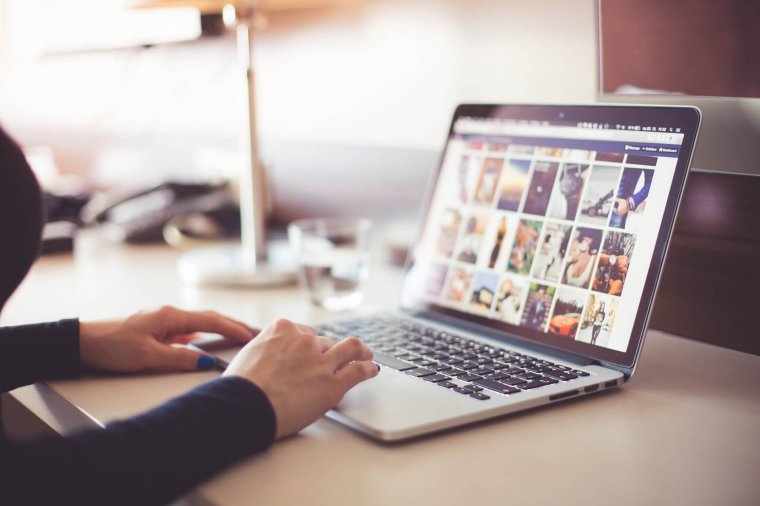
Some of the end up having so many old programs, music, pictures or videos on our lap top that we end up not even have enough space to save a few shots we recently took from a session or save couple raw files. By extension as a result of that, you find where your computer is moving slow, and then your programs start to crash and buffer. Just recently I ran into this problem where I was trying to create and save for the web, a cinemagraph (will go in detail in another article). So in my attempt to save what I just created, I ran into the same issue over and over whereas my laptop didn’t have enough space for photoshop to do what it needs to do. Ended up taking a whole day to go through my files and programs and delete what I didn’t need to make space for what I do need. So take the time to create some space on your drives, so you don’t run into the problem often.
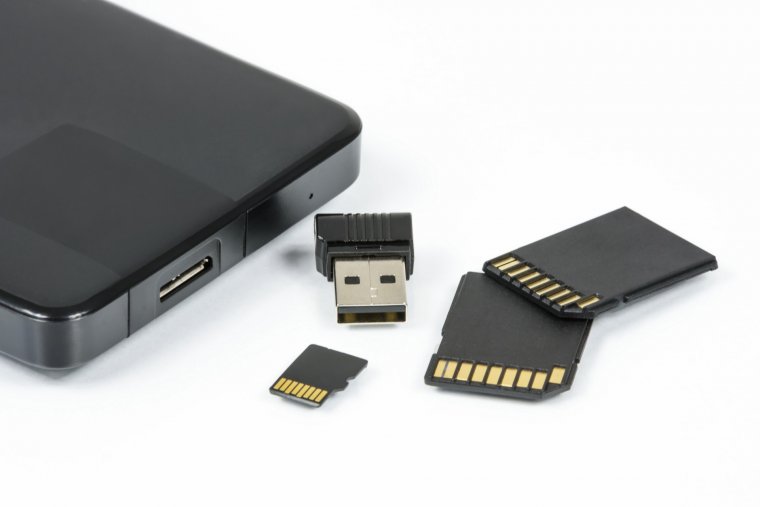
These will become your best friend over time as you begin to appreciate how many times they’re going to save your life. I can’t count on one hand how many times clients have emailed me asking for images I took as far as three months back. Me in my haste to make space end up either dumping them or have them on my SD card and forgot. Your external hard drive will take a lot, and I mean a lot of pressure off your laptop’s built-in memory. The prices may vary depending on the size you’re going for. I have a WB 1TB My Passport Portable External HD which runs for just about $60 on Amazon. If you ask me that’s not really a bad price when you think about how huge 1TB is and how fast are you even going to be able to fill that up. Well if you shoot in RAW a lot and save a lot of RAW files then maybe you should bump up space a bit, but if you’re saving common edited JPEG images that you’ve done for clients in the past, then that’s a lot of space when a JPEG Image averages at just about 2MB. Of course, this is not your only option when it comes to external hard drives. They vary in brands also that start at roughly about $30 with the prices working their way up from there.
It helps when you organize your Images by date. Your camera may naturally put an invisible stamp of the date and time your photos were taken, but this can be inaccurate when changing time zones or when the battery has been out for too long. Therefore I recommend keeping yourself abreast of these details when shooting. If you work well with numbers, then this may be perfect for you to pinpoint which session you did on a particular date and more.
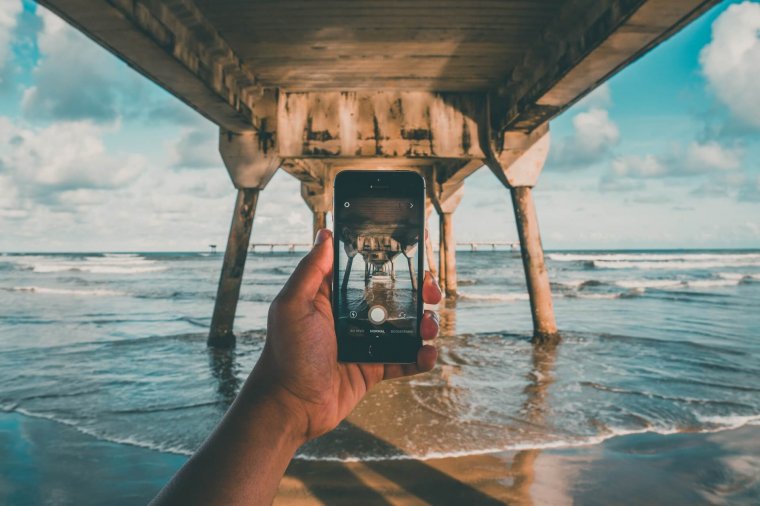
In a previous article, we spoke about the importance of having built in GPS on your camera. Here is another reason, because it’s so easy you can forget where you took a picture unless there is something or someone there to remind you and in this case, it would be your camera. Saving or storing Images according to location can be pretty helpful if you work well with locations. However, if you don’t then, it would be best to stick with saving by date and time.
We photograph so many things and people on a monthly or even weekly basis sometimes it’s hard to keep up with what is what. I hope this article gave you an Idea however in which you can successfully organize yourself better than me. Thank you for stopping by, it’s been a pleasure!


Please verify your software version before proceeding.
 I’ve verified my software version


 Facebook
 Google +
Comments (0)
There are no comments yet.