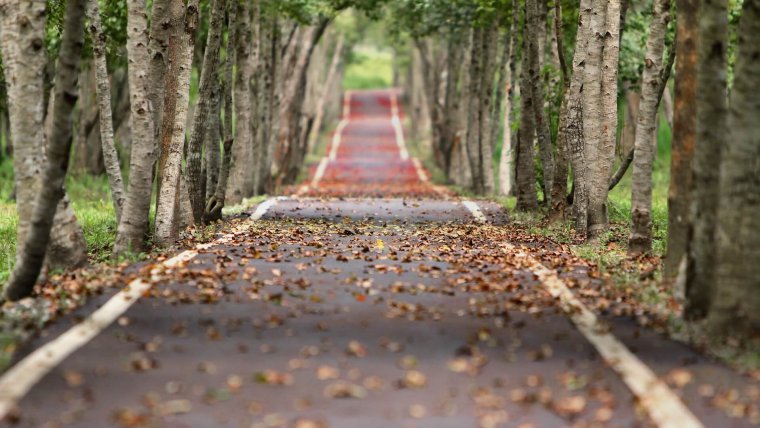
As a photographer there’s nothing more annoying than composing a perfect shot with the intention of it being short and crisp, only to end up with it looking like it’s out of focus. This has to be on of the biggest pet peeves during a shoot and is sometimes not noticed until you’re ready to edit. In this article, I aim to give you some valuable tips as to how you can avoid this happening to you during a very important shoot or in the future overall. There are many factors that can contribute to a blurry photo or have a collection of photos. I will list out a few of the common mistakes made and how we can best correct them.
Table of Contents
This has to be probably one of the most common reasons why most photographers get a blurry image. We often assume our hand is perfectly still or rather our subject is perfectly still when in fact, it is not so. What usually happens is that our shutter speed is relatively low and ends up capturing motion within the frame. This problem is often a simple fix by just turning your shutter up so it’s fast enough to capture your subject in a still frame.
At all times your shutter should not be lower than the focal length of your lens. For example, if you are shooting with a 50mm lens, your shutter should not be all the way at 1/30 unless you are trying to create or recreate something special using motion blur. This mistake of having a slow shutter speed is not only made by beginners but also experts so don’t feel bad about making this simple mistake. You will find some lenses are equipped with Image stabilization with a longer focal range such as telephoto lenses.
The easiest part about photography shout be just pointing the camera in the right direction, right? Well, there’s also a little technique to that as well. With bad camera holding technique can also come blurry photos. A Lot of you must be wondering how and I will gladly explain. When holding a camera, especially a DSLR or mirrorless camera, always make stability your number one priority.
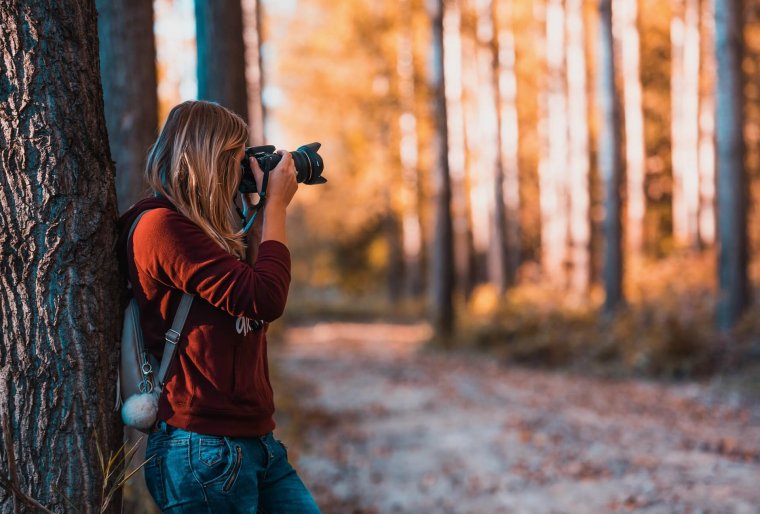
Always stand with your feet slightly apart from each other with on foot forward planted firming supporting your body movement. In addition to your stance, you should also use your right hand (or left, whichever is your preference) to hold underneath the lens and the opposite hand to firmly grip the camera and gently press your shutter button. Don’t forget to tuck your elbows into your chest and try to use your viewfinder rather than your live view. This might sound like a lot but trust me, you will see the difference in your shots as well as feel more stable when capturing your image. Make this technique a habit and you will surely improve the quality of your images.
Always try to make sure that your focusing points are set properly before shooting. Failure to do this can result in a series of out of focus or blurry images which probably make any photographer mad especially if you can’t get the shot a second time. As fancy as the cameras these days, they don’t always get it right and as a result of that, we have to advise them as to what they should do and shouldn’t do.
Most photographers have a bad habit of leaving their camera in an auto-area AF mode which leaves your focal point up to the judgment of the camera. If you trust your camera’s capability of selecting the right point then, by all means, go ahead but if you want to ensure a sharp and in focus image then you can manually select your point or points. I recommend this because it provides more certainty as to where the sharpness in your images will be as well as you sometimes get a better image quality than you were expecting.
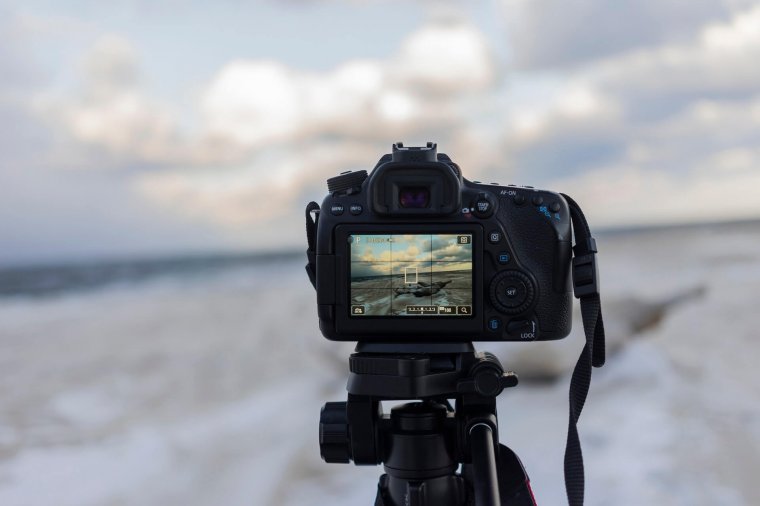
This may apply more to landscape and studio photographers but is a tip that can generally be helpful. Given that the technique mentioned earlier didn’t help, a tripod would be your next bet.
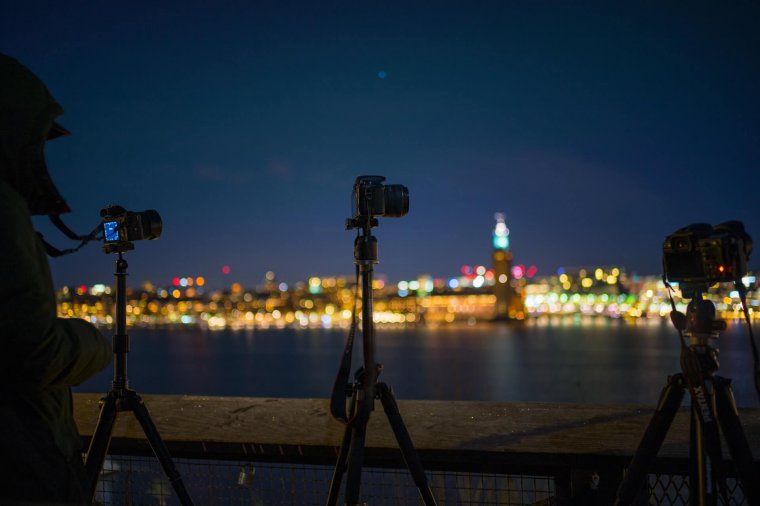
Tripod is essentially made to increase the chances of capturing a sharp image by keeping the camera as stable as possible without shake. It can sometimes pose an inconvenience walking around with a tripod but I can say it does come in handy sometimes more than you think.
Last but not least your aperture can be a contributing factor as to why you have blurry or out of focus images. For example, if your shooting at a maximum aperture of about f/1.8, you may find where there are a lot of elements in your image that lack sharpness or just seem disturbingly out of focus. This is caused by a very shallow depth of field which gives that soft out of focus blur to some elements of the photo. If you bump up your aperture levels to about f/11 you will find where a majority of your shot is now sharp and in focus due to the change in depth of field.
I truly hope this article has helped you to get rid of those blurry shots and I look forward to seeing you guys again. Until next time, we thank you for always stopping by!


Please verify your software version before proceeding.
 I’ve verified my software version


 Facebook
 Google +
Comments (0)
There are no comments yet.