
Have you ever taken photos and realized that the colors are not as you saw them in the scene? Don’t worry because this is common in photography. This effect is caused by the difference in the light sources. The sun on a bright day, on a cloudy day, a light bulb… different light sources emit light with different hues and this makes them have different color cast. Our brains “corrects” the color cast, but our cameras don’t do it unless we tell them. Have you ever heard about white balance (WB)? This is what will help you to avoid color casts in your photos due to the light source. Color and WB might be a bit confusing at first, but once you understand, it gets easy and fun to play with them. Let’s start with color!
A bit of color science: The connection between color and temperature:
I am not going to get into a huge scientific explanation, but I think it helps to know the story of William Thomson in order to understand where some color concepts are coming from. William Thomson was also known as Baron Kelvin the 1st (1824-1907). He was a mathematical physicist and engineer. He was the responsible for formulating the Kelvin scale which measures absolute temperatures (for that reason temperature is measured in Kelvin units!).
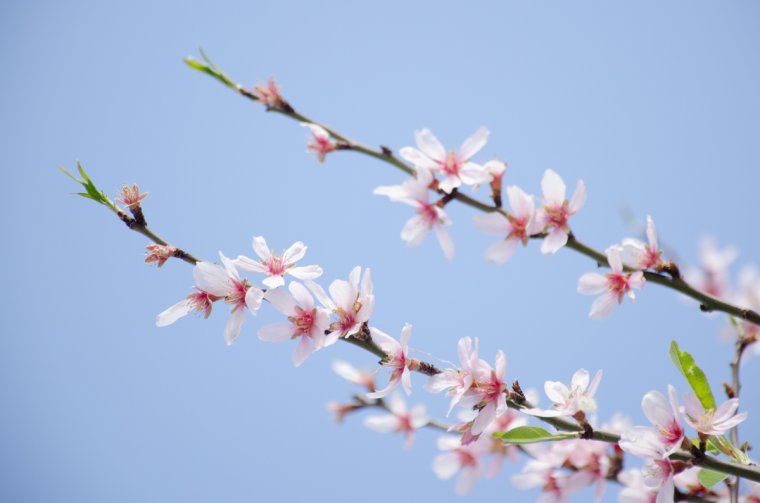
In his experiments, Kelvin noticed that, as it is being heated, carbon changes its color. Thus he saw that it is possible to align a scale of colors to the one of temperature. This is how the concept of color temperature was born. At absolute zero (-273.15ºC, cold) the corresponding color is black. The visible spectrum of the scale runs between 1700K and 12000K. Ironically, the colors are organized on the kelvin scale in reverse from what we consider as “warm colors” and “cold colors”; “warmer” colors like red orange or yellow have lower temperatures on the kelvin scale than “cooler” colors like blue or purple.
Color temperature and photography
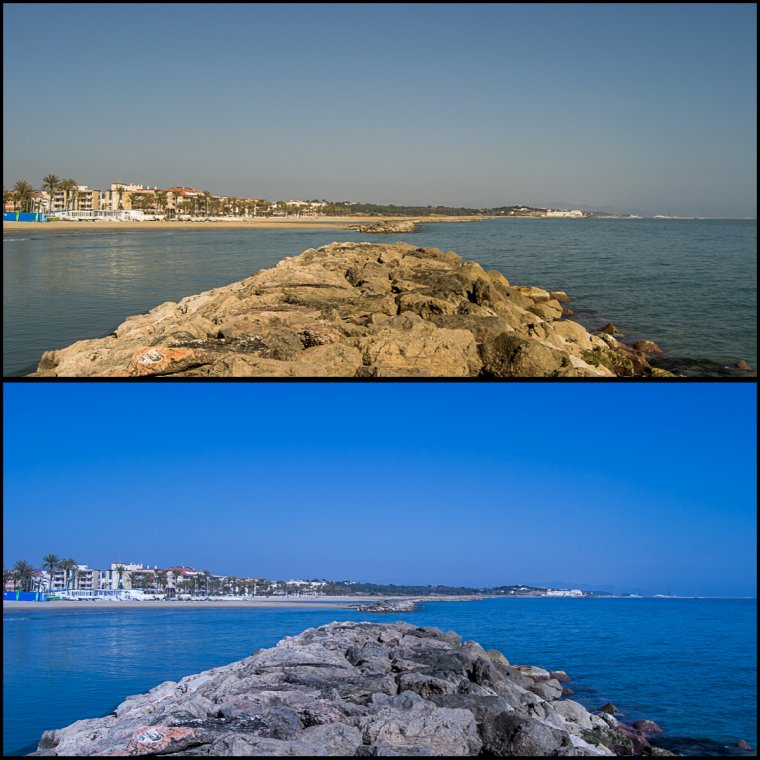
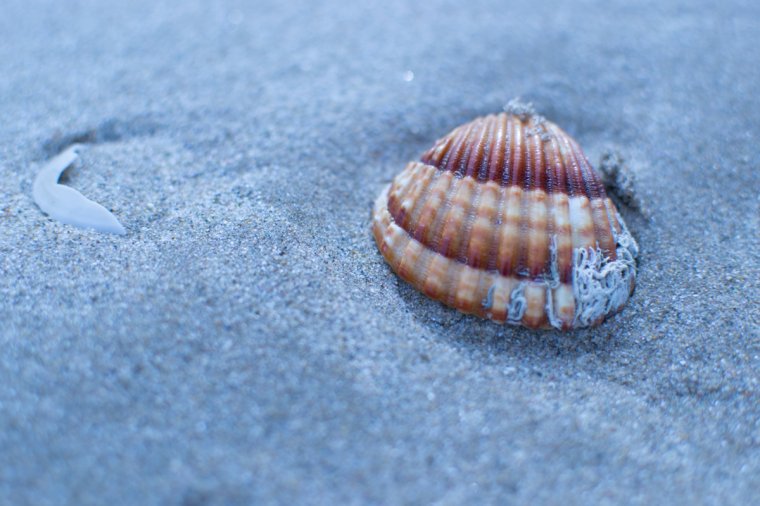
The color temperature of a photograph is the dominance of some colors over others. When the lighting is what we call “neutral” the whites will appear as white. However, when the scene has a light cast that goes towards the red (yellow, orange) or towards the blue than whites won’t look like white anymore, but reddish or bluish respectively. So depending on the light of a scene, its color temperature will vary. Let’s see it with some examples
5500K: white or neutral. Correspond to the midday light
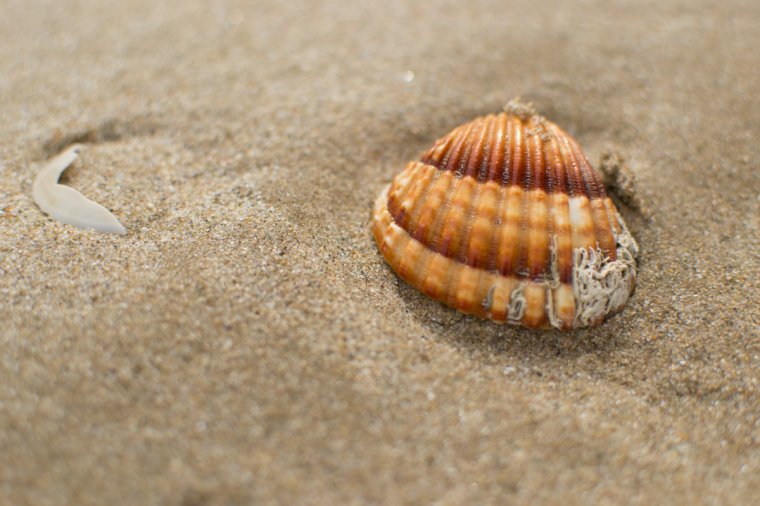
Less than 5500K: more yellow, red
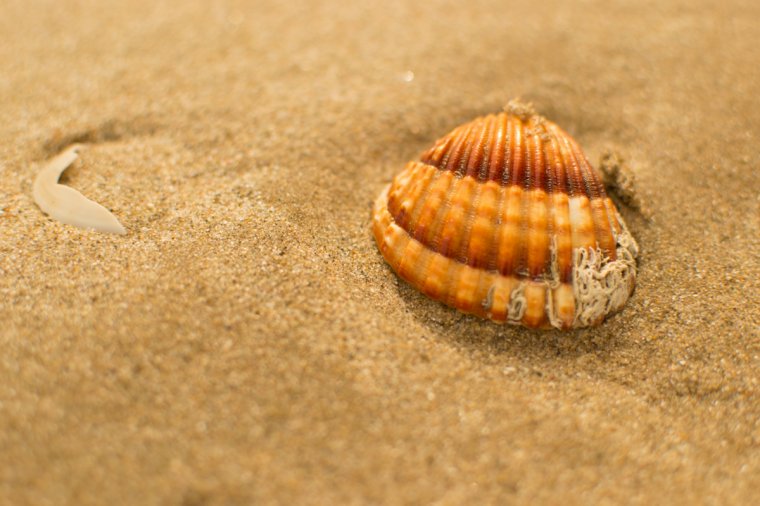
More than 5500K: towards the blues
Some useful numbers that are good to keep in mind are:
1000K: candle light (they are towards the yellows)
2000K: sunset (yellows-reds)
2500K: light bulbs (they usually have a yellowish tint)
6000-8000K: cloudy day (they are towards the blue and gray colors)
So, in different situations, our light emits different color temperatures, which in turn give our photos different hues. This can be used to make beautiful photos. However, this also causes complications. As I said before, our human brains are able to detect and adjust the images we see with our eyes so we understand what is the true color of the object we see. Our cameras are not able to do it and unless we tell them what is the color temperature of the scene.
Fortunately, we have ways to correct the hues of our photos. We can do it in post-processing using Lightroom for example, but usually, I prefer doing it through the camera itself.
How to adjust the color temperature on the field: white balance
Most cameras (even point and shoot compact cameras) have an option to set the white balance, using this option you are telling the camera what type of lighting you are in. Here I will talk in general, but take a look at the manual of your camera to check specifications.
Auto white balance: This is the easiest way and it actually works in most of the cases. I am not the biggest fan of auto modes (I even shoot most of my photos in Manual mode!!), but I had to admit that Auto White Balance does a decent job. You just need to set your camera on Auto WB and it will make the best adjustment according to the measurements it does when the photo is taken. However, in some cases, the AutoWB is not working well (it usually happens more with artificial lights) and then you need to use other settings.
Semi-automatic white balance: In the more basic cameras, you can choose between a few preset defaults. The most common are Cloudy, shade, tungsten, fluorescent and flash. Each one of these presets try to compensate the light temperature in each situation and bring the hues closer to neutral lighting. Let’s see it with some examples:
Photos from cloudy days are usually looking quite gray. The Cloud setting will warm them up already in your camera. The shade preset is doing something similar, but adding a bit more of yellow than the Cloudy preset.
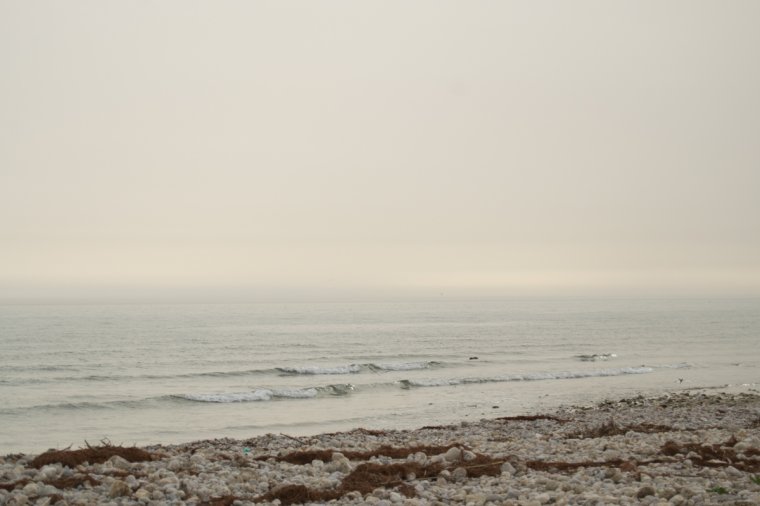
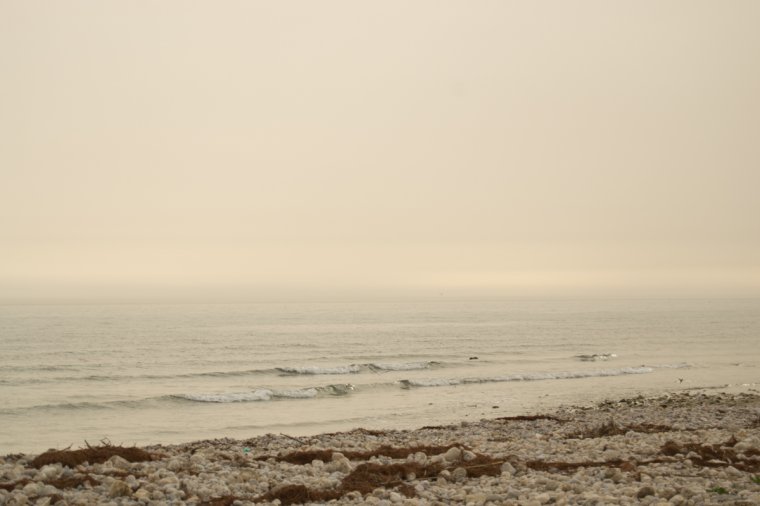
For indoors and night photography, fluorescent and tungsten can be really handy. Fluorescent lights are quite cold, so using their preset will warm the image. On the other hand, tungsten lights are usually warm, so their presets will cool down the image.


When you are using a flash, your photos might look a bit cold. The Flash preset will also warm the image a little.
Presets change from camera to camera so have a look to your manual and get to know the presets of your camera and play with them in order to understand the effect they have on the image.
Tell the camera a value in Kelvin: In the more advanced cameras in addition to the auto WB and the semiautomatic presets, you can also define the light balance yourself by telling the camera the Kelvin value of the light of the scene.
If you took a photo with a color cast you don’t like, don’t worry! You can change it on your computer! However, I highly recommend you to have the files in RAW format and not jpg. Although it is possible to modify color temperature in jpg format, the loss of quality will be so high that it won’t be worth it. With RAW, the process will be easy and your image will keep its quality.
You can adjust color temperature in post-processing using different software. My colleagues wrote about how to do it in Lightroom, Camera RAW, and Photoshop.
Use color temperature creatively
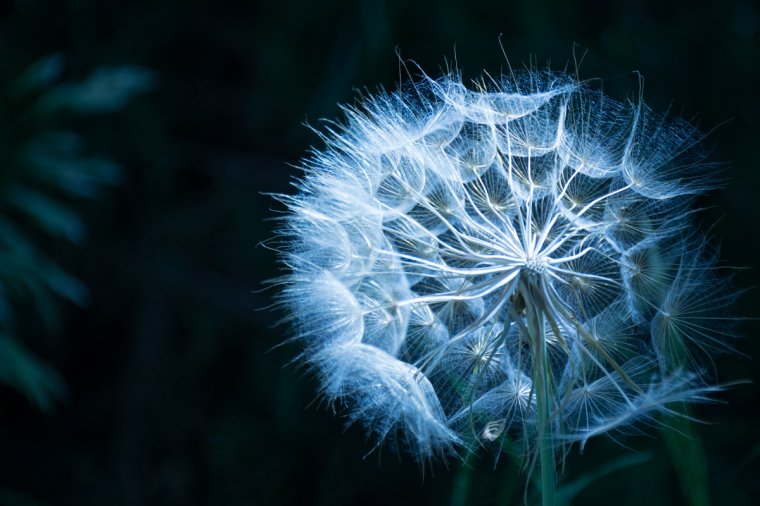
Now that you have an understanding of color temperature and white balance, you can use the color temperature in order to express what you want in your images. Do you want to give a sense of warmth to your image by adding a bit of yellow? Use the Cloud setting even if it is not cloudy and you will have a yellow cast in your photo! Do you want to add a bit of blues to add a sense of coldness? Try with the Tungsten preset! Experiment and have fun with WB!
Happy shooting!!!
Comments (5)
Just sufficient explanation for white balance and colour temperatures.
Grateful to you, Sara.
ShaKa – The Independent Thinker.
Thank you! I am glad you find it useful! 🙂
Thanks for demystifying WHITE BALANCE
You are welcome Varma. I am glad you find the article useful. 🙂
Thank you Sara, for throwing some more light on white balance.