Shooting landscapes mean giving up a bit of the control that comes with studio photography, but it can often produce some spectacular results. With landscape photography, especially with rapidly changing light conditions, like low light, time is of the essence.
That’s why it’s important that you know how to work quickly and understand how to make the light work with your camera to get the best photo you can in as little time as possible. Having a solid game plan in mind before you go out shooting can keep you from getting frustrated and ensure your final product is an impressive capture.
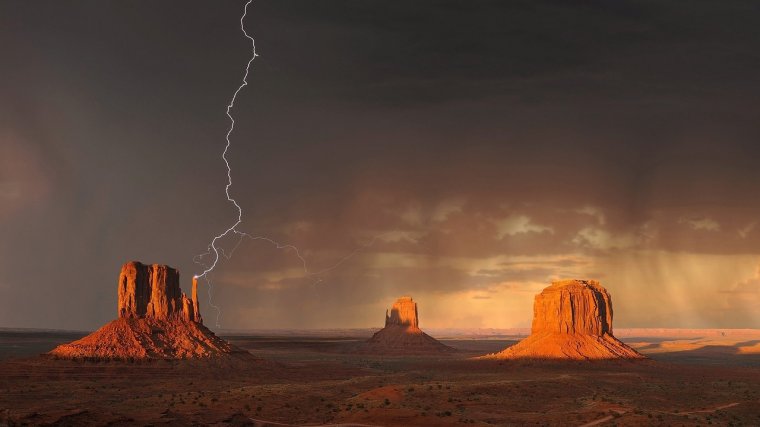
The directional light coming at a low angle, like when the sun is dipping below the horizon, can fool your camera’s light meter and make it hard to adjust your setting correctly. But when you’re shooting on the edge of light, there are some tips and tricks you can apply to achieve a solid image.
Table of Contents
Golden hour
is how photographers refer to the 60 minutes after sunrise, and the 60 minutes before sunset. Blue hour is the time right before morning golden hour begins and just after evening golden hour ends. Both these times offer ideal low light shooting conditions.
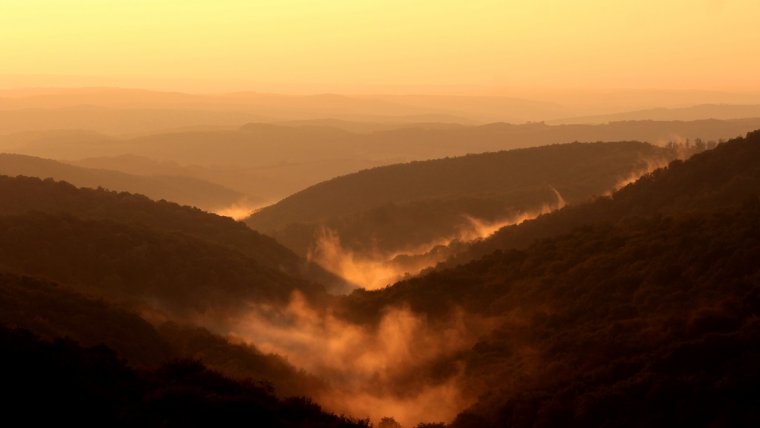
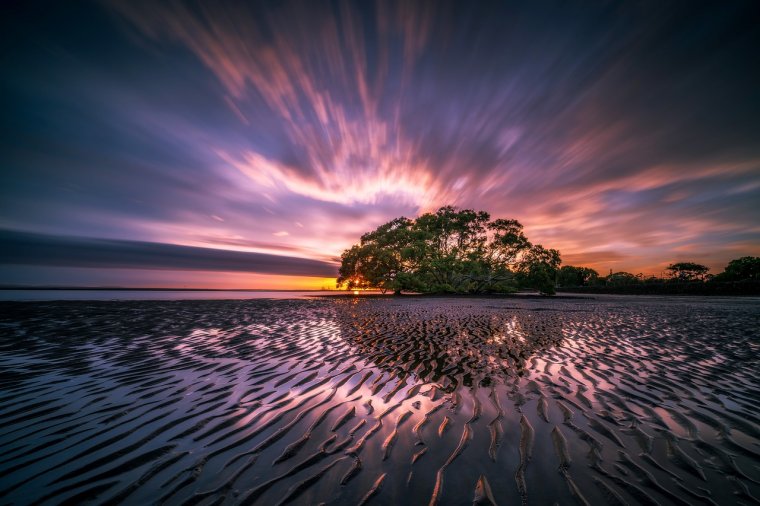
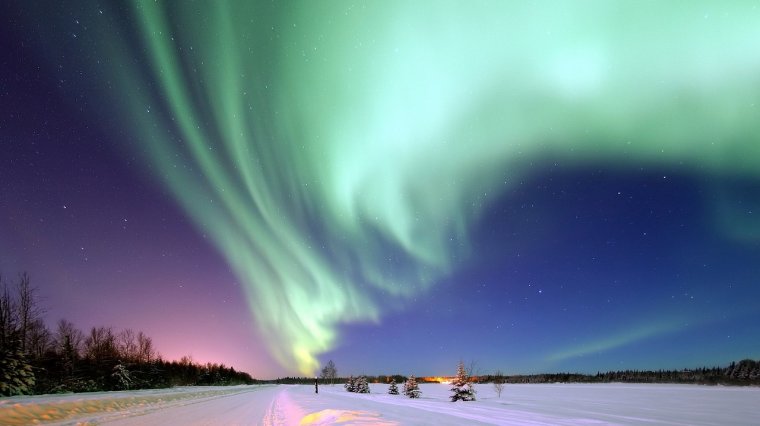
The ideal time for a low light landscape, though, is the half hour before sunset to the half hour after. That’s when you’ll find the beautiful colors in the sky – pink, purple, red, and orange before they eventually fade into the rich, velvety blue that becomes a blanket of blackness and stars. This time of day also offers a flattering light temperature, giving images captured during this time a particularly emotive atmosphere.
Shooting at night offers some unique challenges as well, but landscape shots benefit from a bit of color in the sky. This helps keep exposure times lower and adds a bit of contrast and definition to help viewers see the subjects within your composition.
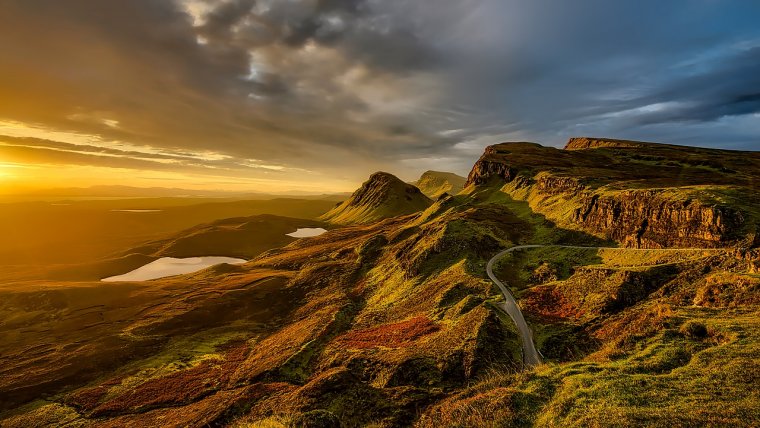
Try to visit your location ahead of time, to find a position where you’ll make the most of the available light and create a satisfying composition. Some landscapes work best at a distance, but some can benefit from the addition of dramatic elements included nearer to the camera. This will depend on the scene you’re shooting and what your light actually looks like.
Take some test shots to find the right balance of scale, context, and aesthetics. Once the sun starts to sink, you’ll only have about a half hour to shoot your low light landscape with the conditions you’re looking for.
It’s always better to have a tripod when shooting in low light because a long exposure is necessary to get as much detail as possible, while reducing blur and noise. If you can’t haul around a large tripod on everyday trips, consider investing in a portable and flexible GorillaPod, which can help you achieve some especially unique angles and perspectives.
However, you might be able to get away with using some other form of support. Try shooting with your camera balanced on a wall, garbage bin, a fence, or even the ground. If you can’t find anything to rest your camera on, find something to lean on and brace yourself while you shoot.
A remote shutter release is a key tool for shooting in low light. Once you’ve set your ISO, exposure, and white balance to capture the scene as accurately as you can, use a remote to shoot without having to touch the camera with your hands. This way, you’ll be able to eliminate any camera shake caused by physically pushing the shutter release.
Alternatively, you can use your camera’s timer, but a remote trigger is a sound investment for any photographer, especially if you plan to do more low light projects.
One of the most valuable things about digital photography is that it provides you with instant feedback. By checking the image on your camera, you can use the histogram to get an idea of how balanced your exposure is. Feel free to adjust your settings and experiment to achieve the result you’re hoping for.
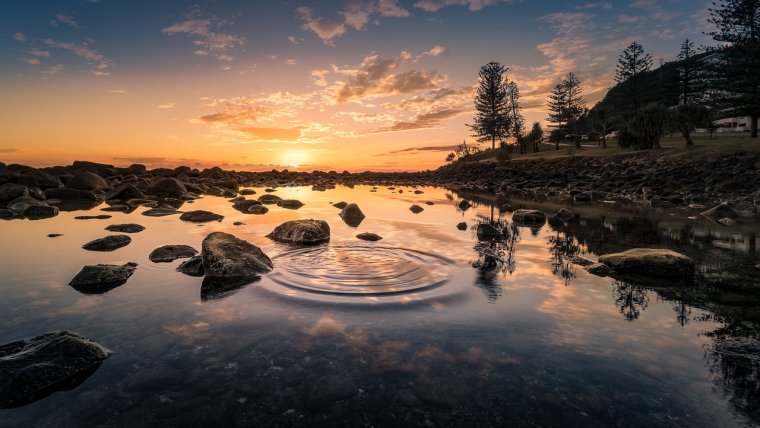
Note that you may see that some parts of the image are over or underexposed, which is what you’re looking for with low light landscape photography. A perfect capture will show a richly exposed sky with dark shadows, but still highlighting important details in the foreground.
Now that you know how you can work with your camera and your landscape to get a gallery-worthy scenic shot, get out and find yourself a photo. No matter where you live, you’re never far from a spectacular location, and scouting one out is part of the adventure!
With these tips, you’ll always be prepared to shoot a stunning landscape, whatever lighting conditions you might encounter.


Please verify your software version before proceeding.
 I’ve verified my software version


 Facebook
 Google +
Comments (0)
There are no comments yet.