As platforms such as Netflix become more popular through providing viewers with compelling cinematography as well as the production of other award-winning movies released in the past 5 years we’ve begun to appreciate the artistic qualities behind these movies or videos a lot more. Through this appreciation, we develop a desire to replicate some of these moods, tones or even compositions as seen in the movie. Of course, we are not all filmmakers or videographers but for those of you who are photographers like myself, I have figured out a few tips that will come in handy when trying to replicate these scenes through our images.
This article will aim to provide some very simple but useful tips in trying to create cinematic images. For some of you who are already upcoming filmmakers or even videographers, some of these tips may already be a given for you. However for the beginners who are trying to achieve this cinematic effect through their images, here is how you can start.
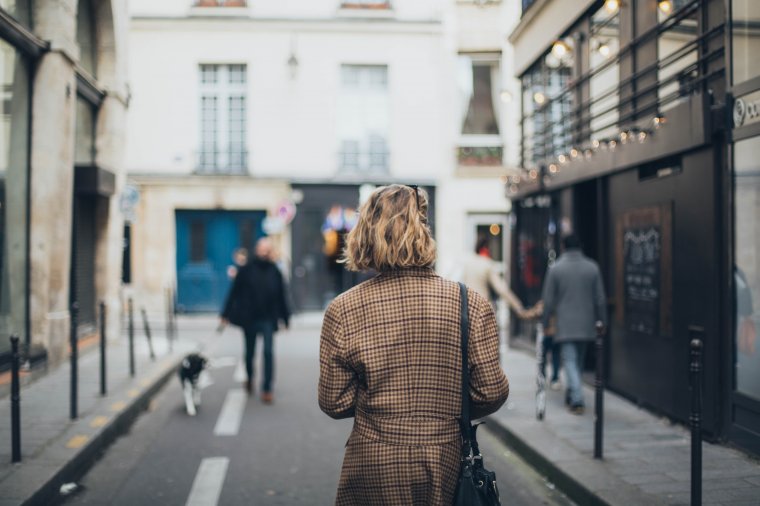
Table of Contents
The first tip towards creating cinematic photos is not reaching for your camera but rather to get a bowl of popcorn with probably something to drink and be prepared to watch some movies. This might seem a bit odd but the reason for this is to help you acknowledge what it was exactly that compelled you to want to recreate a particular scene through your images or what are the elements within that scene that made it grab your attention. Establishing some of the cinematic scenes in our favorite movies will also help us to develop a greater appreciation in regards to the creative thought and effort invested.
If you don’t have a movie in particular that speaks to cinematic inspiration then you can always do some research. Some of my favorite movies to date were not found through advertisements or what’s popular on social media but rather through research on award-winning movies and what made that movie deserving of an award. Some of the best movies with great cinematography are often not popular anyway, but rather end up fading under new releases that are happening so frequently. Broaden your horizons and give different genres a try while still making notes of the key things you liked in each film you watched.
After you have successfully watched your batch of inspiring movies to find cinematic inspiration, the next step is to determine which piece of glass is most appropriate to mount onto the front of your camera. Most films or movies are not shot with a zoom lens but rather with a prime or fixed lens. If you were to take a look into the gear of a filmmaker or someone who produces great video content then you would notice this trend. The reason for this is that prime or fixed lenses help to provide a sharper video quality as well as creating buttery smooth bokeh for stunning isolation.
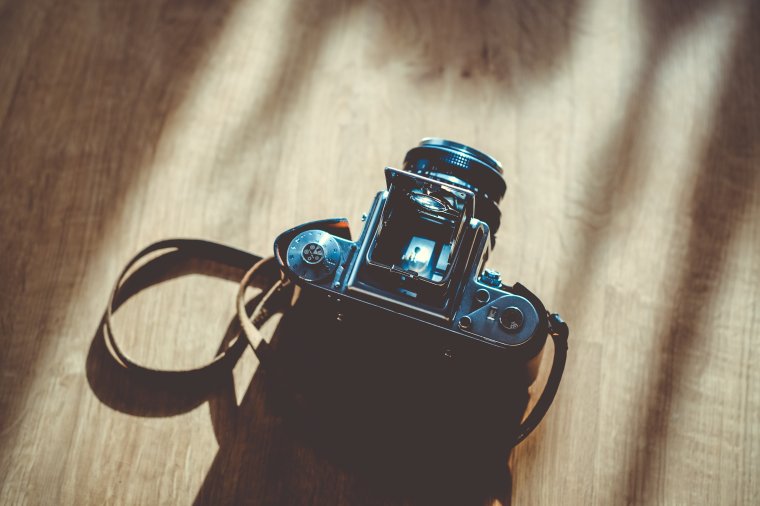
However, don’t feel as if you’re limited to only using prime lenses as we are doing photography and not film. Nonetheless, it is highly recommended that you use a prime lens when trying to create cinematic images. The most popular prime lens amongst photographers is of course what some of us call the “nifty fifty” which is your 50mm. This lens is often the first one purchased by beginners in photography and used very often by professionals as well. Another lens that can be deemed very popular is the 35mm. Both of these serve their individual purpose when being used in the field. Your 35mm lens can be very useful if trying to capture a frame up close and the 50mm can be used for achieving great isolation and visually pleasing background blur. Generally, you may find yourself using the 50mm a lot more than your 35mm but both of these lenses help to create a great cinematic effect at a very reasonable cost.
A common practice used by filmmakers is blurring out the background just enough for the audience to pay attention to a particular subject or person of importance within the frame. The practice can also be transitioned over into photography as well. Subject isolation helps the subject in demanding the attention of your viewer and can be done very easily. Depending on how much isolation you are looking to achieve in your image, you can do a few simple things.
One of the first things I usually do is adjust my aperture to the lowest value possible at f/1.8 or f/2.8 and then adjust my other settings such as ISO and shutter speed to help compensate for all the light I will be letting in. This usually helps to produce some beautiful cinematic shots with my 50mm f/1.8. Another way of achieving subject isolation is to also be considered close to your subject enough that your background becomes out of focus.

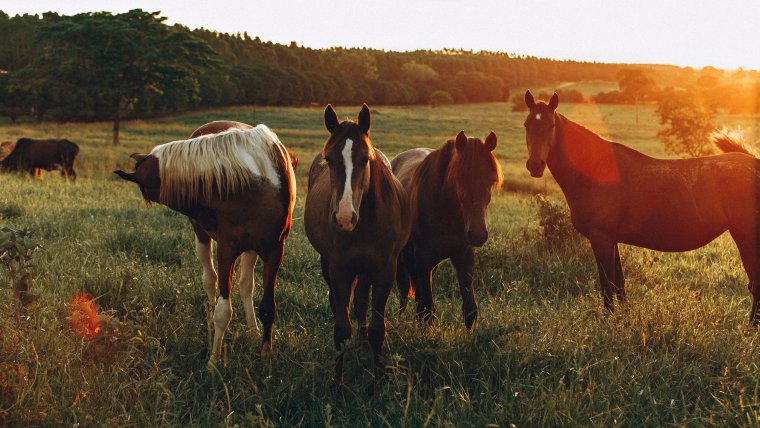
However, you don’t always have to create a blurred background or exercise subject isolation in all your shots as older cinematic films often used smaller apertures which got their subject perfectly sharp but blurred the other elements in the frame just enough to not be distracting to the viewer.
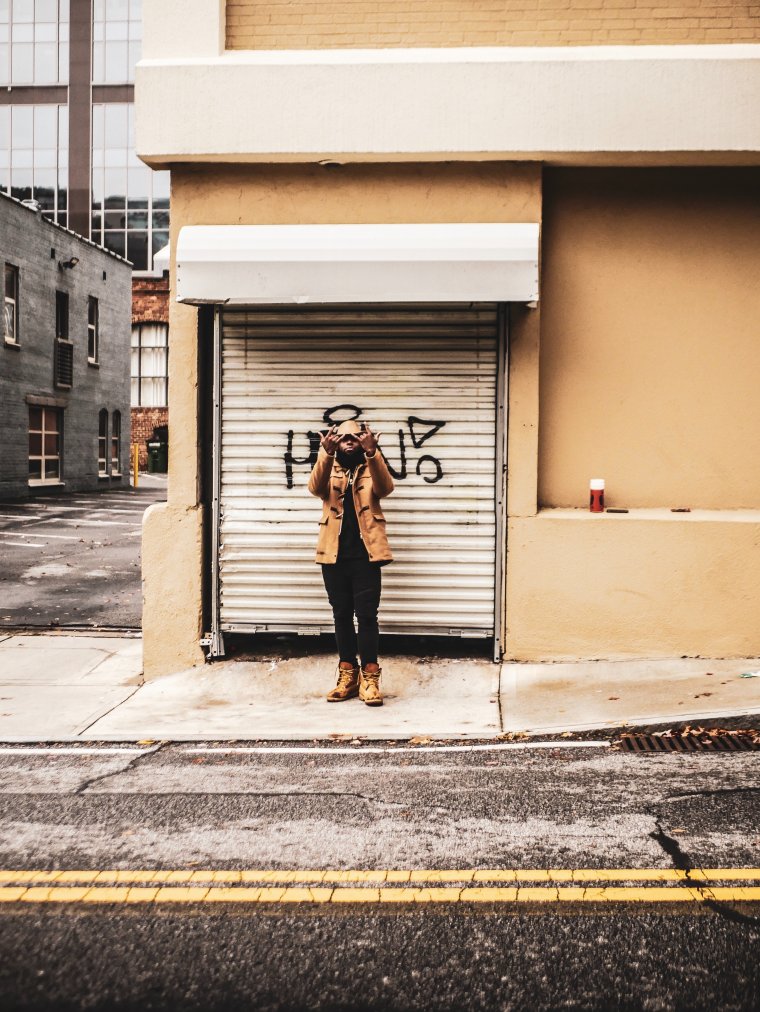
A key element in creating great cinematic shots is essentially how these shots are edited. Color grading can help to dictate the mood or theme of your shot which ultimately helps to tell a story or convey a message through the image itself.

Take the time to play around with things such as hues, saturation, and tones as it helps to establish the appearance of a film. Your temperature settings can also help to establish the mood of your photo as well but try to be careful with this as it can ruin your shot.


Please verify your software version before proceeding.
 I’ve verified my software version


 Facebook
 Google +
Comments (1)
Very handy.