Tips for Setting Up Your Photography Studiowww.sleeklens.com
We’ve dug into a few tips on setting up your photography studio at home and also getting your studio prepared for a client’s arrival, however, we’ve never actually given you overall setup tips for your new studio space. In this article, I’ll be giving you just a few pointers on setting up your studio basically from scratch. We all had to start somewhere in our photography career and I’m happy to be right here and help with a jump start. First off congratulations on acquiring your new photography space to create some amazing images. It’s the starting line for some new amazing images to be created and shared with viewers. Some of you like myself probably had in mind that you’d have to become a successful photographer before you could have your own creative space or studio, but it’s really about how much you invest in your craft and reap the benefits of it.
Table of Contents
1. Ensure the Space is Adequate
First, make sure you have adequate space to get the job done. This is one of the things to check off on your list when acquiring a space to start a studio. The desired shots from your client can vary in nature of size or even creative volume. What I mean by this is, your client may want to do a family-oriented photo shoot with the whole family or at least half and it would be a bummer to have to turn down a job because you have limited space to work with.
Creative volume should also be a factor when deciding on a space for your studio as many things can incorporate into the shoot that will occupy some space in your studio along with the equipment you already have in it. Therefore I’d recommend making sure it’s a few hundred square feet so you have enough room to do what you need to do. Always keep in mind all the equipment you’re going to need to complete your studio which I’ll get to shortly in addition to all the space you need to create. Clients like to feel comfortable before a shoot so try not to have them cramped up into a small space as that can be a turn-off and drive away clients from your business.
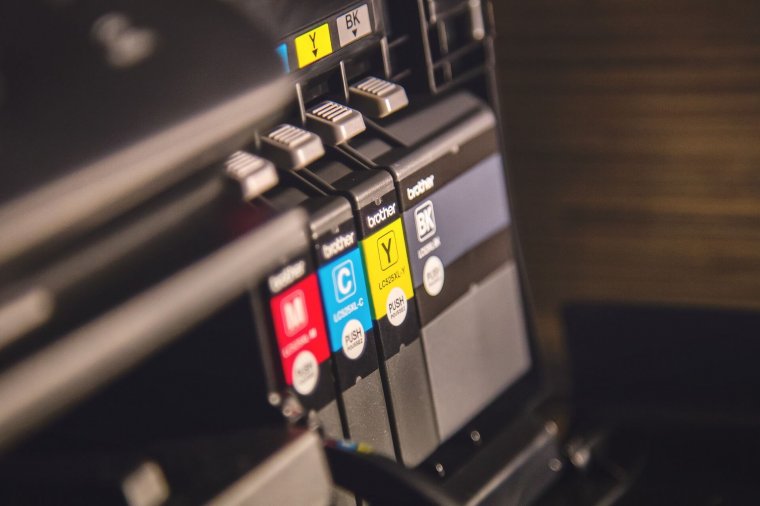
2. Have a Printer Around
You never really can predict your clients’ demands so I would recommend it’s best to have great printer somewhere in your studio ready to provide prints if necessary. You have some clients that may not be as much in the digital age us and would prefer to have a hard copy around to put in an album. A printer I’ve used and recommend is the Canon Selphy CP1200 Wireless Printer. Perfect for printing images on any kind of paper from any device even straight from your camera. This will be a great asset and tool to your studio and will eventually come in handy a few times.
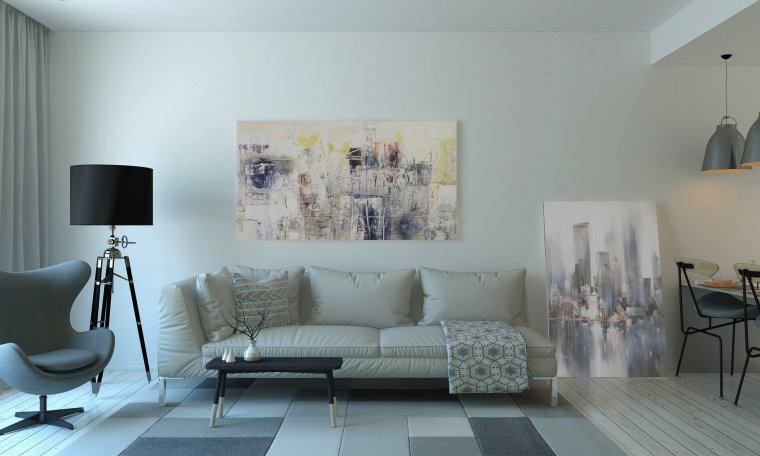
3. Create a Waiting Area
Be as professional as a doctor’s office, okay maybe not that professional but you get my drift. For those times you have a busy week or weekend and back to back shots, it’s good to have your clients comfortable while they wait. It doesn’t have to be anything too extravagant but at the same time, it should be comfortable and relaxing. No, you don’t have to buy a whole new furniture set. If you happen to have a small couch that can be rewrapped or a small table that’s not being used, they all can serve as a waiting area as long as they are made comfortable. Likewise, if we visited the workspace or office of a professional we would expect to be comfortable while waiting. A few magazines or even a book with some pictures of your work as reading material to entertain them before they’re up next.
4. Be Creative with your Backdrop
From time to time the plain old white or black backdrop can actually become boring or almost cliche. Get creative, not only with your photography but with some markers or paint. Create some patterns that would compliment some of your work and suggest it to clients to see how they like it opposed to the boring white or black backdrop.
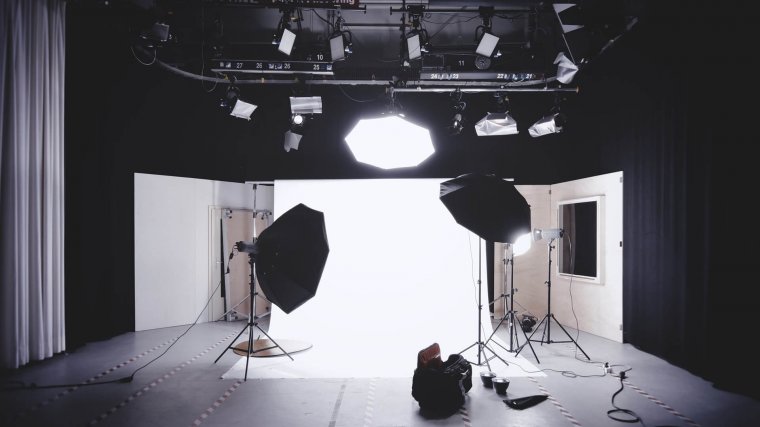
5. Light source
This should be a given but just to remind you to have your artificial lights, including flashes and other tools ready. If possible, try to have at least one window in your studio to let in light. It’s completely optional and not a complete must do. However having a natural light source is always a plus for you, giving you more play room to mess with and manipulate the light.
I really do hope these tips have helped you to build and improve you Photography Studio from the ground up. That’s all for now but until next time, never limit your creativity and happy shooting!


 Facebook
 Google +
Comments (0)
There are no comments yet.