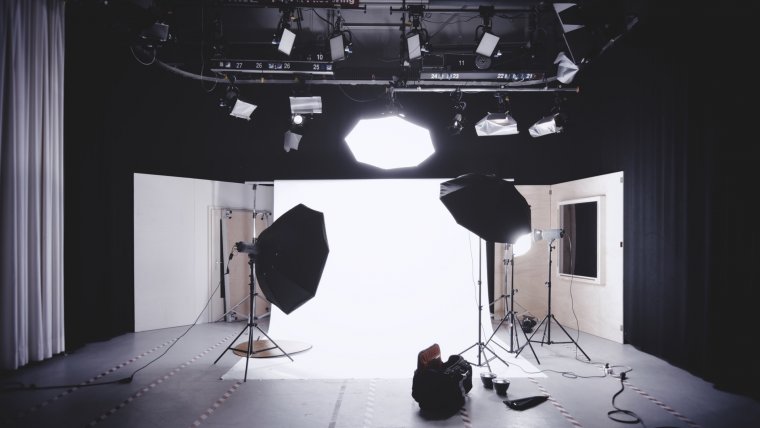
Ever wondered how upcoming or new photographers are able to afford or even have Photo Studio? Contrary to popular belief, a Photography studio doesn’t have to cost you thousands of dollars. Mind you it will still put a little dent in your pocket but none the less you will still have all the essentials you need and more for just a fraction of the cost. Having clients who would like a “Plain Background” or a Studio Photoshoot is great news but what if you don’t have access to renting a studio or better yet have none you can borrow just for shooting your clients. It’s now time to invest in your own equipment and consider designating a space at home specifically for your clientele. Also if you have a vacant space In this article I’ll be giving you some insight as for how to you can make a simple but functional photo studio without worrying how you’re gonna pay off your credit card. Let’s begin with setting up a studio at home that will yield great results.
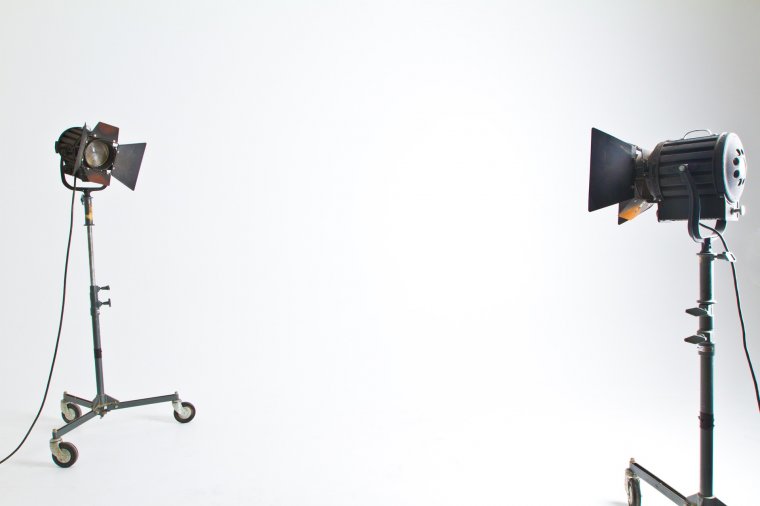
Table of Contents
You should find the most Ideal or less used space in your Apartment or home and dedicate that space to your home studio. Be careful and think carefully before picking a designated space because you don’t want your equipment to get damaged or having it in the way of anything else. In addition to that when your clients are invited into your home, you don’t want them to feel as if they just invaded your personal space but more welcomed, comfortable and ready to shoot. An uncomfy client can create a subtle tension in the room ultimately or possibly throwing off the mood of your whole session. Also, discomfort is quite easy to show up in photos and you don’t to caught up in a situation where you have 50 photos of discomfort. An added bonus of a designated creative space is Isolation. You don’t want you or your client to be distracted with anything else going on in the rest of your house, for instance, a pot on the stove or if you have visitors. This Isolation helps to increase productivity and concentration between you and your client. Therefore you should assess your living space and see where would be Ideal to set up shop.
Brag to your clients without saying a word. I would encourage you to hang some of your best work and not just leave a blank space. Showcasing your previous work often gives your client a sense of confidence in you and helps to reassure them that you can walk the walk as much as you can talk the talk. There’s always something special about physical seeing a framed photo that was taken and not just looking on a digital one on your phone or computer. Chances are they’ve seen some of your work before or got a recommendation from someone else so give them something more to talk about.
Don’t rush and purchase all your equipment in one swoop. Take it all in stages and purchase a piece or two of equipment each month (depending on the cost) and slowly build your way up. Some photographers were fortunate enough to purchase everything they need in one week, however, you don’t have to be like them so don’t try to and end up slowing down your progress because you can’t afford the next piece of equipment you need. The upside of doing this is you find yourself gradually learning about different pieces of gear that make more sense and be more affordable than what you had in mind to spend your money on, so browse and don’t be quick to hand your money over.
If possible, try to set up near a window that adds some natural light to your photo. This can help if you’re looking to use your flash a bit less or trying to get soft and even light in your photos. You may, however, end up with light that’s hard to control or extra ambient light in your photos. Depending on what you’re going for in your studio session, I would leave this as an option and not something that’s mandatory due to its pros and cons.
Now to see what would you need to have an actual home studio? Here are a few things that should be on your list.
– A Good Backdrop should be at the top top top of your list, realize how many times I said it? A good backdrop is the foundation of your Photo Studio next to having the camera to take the shot. Try to stick with plain solid colors like black, white, red, blue etc. The backdrop can be made out of pretty much any material and may vary in cost based on the material used. You can, however, get one on Amazon for just about $14 bucks.

– A Backdrop Stand or support will basically be what’s used to hold the backdrop up and you can get a pair of those for just about $35 dollars on Amazon.
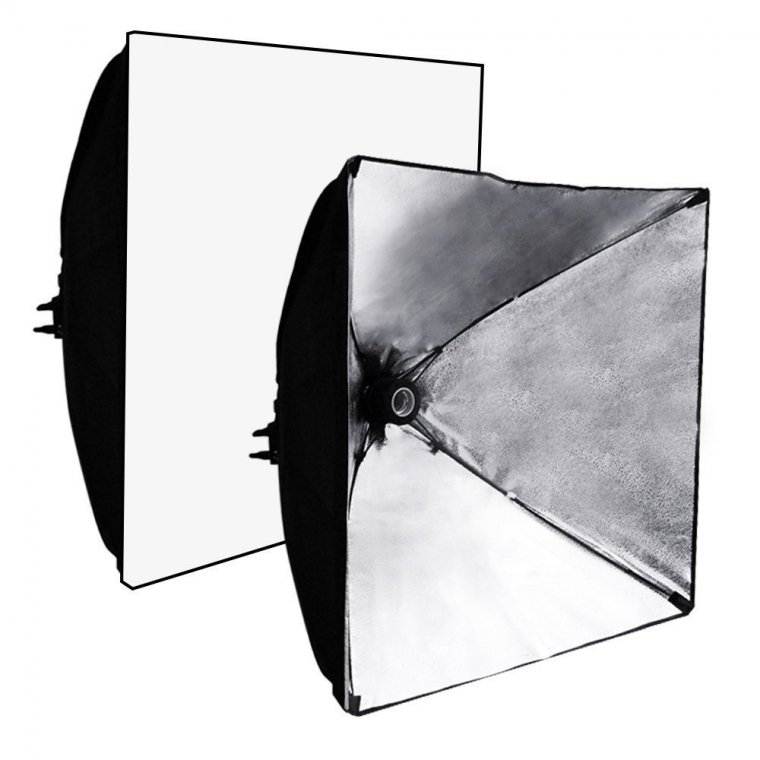
– Flash Modifiers such as Umbrellas or a Softbox. You’ll end up using these to control the effects of the light coming from your flash. Of course, there are so many to choose from because they come in different sizes and shapes. Your Umbrellas are used to spread light to a large group of people, these are highly portable and run for just about $10 Dollars each and just about $72 Dollars if you would like to just get a kid. The softbox will have control over the direction of the light from your flash. These are less portable and may be more expensive than umbrellas but none the less they are a necessity and run for just about $75 Dollars.
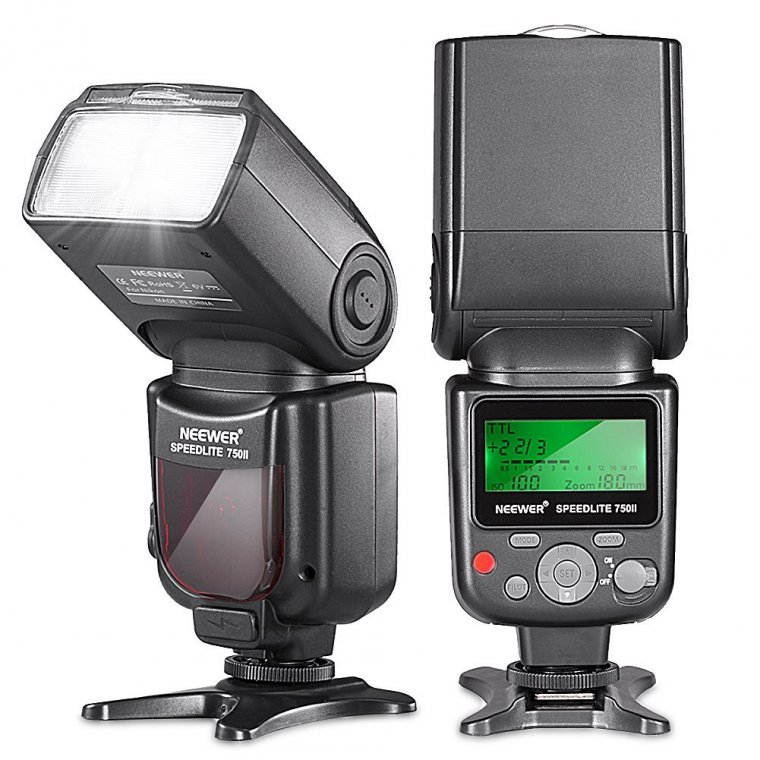
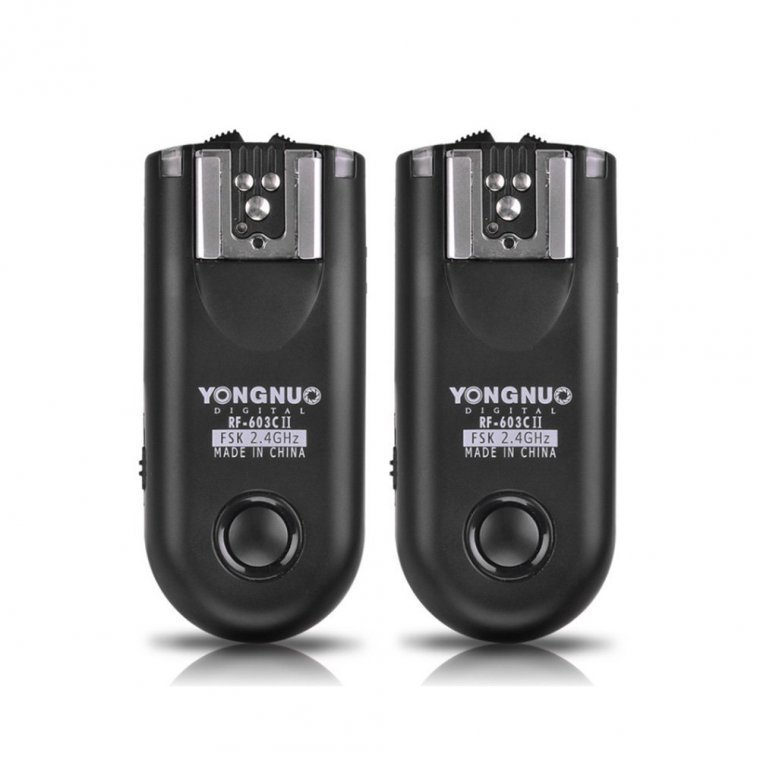
– Flashes and Flash Triggers will run you about $50 Bucks per flash and as little as $20 for the Triggers.
Other pieces of equipment you might see while doing your search are indeed used in Studio Photography but are not complete necessities to get started. I hope this has helped you in your process of creating your own Photography Studio.
Thank you for reading, Until next time!


Please verify your software version before proceeding.
 I’ve verified my software version


 Facebook
 Google +
Comments (0)
There are no comments yet.