One of the most important elements of photography is, of course, light. If you like taking photos outdoors, one of the challenges you will face is that you can’t adjust the light sources so much. The sun and street lights can’t be moved, so you need to find the way to make their light work for you. Sunlight is also influenced by the time. For example, if it is high noon our light is coming from right above us and it is a very hard light. But if we are taking a photo at sunrise or sunset, the light will come at an angle. Light intensity also varies between sunny days and when the sky is hazy, foggy or cloudy.
Light variance allows us to take spectacular and diverse photos. However, sometimes we want to have a bit more control over the lighting. One of the simplest and most efficient means to do it is by using a reflector.
Table of Contents
In my opinion, the best photography equipment that I ever got is my reflector. It took me several years into photography to get one. I guess that I always saw reflectors as something that only professionals use. In fact, reflectors are one of the most affordable pieces of equipment a photographer can have. Mine have cost me around 14 euros in Amazon.
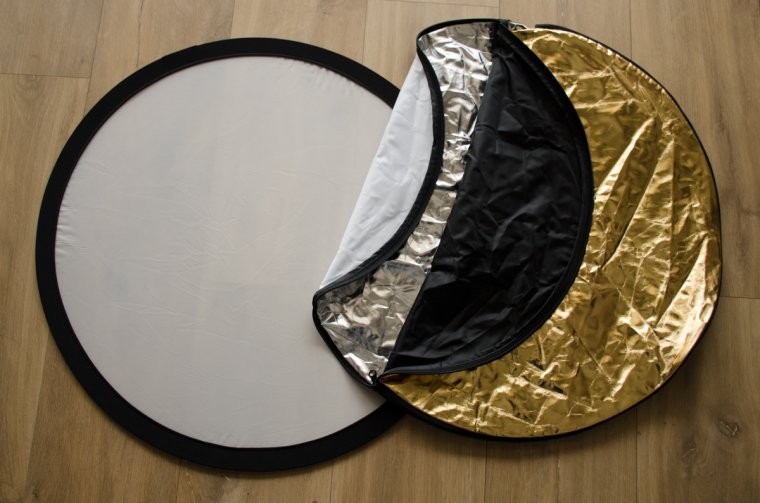
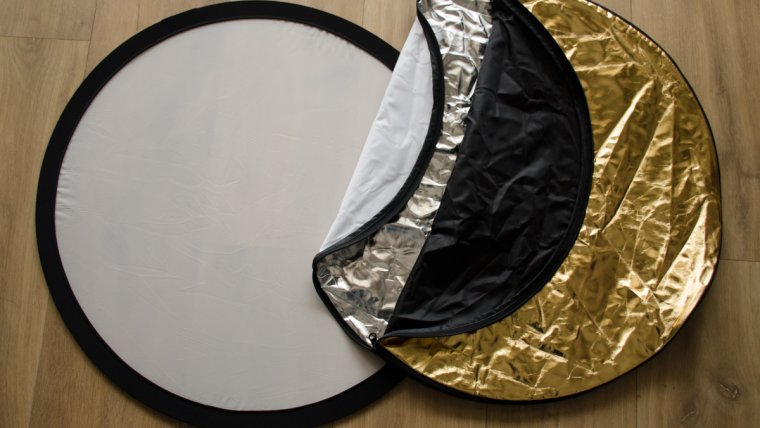
A reflector is basically a surface which redirects the light towards a desired subject. You can even make one yourself with a cardboard and aluminum foil. There are many variations and kinds of reflectors available on the market. The most common and affordable ones are the collapsible round reflectors with multiple colors. They consist of a foldable frame with a translucent cloth stretched over them. These frames come with a reversible envelope which offers four different surfaces (usually white, silver, gold and black). Don’t repeat my mistake, get (or make) yourself a reflector soon. You will see how easily your images improve.
Using a reflector, you can bring in light from additional angles and lighten shadows. In other words, you use them to change the direction of the light sources in order to add light to dark areas that make your image look bad. Using a reflector is very similar to what we did when we were kids and we played with the light beams from mirrors, but in a more delicate way.
A common use of the reflector is for portrait photography in the middle of the day, when the light is coming from above the model’s head. In this situation, the model’s face will be full of shadows and hard lights. In addition, the eyebrows cast a shadow under the eyes, making him/her look a bit like a raccoon. By using our reflector, we can bring light from a lower angle and lighten the model’s face, this way we avoid the “raccoon effect”.
You can set the reflector on a stand or hold by yourself. However if you are holding the camera it can get really complicated. You can also ask an assistant or a friend to hold it. Another option is that your model holds it. A good option is to let your model sit and put the reflector on top of his/her knees. In some situations you might need to use your imagination and have the reflector standing on walls, cars, columns or even lying on the floor. Don’t be shy and try different options until you get the results you want. This is part of the fun of a photo session!!
Keep in mind that both the silver and the gold colors are metallic and reflect a lot of light. For that reason they should be used from a certain distance (that will vary according to light conditions). If you are using it to reflect light on a person or animal, it might be even blinding. Take care and if you need it, ask the model to close the eyes until you adjust the light reflection to an intensity that will be comfortable for him/her.
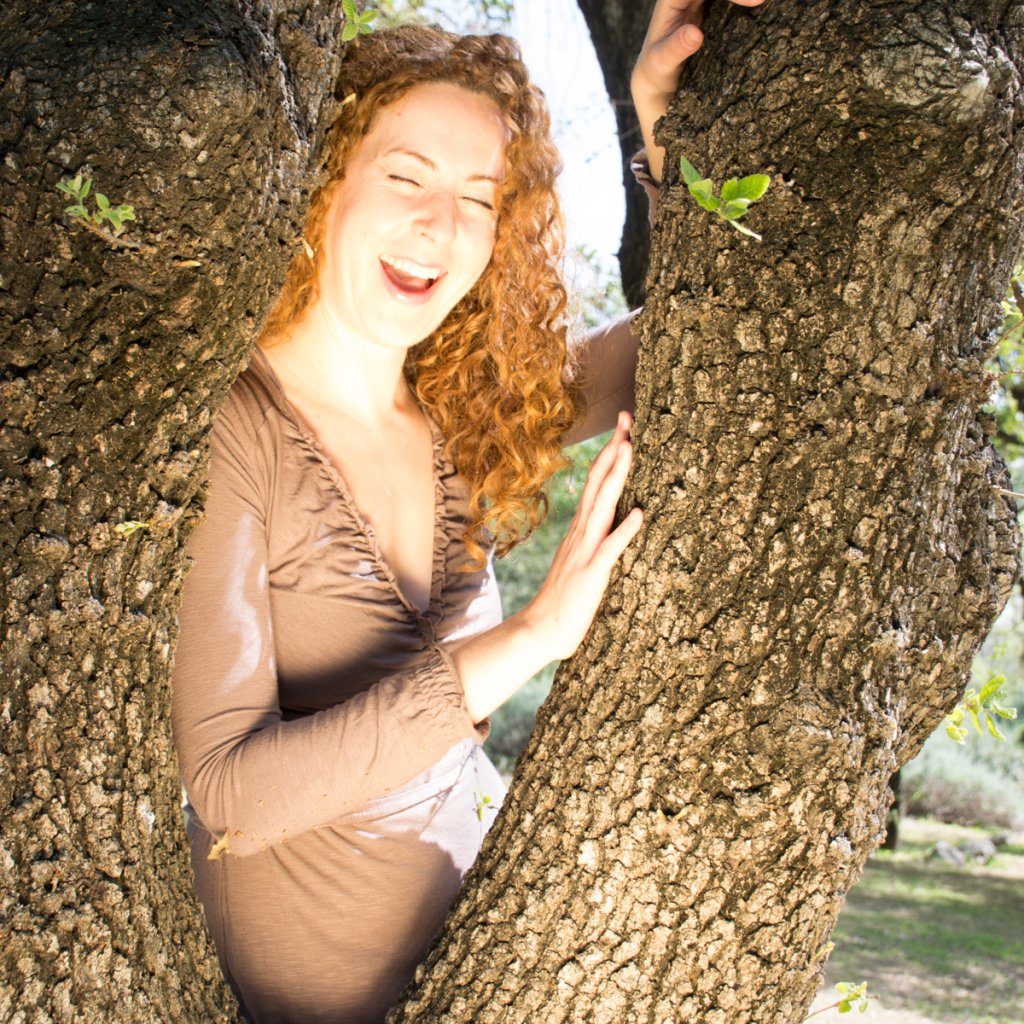
As the silver side reflects the light without softening it, besides being a good option for greater distances, it is also great for weaker lighting conditions. Silver is also a good one to start getting used to reflectors because you can see the effect very vividly, making your life easier at the beginning.
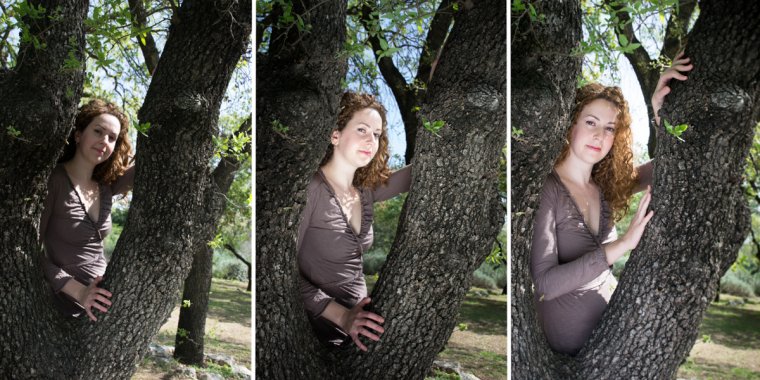
The gold is very much like the silver except that it is giving the reflected light a warm yellow shade, similar to the golden hour light. It can be great for emphasizing sun tan, or if you want to bring out a certain color in the photo. But take care, because the yellow light can be overpowering.
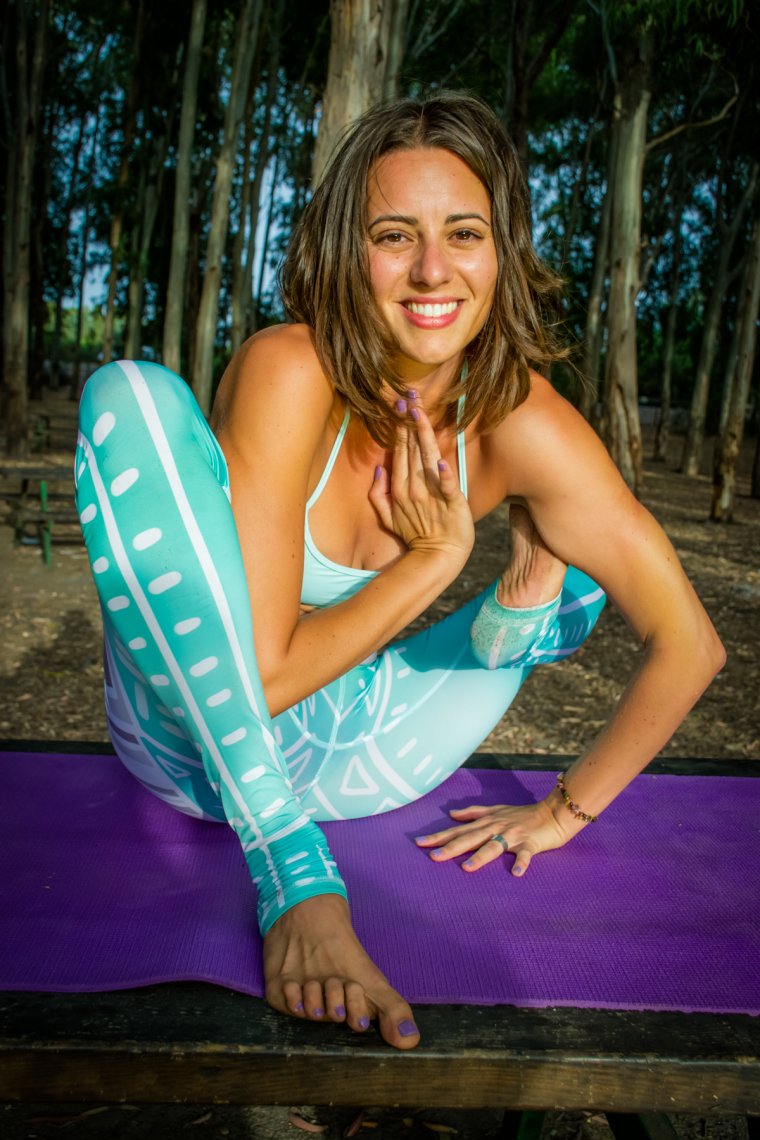
The white side reflects a very soft and delicate light, you need to place it very close to your subject in order for it to have an effect and it won’t work if the lighting is bad (like at dusk, or if it is cloudy), but the result will be a very warm and soft photo, which is great for portraits (family, children, pregnancy photos, flowers).
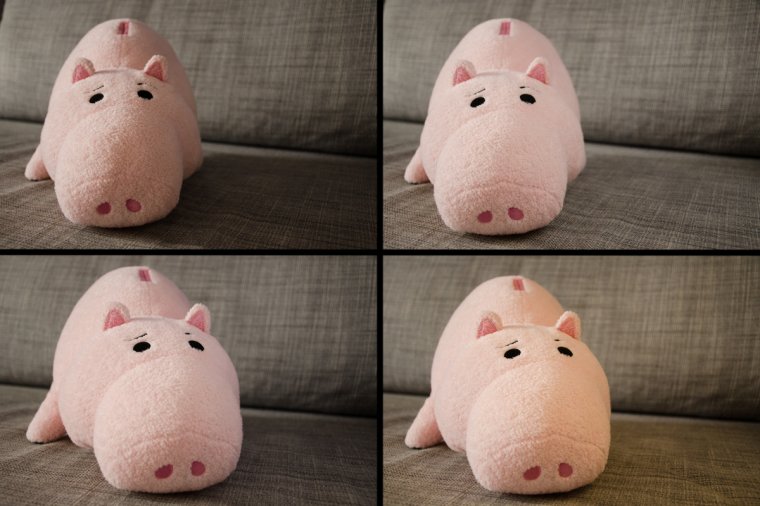
Finally, a reflector can be used as a light blocker too. If you have a light coming from an undesired direction. For example, if you have light reflecting from a window, you can reduce the reflecting light by placing the reflector with the black side towards your subject.

Besides reflecting the light, the reflector’s frame (the one with a semi opaque cloth) can be used as a diffuser. Diffusers soften the light coming directly from a light source and make the shadows less hard..
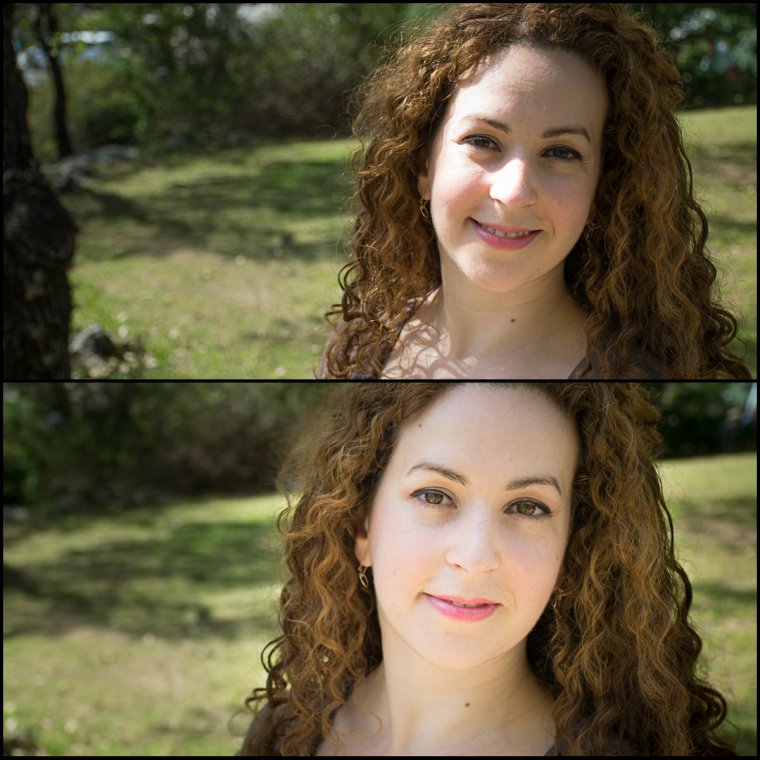
I want to thank my friends Inna and Nita for being my models and also my nephew for letting me use Porky to illustrate this article. Now that you have the basic information about reflectors, it is time to grab yours and start experimenting with it!
Enjoy and have a happy shooting!!
Comments (2)
Thank you so much. Very succinct and understandable.
Great information which I shared with my daughter who is learning all about light and how to enhance an image. Thanks!