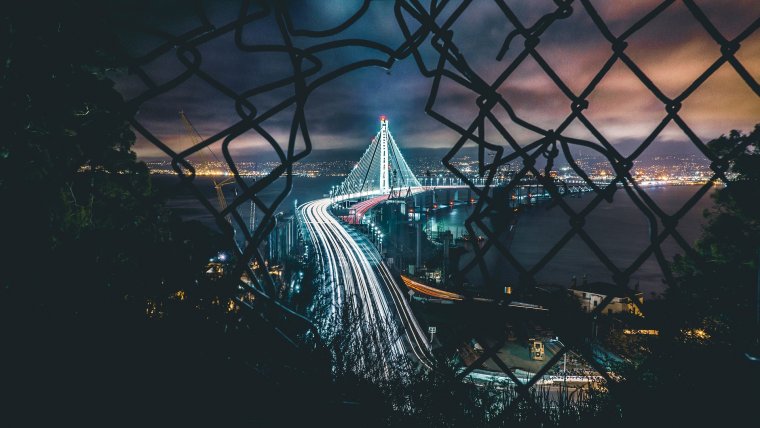
When it comes to photography, one of the first things you need to understand is exposure. Exposure is the amount of light that the image sensor of your camera captures when you take a photo. When you master the exposure of your images, your skills as a photographer will improve! How can you know the exposure value of your picture when you are shooting? Your camera will tell you by its camera meter.

Why should you care about the exposure of your pictures? Because you don’t want your photos to be too dark or washed out (too bright).
How can you control the exposure? By using different combinations of these three elements:
This article is going to focus on controlling lens aperture, but if you’re looking for more information about how the three settings work together, we recommend reading our exposure triangle guide.
Table of Contents
Lens aperture is what people will represent as an “f’ number. When people say they are setting their cameras to f/2.8, f/5.6, or f/22 among the many others, the aperture is represented by the “f” symbol. As such, “f” means the regular aperture. When you say you’re setting your camera at a given “f” value, what you mean is that you want the aperture blades in the lens to either open wide or close down.
The f stop is a measurement of the aperture. For example, f/1.4, f/2.8, f/5.6, f/8, etc. These numbers are a measurement of how wide the camera lens opens in order for light to pass through. Because these are fractions, the smaller numbers are actually the biggest openings. In the list above, f/1.4 is the maximum aperture. Choosing the right aperture is important for two reasons:
1) The aperture affects the depth-of-field, and
2) The aperture controls how much light enters the lens.
In regards to depth of field, a large aperture, such as f/1.4, has a very shallow depth of field. A shallow depth of field creates a beautiful bokeh effect, which is a blurred background.
Aperture sizes will depend on your lens, and they are written as a ratio to between the diameter of the aperture in the camera lens and the focal length of the camera lens (f-numbers or f-stops). This seems complicated, but if you want to keep it simple, just remember one thing: the lower the number, the larger the aperture opening will be. In other words: small numbers mean lots of light and and large numbers mean very little light.
Let’s say we have a photo of a guy standing in the office, and the first photo will be taken at f-4/3.5—this will give it a more blurry effect. But if you were to take the same image at f-22 or f-16, the image will have more sharpness in the background.
Just to represent how much light will come into the camera lens, we have another image where there is a bright sunny scene with the light directed towards the camera. Just as your eyes will react, this is what the camera aperture will do as well. When you step into a bright sunny scene, your camera and eyes will close. With the eye closing in, your pupil becomes very small and this allows you to decrease the light coming into the eyes which in turn blinds you when you are looking at a bright scene.
If your eyes were to stay the same as this will be at around f-16 or thereabout, and you step into a dark scene with your camera lens at this value, things will look very dark and you can only see a little bit of hotspots here and there. In that case, you need your camera to open wider to allow more light in. This is known as a wider aperture, and is what is represented as f.4 or f-4.6 which gives you an image that is a little bit clearer.
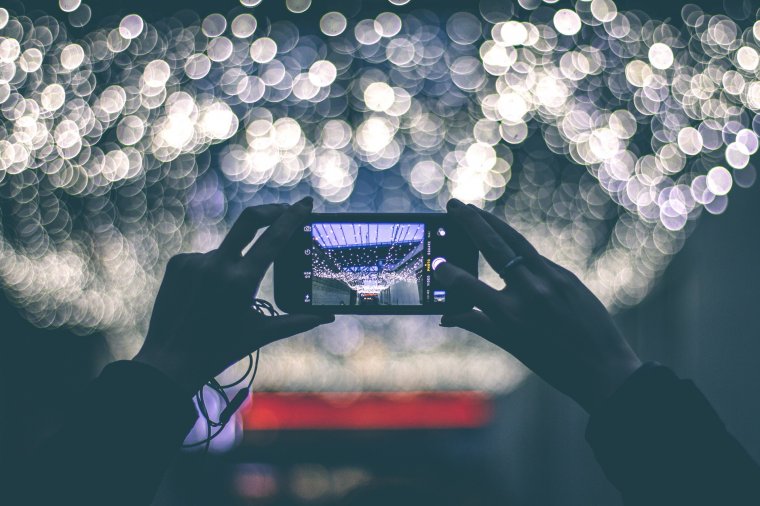
The amount of light that enters the lens and hits the camera sensor is very important. By changing the aperture, the shutter speed and ISO setting are affected as well. For example, if the aperture is changed from f/1.4 to f/4.0, then a lot of light would be lost. To compensate, the shutter speed must be increased to a slower speed in order to let in more light, or the ISO setting must be increased to make the camera sensor more sensitive to the light. On the other hand, if the aperture size is increased from f/4.0 to f/1.4, there would be a lot more light entering the lens. The shutter speed would then need to be adjusted to a faster speed, or the ISO setting would be lowered in order to decrease the camera sensor’s sensitivity to light.
In order to adjust aperture on the fly, you should be shooting in aperture priority mode on the DSLR camera. Let’s take a look at some example images below and determine what the best aperture setting is best for each image.
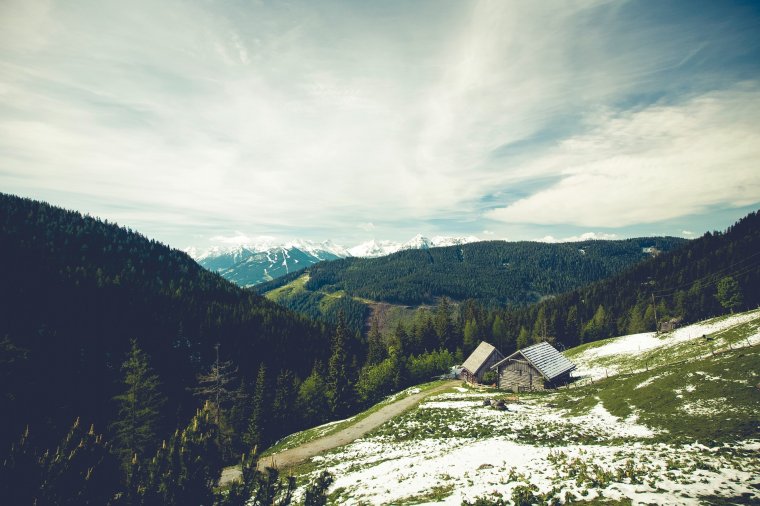
When you look at a landscape, do you expect everything to be in focus or just one part of the scene? More than likely, you’d expect everything to be in focus! There is a lot of natural beauty in the natural world. A depth of field that covers all or the majority of the scene is ideal in order to capture the entire landscape.
What about choosing the best aperture? While the best aperture for each landscape photo is different, a good starting point is to set the aperture at f/11. If you need more depth of field, set it somewhere between f/11 and f/16. I personally wouldn’t go past f/16 because then the lens suffers from lens aberration, which softens the image noticeably.
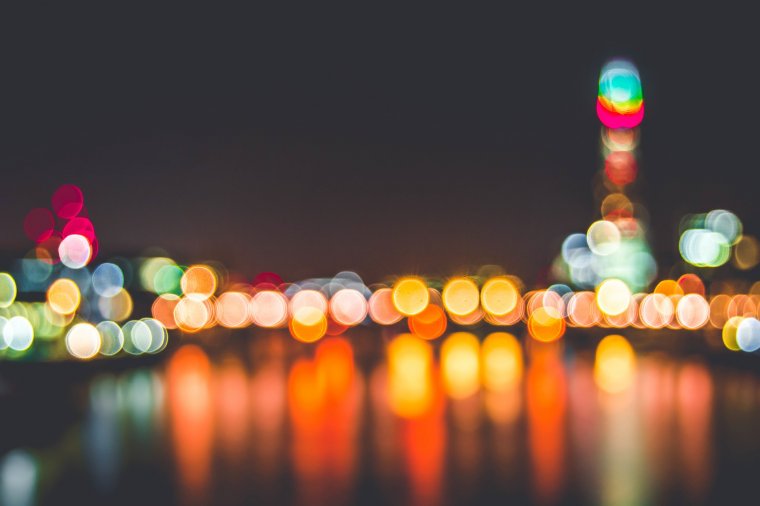
The photo above features a gorgeous bokeh of night lights over a body of water. How was this effect achieved? It isn’t as hard as you might think! The city lights are out of the lens’s depth of field, therefore the lights become large circular shapes. The photographer just needs to set an f stop with a low depth of field, such as f/1.8 or even f/2.5. Play around with different f stops to achieve your desired effect.
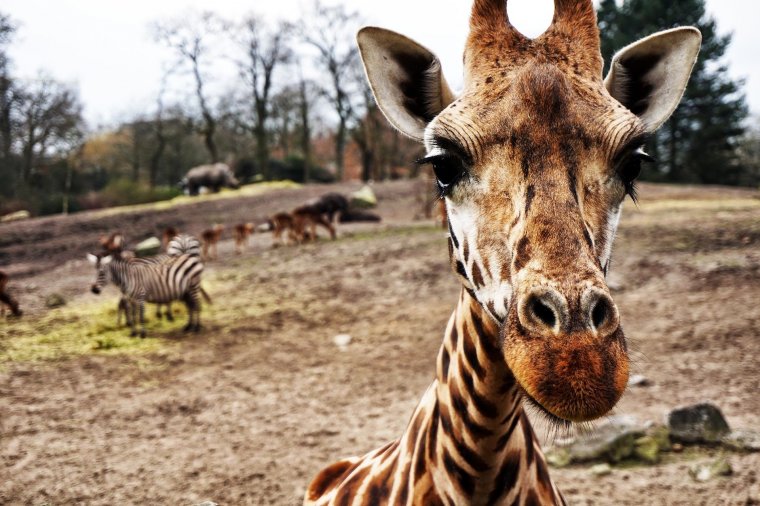
Choosing the best aperture is very important when it comes to portrait photography. We often use a shallower depth of field when it comes to portraits. Focusing on the eyes, the depth of field extends from the neck to the end of the giraffe’s mouth in the photo above. Depending on the lens and how far away you are, the f stop setting would change.
Let’s pretend the photographer was using an 85mm lens on a full-frame camera body, 20 feet/6 meters away from the subject. A good starting point would be to set the aperture at f/4.0. Be careful not to overdo it, though! A low depth of field needs to have pinpoint accuracy when focusing.
Now that you understand the concept of aperture, it’s time to practice! Here are three easy exercises that will help you to start playing with the aperture of your camera. All you need is your camera and a tripod. If you don’t have a tripod, try to set your camera on a stable surface so that it won’t move.
For this exercise, you need to set your camera on Manual Mode. Then, set the ISO to a fixed number. ISO 100 or 200 are good to start with. After that, fix the shutter speed. You can try a value of 1/125 sec.
Find a subject for your photos (I used my Maneki-neko) and set the camera on your tripod (or any alternative way that will keep the camera stable and immobile). Take a photo using different apertures, starting with a narrower aperture and moving toward a wider aperture. In my case, using a AF-S Nikkor 35mm 1:1.8, it was f/22.
Take photos and change the aperture progressively. Once you are done, see what happens to the exposure of your photos. The only thing that changed between your photos was the aperture because you fixed the ISO and shutter speed. So, whatever changes you see in the exposure are due to the changes in aperture. You can repeat this exercise with new values of ISO and/or shutter speed and see what happens!
For this exercise you need to set your camera on aperture priority mode. Set the ISO to a fixed number, for example ISO 100 or 200. Find a new subject for your photos (to add a bit of variety) and set the camera on your tripod/stable surface.
Take photos progressively to different apertures. You will see that all your photos look the same in terms of exposure. Why? Because when you are using aperture priority mode, the camera is constantly changing the shutter speed in order to get what it considers a good exposure. Go over your photos and see which shutter speed the camera used for each aperture value. The lower the light going into the lens, the longer the camera let light in.
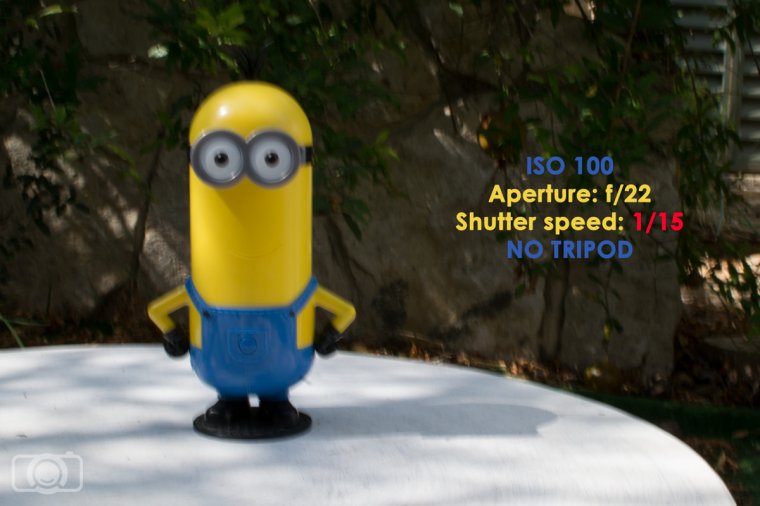
An interesting variation of this exercise is doing the same, but holding the camera in your hands. I did it and realized that when the camera is adjusting to slow shutter speeds, my photos were blurry. Why? Because I am not able to hold the camera still for longer than 1/80 sec. My hands shake, and the result is a blurry photo like the one below. The shutter speed threshold that you are able to handle when you are hand-holding the camera is important to know.
Imagine going around on a sunny day taking photos in aperture priority mode. Everything will work ok. However, if for some reason the day gets dark (clouds, shadows, sunset), your camera will start compensating for the decreasing light with longer shutter speeds. If the new shutter speeds are longer than the time you are able to hold the camera without shaking, you will have blurry photos.
For this exercise you can set your camera in the same way as in exercise 2 (aperture priority mode and ISO 100 or 200). This time you will need several objects—try to use at least three.
Set your camera on your tripod/stable surface. Focus on one of the objects and take photos, progressively changing to different apertures. Look at the photos with a narrow aperture. Which objects are in focus? Are all of them in focus or just one? Does this change when you use other aperture values? This exercise will help you to understand depth of field and determine which aperture values will allow you to keep the whole frame in sharp focus and which ones will produce a blurred background.
These are the basics of camera aperture and what it can do to change your image. Now, it will be easier for you to take well exposed photos, and you can change the depth of field in order to get the effect you want.
We hope you found these exercises helpful for understanding aperture. For more exposure triangle practice exercises, we recommend reading out our articles on shutter speed and ISO. Happy shooting!
Comments (0)
There are no comments yet.