Here we are, faced with another challenge WATER. Water is life, therefore it gives a myriad of possibilities at every corner. Whenever you try shooting water you feel like a novice, embrace new obstacles, continually learning something new and always with a sense of missing the best thing. As the water flow goes on, you go on and learn how to take the best photo of underwater nature, waves creating beautiful patterns in the sand or a reflection in the perfectly still pond. Where to begin?
Table of Contents
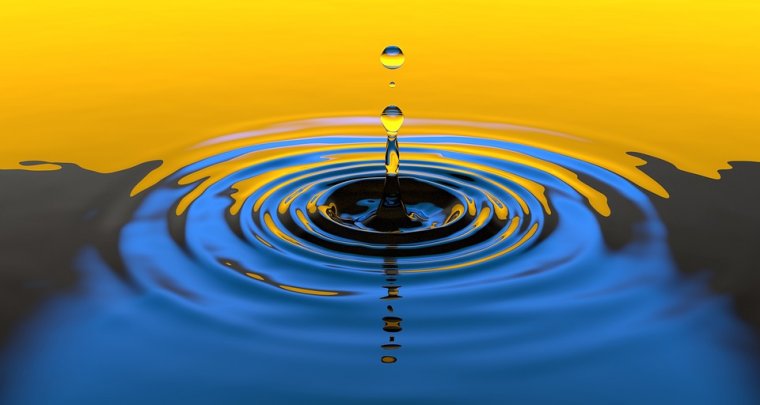
There is an abundance of possibilities when choosing water as your subject of photography. You may be into a silk-like ocean image or maybe a winding river. The dramatic waterfalls or the still pond with the perfect natural reflection in it. Underwater nature or an underwater model in a beautiful dress. Not to forget the perfectly-timed blasts of the waves into a rock. You may want to make your room a laboratory and explore water drops on a glass with the colored background to enhance your photo. The list goes on and it’s up to you to make a clear choice since this would lead you to a right preparation.
Our experience gave us one perfect lesson: the best gear is the best suited for the specific task you want to get done. Here are some tips depending on what you choose. You don’t need too expensive equipment to get the desired effect with water. Better than average will just do fine. You just need to fully understand the camera’s parameters-what can and cannot your camera do. You should also question yourself how far you are prepared to go. Being familiar with settings like f-stop, shutter speed, ISO, then perhaps you want to think about DSLR camera and more expensive gear with water housings. If photography is your hobby choose GO PRO and you’ll enjoy a camera and a waterhousing for less than 400$. Another option is to buy a waterproof casing for the camera you already have.
Don’t forget your tripod. It is nice to have one, especially if you are longing for calmness in your photo. It can definitely help you get the silky, smooth water image.
Having a dry cloth to keep water off your lens will always do the trick. My friend photographer always keeps several in every pocket. What also matters is that you are always prepared to get wet. Get yourself a nice pair of waders and get ready to dive in!
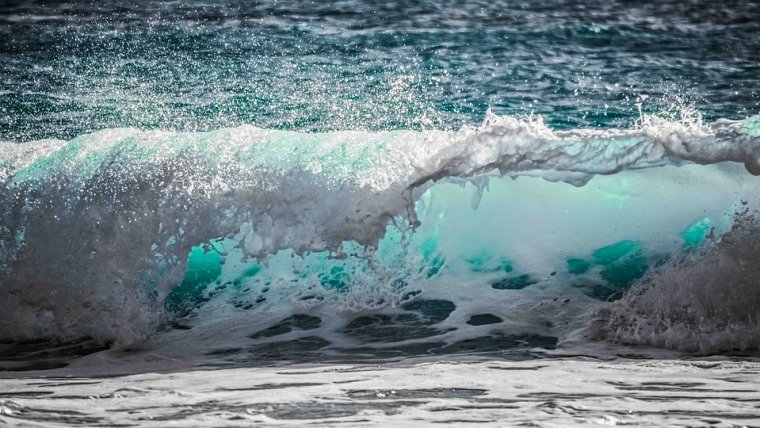
Water power is revealed when photographed with a fast shutter. Imagine the vigor and force in every suspended drop frozen in the air. Unlike the calm, tranquil feeling you sense when seeing slow water, the fast shutter will get you to the complete opposite showing the activity of water. To achieve the power of water raise the ISO (without losing the quality of course), and remove the filters which rob your sensor’s light. A polarizer can remove the glare water creates. ND filters can easily provide you with a perfect image out in the harsh sun. Keep in mind that a polarizer can somewhat change the quality of color, but the ND filter will not. Open your aperture wide and go ahead with your shoot in bursts. You can never predict the pattern of water drops so shooting in a burst can help capturing the best one.
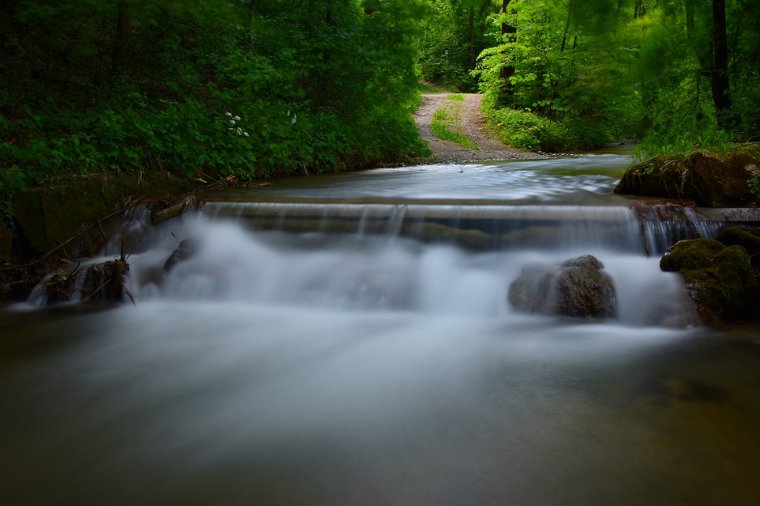
How to create the perfect calm image that takes everybody’s breath away? Nice and neat water waving slowly around a rock. If this is what you are aiming at, try lowering the ISO and set the aperture to its smallest settings. This way you get a slow shutter speed. The use of a polarizer not only robs unnecessary light and removes the water glare it also slows the shutter speed. The tripod can be a must since your camera needs to be absolutely still for an exposure between 0.5 and 10 seconds. The artistic tranquil waterscape can be best caught in shadow or late in the afternoon. Always have in mind the tide hours. Tides can create the difference between the successful photo session and a blown opportunity.
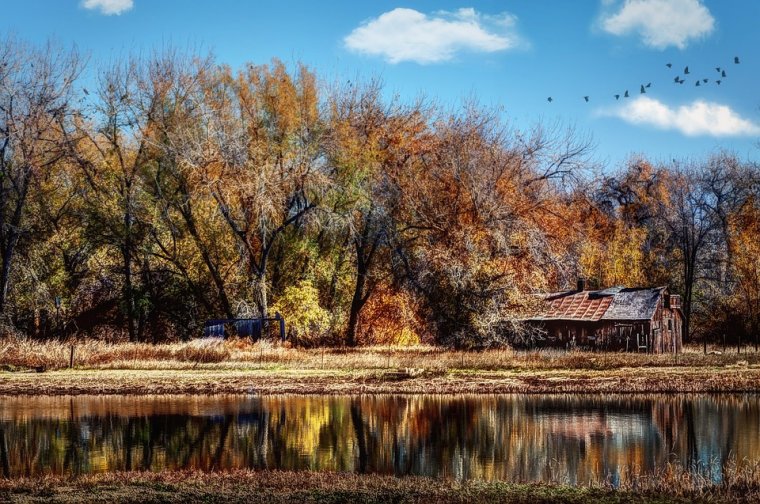
Water is a natural mirror so try and use this to get the perfect reflection in a lake, street puddle or the perfect sun-rays and sky in the ocean. Look around and enjoy the mirror-like effect, moreover capture it for life. The best reflection photos include the main object as well as the surroundings, but many photographers just go for the reflections only, not the main object. The wind and tide can greatly influence the reflection, therefore search for stillness and golden hours for best color effect. Looking for symmetry in the reflections can bring unique photo too.
In water photography, you end up fascinated at every corner. Keep your eyes wide open to every possibility and do not be afraid to get wet. It is worth the effort since a macro image of a single drop can show so much power. A power you want to see and capture. Go ahead, dive in!


Please verify your software version before proceeding.
 I’ve verified my software version


 Facebook
 Google +
Comments (0)
There are no comments yet.