So you want to do some digging into a case? You’ve come to the right place. That sounds like an awesome tagline, just kidding. Today we will be venturing into some tips on how to successfully become a good investigative photographer. In a world where people now hire private investigators to help solve situations, they can’t seem to figure out, Investigative photography has become very lucrative. This type of photography can be used in many areas such as crime solving and as mentioned before, private investigating. It is not as hard as it may seem in regards to having the right tools and being in the right place at the right time.
Table of Contents
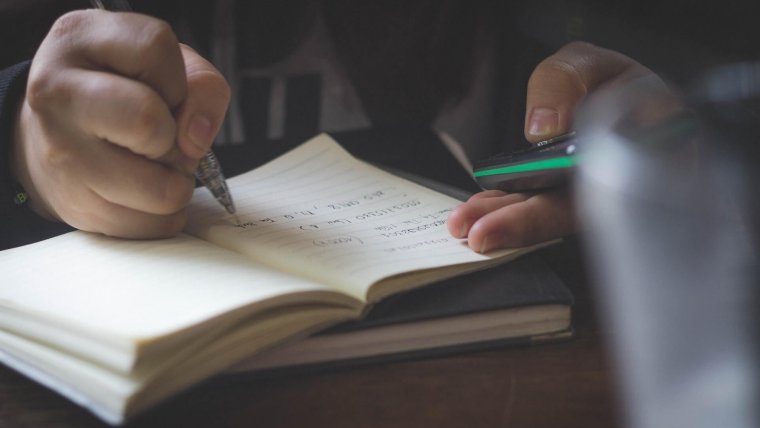
If you’ve finally got your subject right in front your lens, you don’t want to ever stop shooting until they’re no longer in it. Investigative photography is all about small details that may easily get looked over by people who don’t pay as much attention to detail. Each frame might just reveal something new that can be beneficial to the situation at hand or your case.
If you’ve watched enough crime solving shows you know exactly what I’m talking about. However, there is a pro and con about shooting continuously. If shooting continuously in RAW, a problem that I’ve also faced when doing sports photography is that your camera might take some time to write the image to your card. This may result in you losing a few minutes in coverage time just for your camera to do its job. It’s not something you can really stop as the camera doesn’t allow you take any more pictures until it’s done or even view the previous image. Therefore if you’re not strict on image quality but more interested in documenting your subject then you can use JPEG for the time being but otherwise, it may not be something you can work around.
Investigative photography demands your full attention and gives you no time to preview or analyze your work until the work time has passed. Therefore you don’t have leisure time to look on your images while you shoot because you may be missing something else that you needed to capture. You will have all the free time in post-production to review the frames you’ve captured and adjust them accordingly but robbing yourself of vital images to look on your LCD screen does you no justice.
Photographers like myself have a bad habit of delete images on sight based on what we find visually appealing. Try to break this habit when doing investigative photography as you might just be deleting a very important frame to your case. Take a break from the delete button for a while and wait until you open the images up on a PC to review them before discarding any. In addition to that, even if it was a bad shot, you can still learn from it. We often cringe at the thought of our own work looking unattractive when we can indeed learn from the mistakes that were made.
Running out of storage space also helps to motivate us to delete bad frames. To avoid this issue you should be sure to check your memory card before leaving to shoot or make sure you have enough frames available. This can be seen to the bottom right on canon camera as to how many frames you have remaining. If all this fails you should then look into getting a memory card of larger capacity to handle your projects or be equipped with a backup memory card. I can’t stress enough how much better it is to be prepared than sorry.
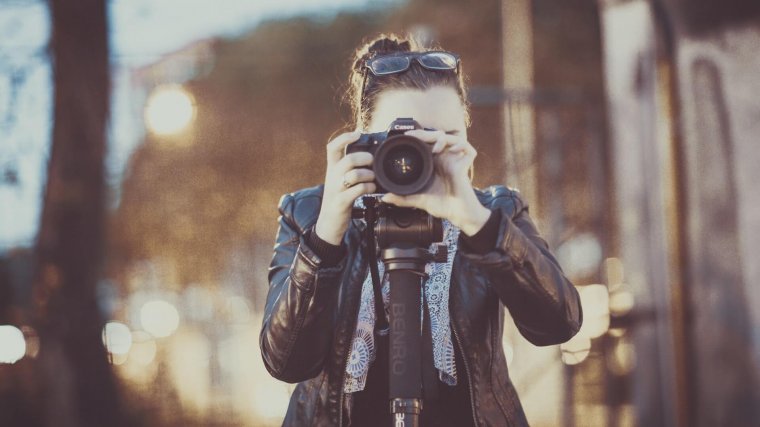
If possible, try to lean against something sturdy to avoid any form of motion blur in your shot. There isn’t much of an opportunity to set up a tripod if you’re trying to remain invisible so your best bet is using anything around you as a support system. Take a deep breath between your shots and the rest should eventually fall in place. This tip should help to produce sharper images and better quality with the reduction of motion blur.
![]()
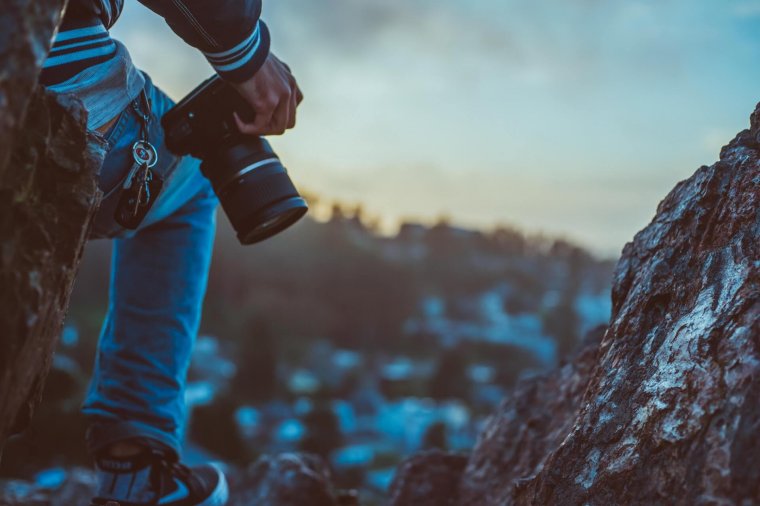
Save the best for last by giving you the most important tip which would be to have the right tool. Most if not all investigative photographer tend to have a telephoto lens on their person to get the job done. There is almost a 90% chance you will always be some distance away from your subject and to get a proper shot you need a lens with some reach. A personal favorite of mine would be the Canon EF 100-400mm f/4.5-5.6L IS II USM Lens. This lens definitely has the reach and produces some pretty edge to edge high-quality images for your liking. If you are looking for quality that is definitely the lens to look into but if you’re just trying to get the job done then your regular 70-300mm should perform well.
I hope this article has helped you to find your inner modern-day Sherlock Holmes. As always, thank you for stopping by and I hope to see you again.


Please verify your software version before proceeding.
 I’ve verified my software version


 Facebook
 Google +
Comments (1)
This is outstanding. I am preparing a lesson for Private Investigators. Mr. Moodie, I am a retired chief deputy and retired Criminal Justice and Homeland Security Professor and own of Security Institute. I do not want to reinvent or compete with you. Just need tips on what you suggest.
Thanks,
Chief J.P. Doane
Text 409 351-0003