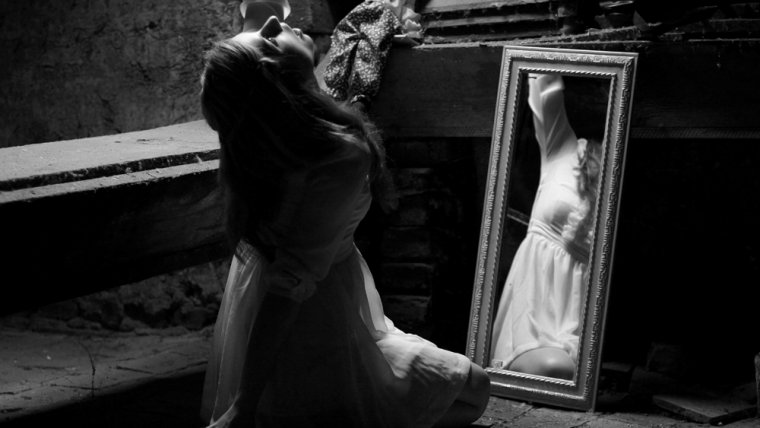
Shooting in black and white has never been more popular as it is nowadays. Turning your images in black and white might give a certain nostalgic look and a feeling of elegance to your photos.
Here are 10 tips to advance your black and white photography and to get better results.
Table of Contents
Black and white images that are taken with a slow shutter speed often have a mysterious or even creepy atmosphere and with a slow shutter speed, you are able to capture moments or situations which can’t be seen by the naked eye.
Furthermore, you will achieve several effects while taking long exposure images, which will add some drama and excitement to your image. For example, if you take a seascape image with a slow shutter-speed the clouds will suddenly move across the entire sky or the water will begin to be smooth and silky. Typical genres for long exposure photography are landscapes, architecture, seascapes, streets, and people. Mind that you will need a tripod when you shoot at a slow shutter speed in order to avoid blurriness, but it shouldn’t weigh too much and it should properly support your camera equipment weight.
A remote shutter release is also a must for long exposure photography. It will prevent camera shake caused by the exposure and your images will be sharper.
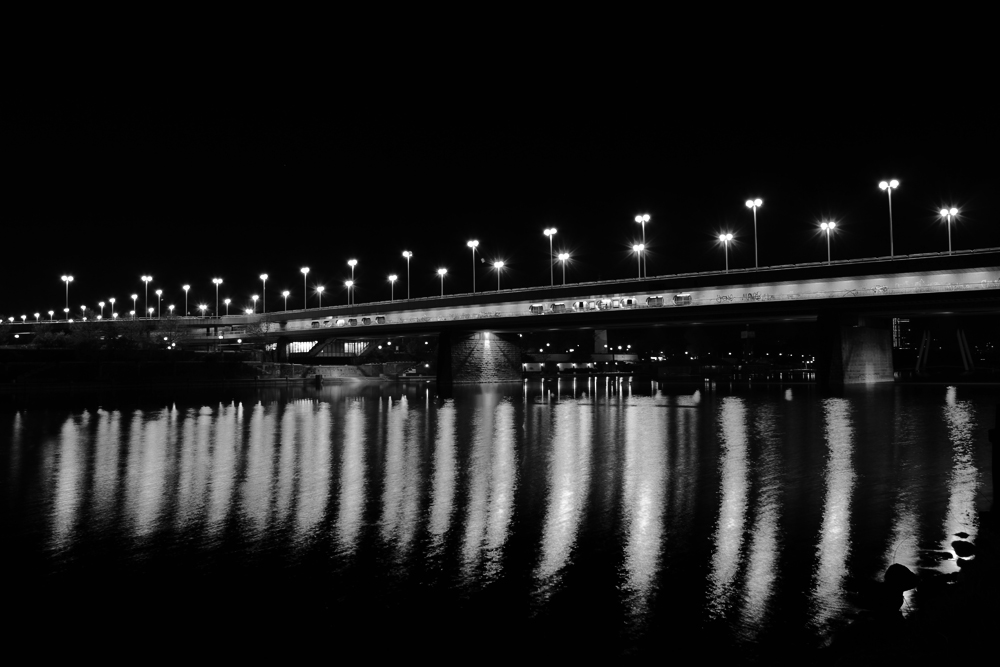
Using filters for bw photography isn’t a must, but you can achieve some great results while using them. There are tons of filters on the market, but not all of them will be suitable for black and white photography. For example, neutral density filters are used to reduce the light hitting the sensor of your camera. If you are able to use a slower shutter speed in order to capture flowing water or moving clouds, it will create some spectacular results. Furthermore, filters can also help you achieve greater tonal contrast to your image.
Modern cameras allow us to shoot in black and white, but I would suggest to first shoot in color and convert your image afterward in Adobe Photoshop or Adobe Lightroom to black and white because then you will be able to have access to the full-color spectrum, giving you more flexibility to edit your picture afterward. Furthermore, it might happen that you don’t like the black and white preset of your camera, the contrast might be too hard or the white turns out to be too gray, therefore always mind to shoot a colour image first and then convert it to a black and white photo.
In addition to that, most cameras don’t allow you to shoot black and white in RAW format and limits you to JPEG. JPEG gives you less control in manipulating contrast, shadows, whites and blacks.
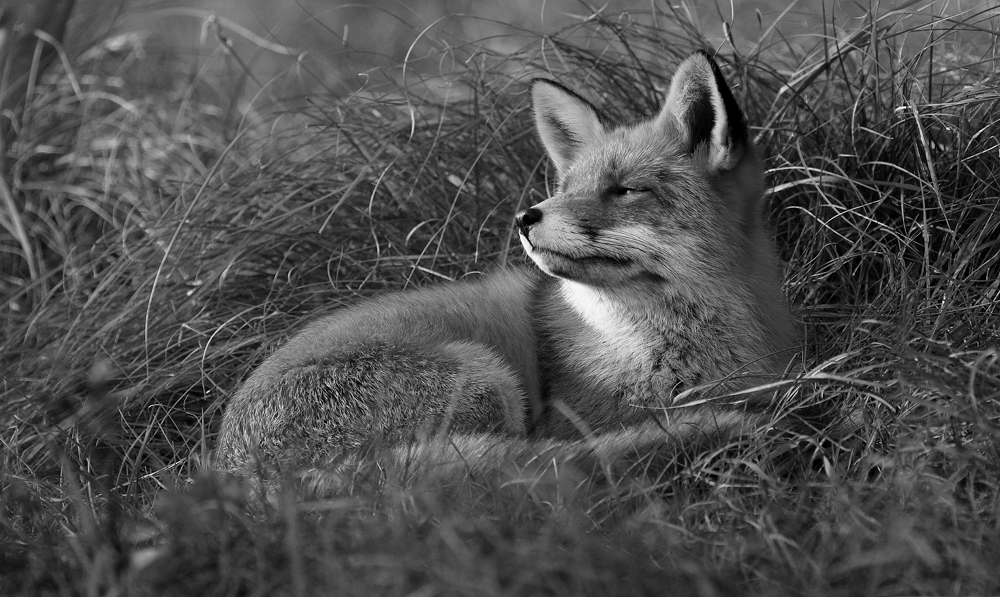
Modern cameras often have a setting which overlays a rule of thirds grid to your image. This will help you to composite your image if you, for example, use the rule of thirds technique. Furthermore, you will be also able to find the golden selection if you turn on the grid. The rule of thirds mostly works for any subject.
There are many other composition rules, like the golden section, which is one of the most common composition rules. Last year I wrote an article about image composition, where I explained how important composition rules are. Make sure you are familiar with different composition rules in order to show stunning black and white images.
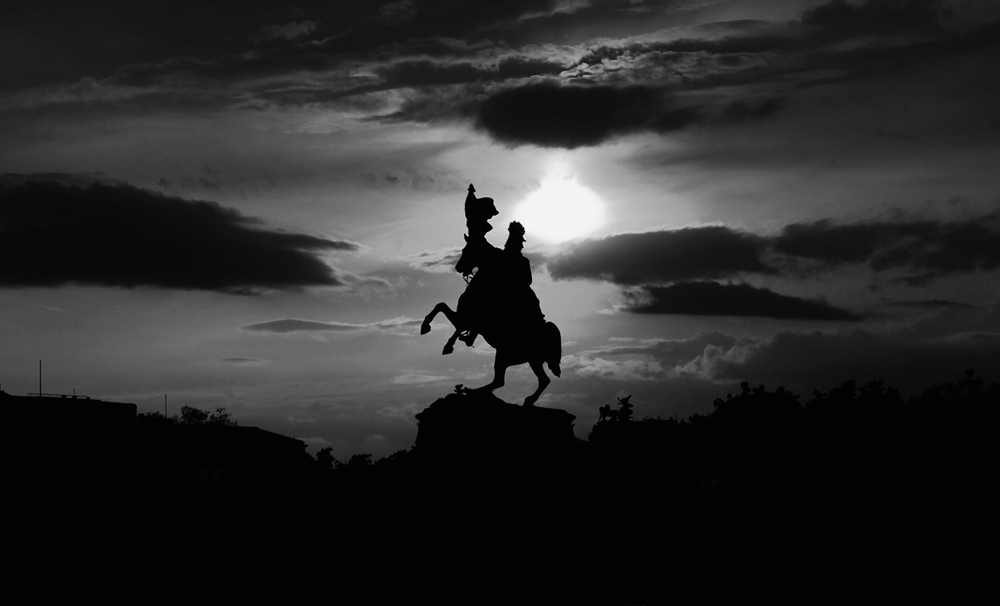
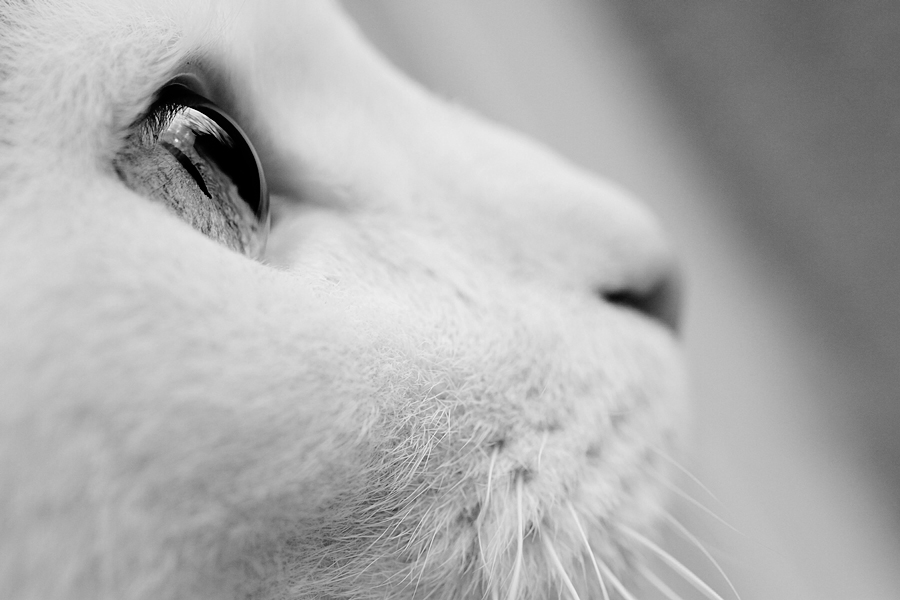
Likewise, when you’re shooting a color photograph you’d want to make sure you frame up the right shot using color to guide your eye into or around the shot. In a black and white photo, however, you have no color to guide you, so what will you use to help in composition? You will now need to use points of tones and textures to assist with framing your shot. Pay particular attention to your shadows and highlights as those will be defining factors of your shot.
Black and white photography can be really interesting when there are patterns and texture in your image. In color photos, many patterns are often not visible because the pattern itself often can’t be seen in a colored image. So capturing interesting patterns in black and white will definitely draw the viewers’ attention.
Try and start getting your eyes trained to see in black and white to create some stunning images.
If your camera supports shooting in RAW, then you should definitely turn it on!
Shooting in RAW will open new possibilities for you later while processing your image. The idea behind shooting in raw is that all the information captured by the sensor will be retained, that means that your RAW files will be lossless and uncompressed files. Jpeg’s often shown posterization and with every step of compressing the image quality will be decreased.
The only disadvantage of shooting RAW is that the image files will be really large, they are typically 4-5 times larger than jpegs and furthermore, they will fill your camera’s memory buffer up much faster while shooting in RAW mode (this only counts for continuous shooting). Fortunately, there are tons of fast and large memory cards on the market. If you’re a photographer that mainly uses continuous burst shooting mode, you will need a memory card with a fast writing speed. So get yourself a suitable memory card to get out the most of your image.
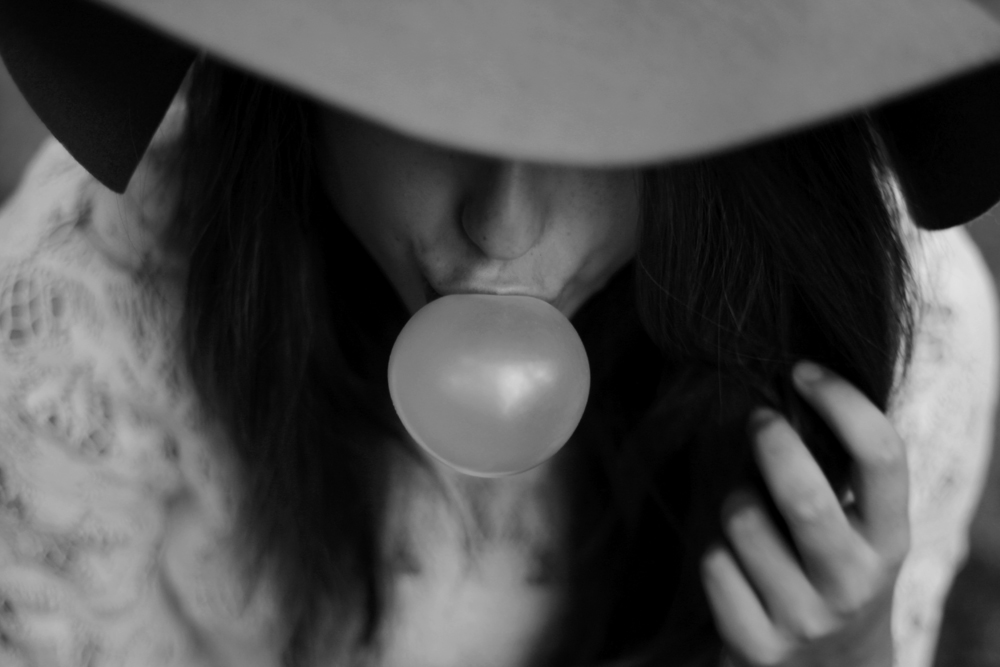
As we all know the higher the ISO, the more noise you will have in your image, so don’t set your ISO number too high because this will automatically cause digital grain in your images and digital noise will reduce your image quality. If you shoot in automatic mode, I would suggest setting the maximum ISO sensitivity to 1600. Nowadays most DSLRs are able to provide good quality images at ISOs up to 1600. But remember: The lower the ISO number, the more light will be required. It’s kind of a balancing act photographers are doing nowadays, because on the one hand they want to keep their ISO as low as possible for sharp & high-quality images, but on the other hand they also need a fast shutter speed to receive sharp images. If you don’t have the option to decrease your ISO there is always the possibility to remove the ISO noise afterward, within few steps you are able to remove the noise in Photoshop, but you should try to avoid extra work and keep your ISO as low as possible. If you’re a fan of using grain in your creative process, then you could always add that later in post production.
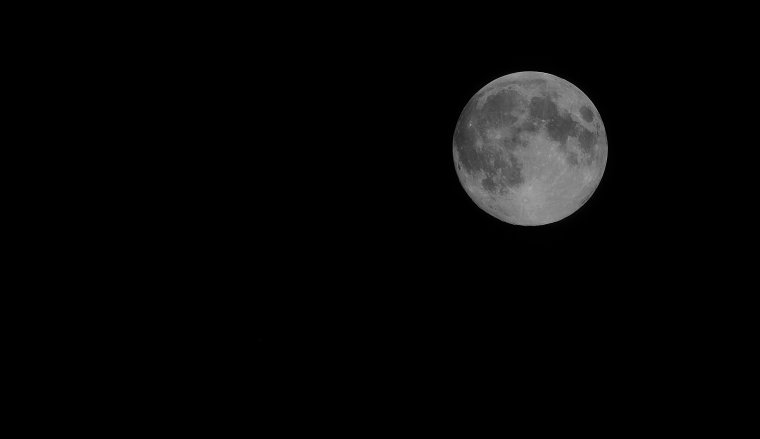
Look for interesting elements like stones, buildings, rails, trees or roads, this will help you to draw viewers’ attention into your picture. There is no limit to the subjects for black and white photography, just take a walk outside and you will discover numerous subjects you could photograph which would look great in black and white. In my opinion, photography is a learning-by-doing process, the more time you spend and invest the wider your horizon will get. Start to experiment with different subjects, try to apply different composition rules and you will see that you will get better with time. You might also consider studying famous black and white photographers, like Ansel Adams, Dorothea Lange, David Bailey, Henri Cartier Bresson, and Jack Robinson to see examples of black and white portrait photography and black and white landscape photography in action.
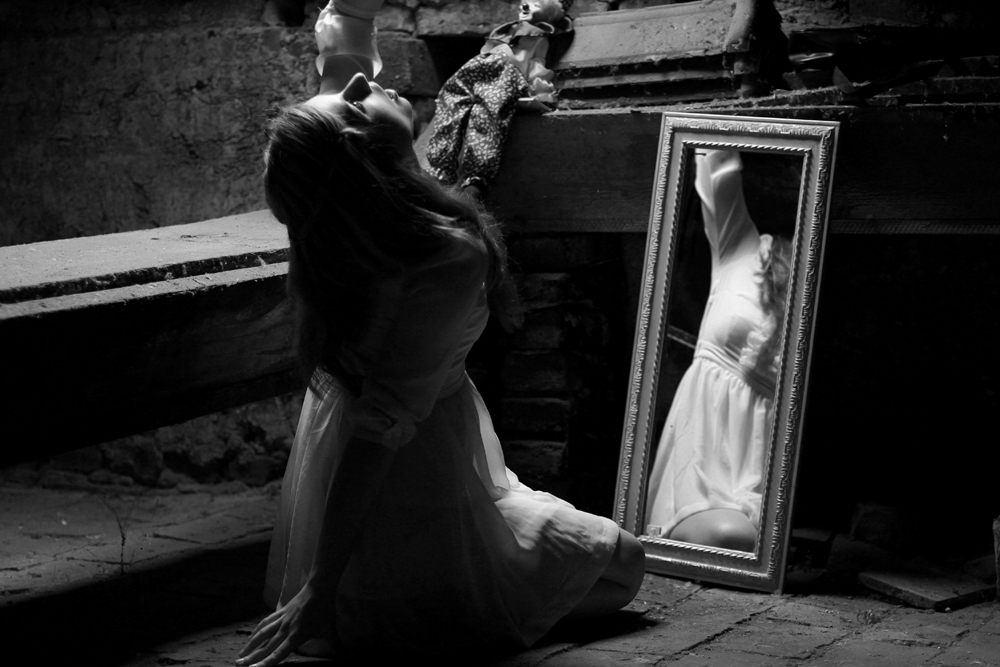
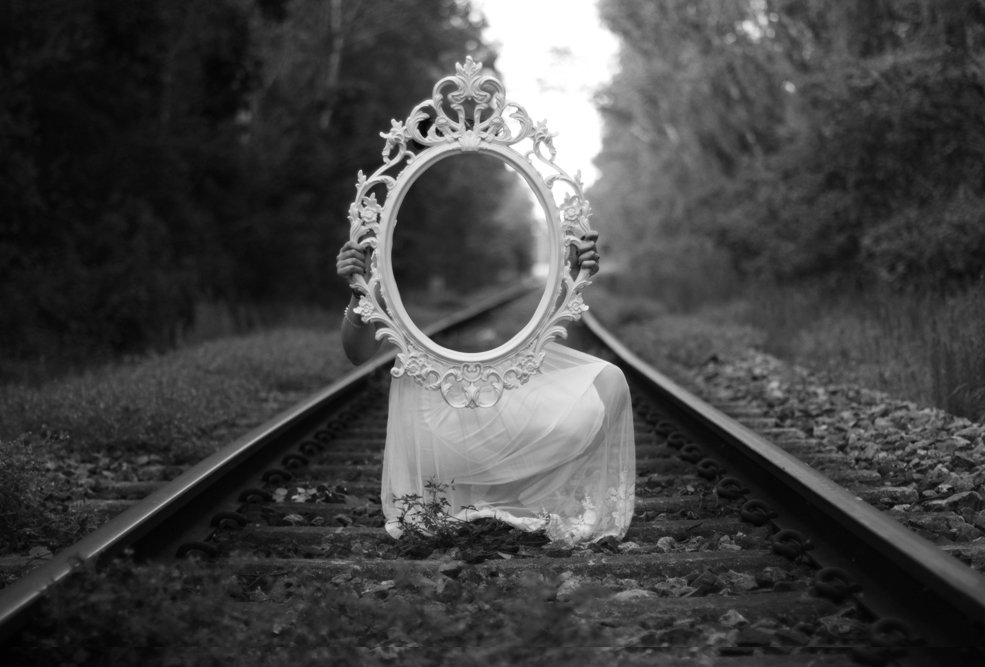
Black and white photography relies on the contrast. Adding contrast to your black and white image will help your subject to stand out and furthermore you will get much more structure in your image because the silhouettes will be more accentuated. More contrast in your black and white image will help you to see things which weren’t there before. Try to give your images your own spice, but be aware too much contrast can ruin your image.
Always heard the saying that “Things are not so simple as black and white” and I would always respond by saying “Then let’s make it black and white.”
Remember how generally in colour photography we enjoy shooting in a well-lit environment, trying to avoid too many shadows or uneven light? Well in black and white photography, it’s safe to do the total opposite. Shadows invite drama, contrast, mood, mystery, and definition. All of these things are what makes you look at black and white photos and say “wow” because without shadows we would be looking at flat undefine subjects, making the image both dull and unappealing. Therefore when shooting black and white images, aim to capture shadows, but capture them in a sense where it adds the right elements to your shot and not just be a bunch of shadows making the images way too dark and uninteresting.
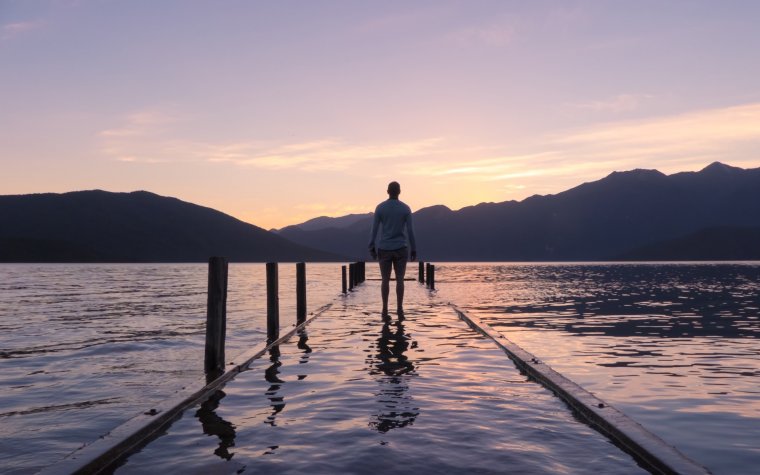
Here are a few simple steps to follow in Adobe Photoshop to create a monochrome photo. You can do two different ways: by using the desaturate method or with a black and white adjustment layer.
The first step after opening your image in Adobe Photoshop would be to click on Image and then go down to adjustments. When on adjustment the toolbar should then open at which point you’d then click “Desaturate” or Shift + Ctrl + U for short.
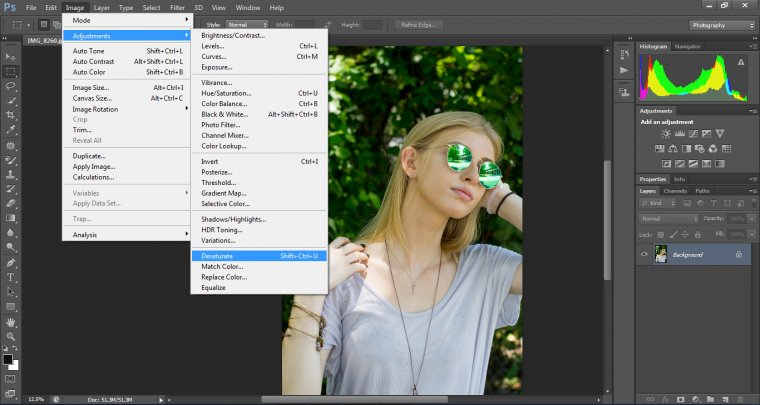
This will basically take all the color out of your Image, making it a plain black and white shot (given that you shot a color photo). After doing the desaturation, you then want to create duplicate layer by right clicking on your “background” layer and selecting the option and then set it to “overlay”. You’ll realize where your image has gotten completely dark but don’t panic, you can change the opacity percentage to your liking.
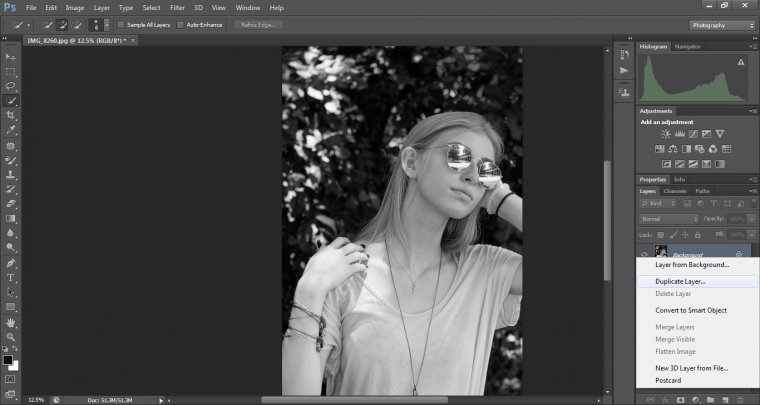
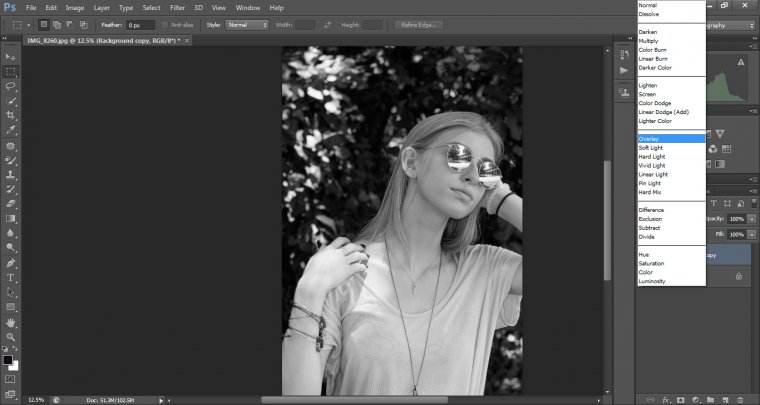
Don’t worry we’re almost done, It’s not one of those long Adobe Photoshop edits with a bunch of layers I promise. When that is completed we then go to layer and select “new adjustment layer.”
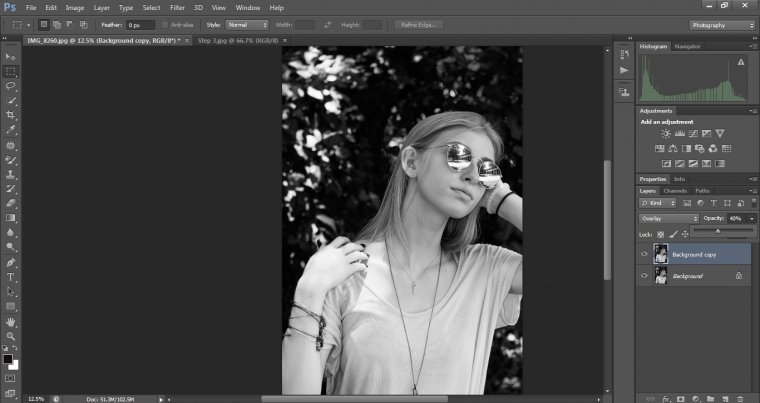
Select “exposure” and then adjust the options to your liking. When finished I usually fine tune a few things by going to “filter,” select the “sharpen” option and then select “sharpen more.”
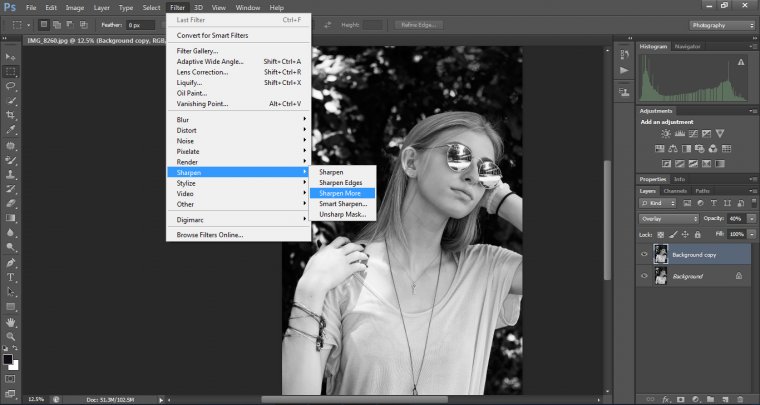
This usually applies the details in my shot, drawing your attention to them more along with the shadow and tone.
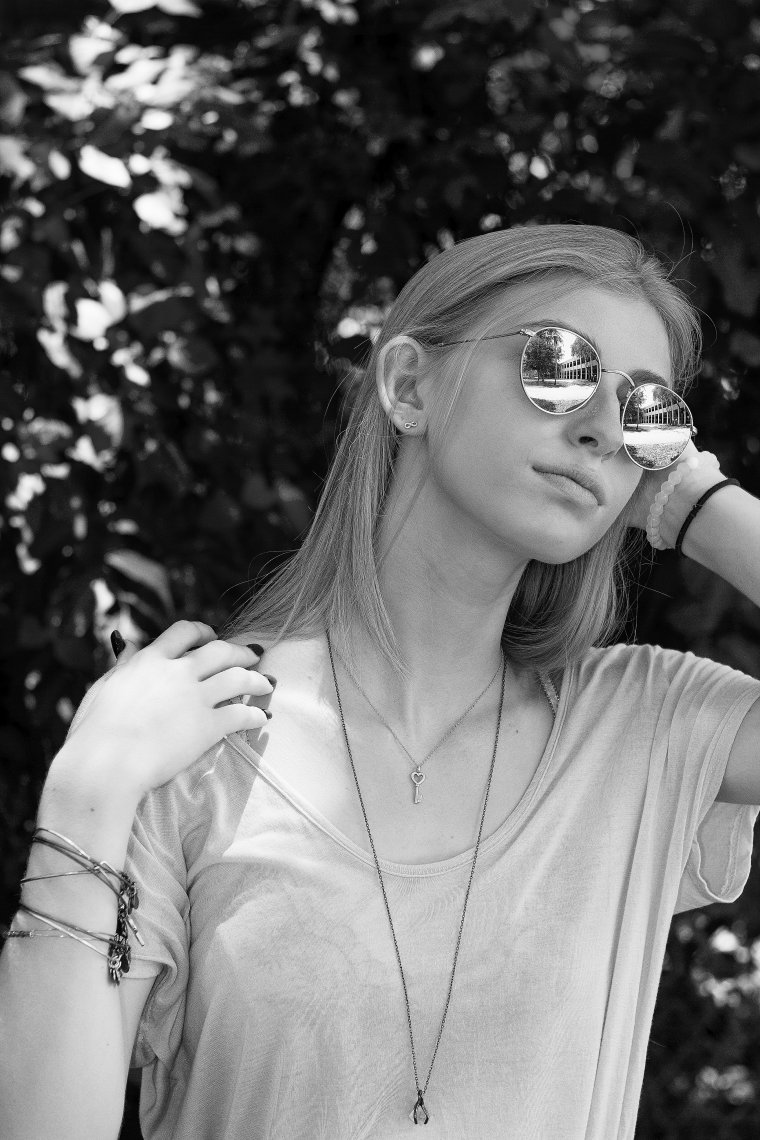
I’ll be taking you through the black and white adjustment layer.
We will take a look at the sliders in there.
We’ll also be taking a look at how to tint and use different blending modes.
So check out my image from today which I got on pixabay.com where you can find loads of free images to practice on.
So the first thing we’re going to be doing is to convert out color image into black and white.
You do this by clicking where I have indicated below and then click on black and white, your image will now be converted and you will see slider bars with colors on them.
So if you only wanted to convert your image to black and white, you’d actually be done right now, but that would mean you haven’t applied any of the effects that will enhance your image greatly.
So, let’s take a look at the features that the black and white adjustment layer has to offer.
Now looking at your adjustment layer as previously stated, you can see the sliders, those sliders indicate the colors on the image, so even though the image is in black and white when you move these sliders you will be changing the the brightness/darkness of the photo.
For example if you look at the two images below you will see that the first image has not been tampered with, but the second image has had the red adjust to make it darker.
So you see how that works.
You can then do the same with all the other colours.
On a side note, since we are working with portraits the flesh tones are mostly affected with red and yellow, sometimes blue as well but that’s more for cooler colored skin.
When using these two colors to enhance the skin tones, play around with them for a little bit going from one extreme to the other if you want to and try to find a balance of what looks best and most natural.
With my other colors, I didn’t have any green, so sometimes you will just slide a color and you wont actually see anything happen and with the blue and cyan, more that the blue enhanced the eyes a great deal.
Another more pin point way to change colors is to click on the little icon I have highlighted in the image below.
Your mouse pointer will then change into a little eye dropper and you can them simply click and hold on the area that you want to change the color on and by moving your mouse left or right you will see that area start to get darker or lighter.
Word of warning, when you use this adjustment option be aware that it is not confined to just that one area, but rather it will change everything that is that color, but you can always use layer masks to only target specific areas.
Next up we’ll be taking a look at how to cast a tint over your images.
This is very easy and it does now effect the underlying colors as it lays over the top of the image.
So right beside the slider we just used you will see a little box that you have to click, called “Tint”
And the box to the right of that if you double click on it will allow you to choose what colors you would like to use to tint your image.
The colors you use are completely up to you so go mad if you have to.
The look I’ll be going for in this image is a dark black and white with a hint of a sepia tone to give it that monochrome old time photo look.
So following my steps you should have an image that looks something like this.
We hope you found these black and white photography tips and tutorials useful. See you next time!
Comments (0)
There are no comments yet.