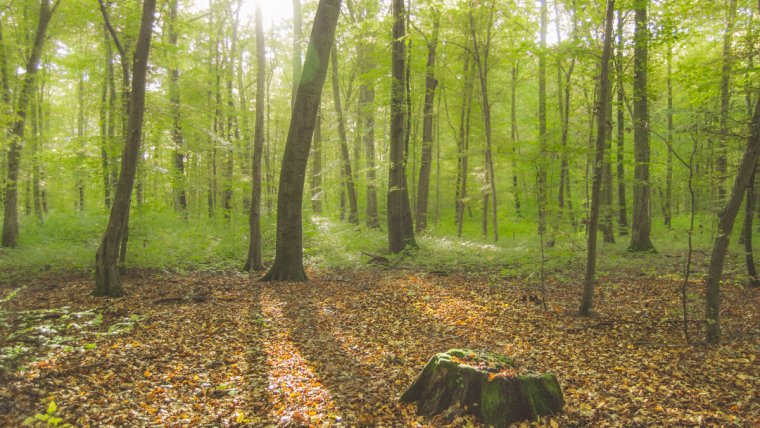
If you like nature and landscape photography you probably take photos of forests, your local wood or even parks. I can teach you how to install presets if you want. In Mark Jones’ article you will find nice tips for forest photography. I take a lot of forest photos in autumn, so in winter I usually find myself with a bunch of photos to post-process. In today’s article, I am going to give you some tips that will help you on the post-processing in Lightroom of all the forest images you already collected. This is a lot different from editing a macro photography in Lightroom.
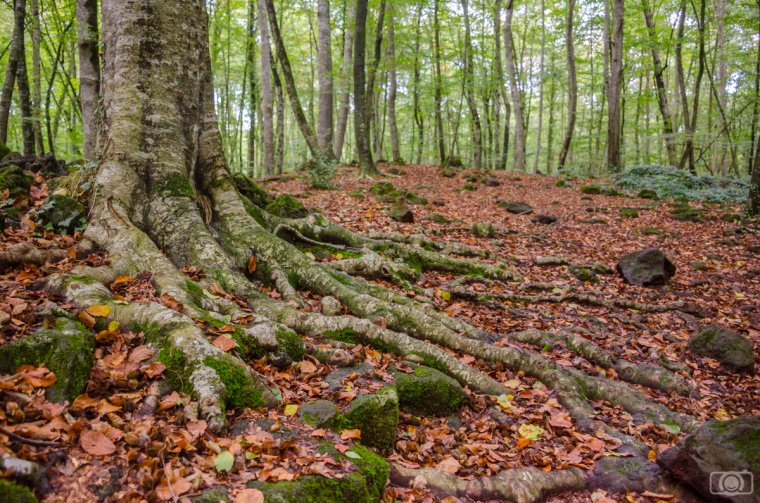
Table of Contents
When you take photos of trees, with the light coming from up and going through leaves you usually get the upper part of the image with a nice exposure but the soil remains in the shadow.
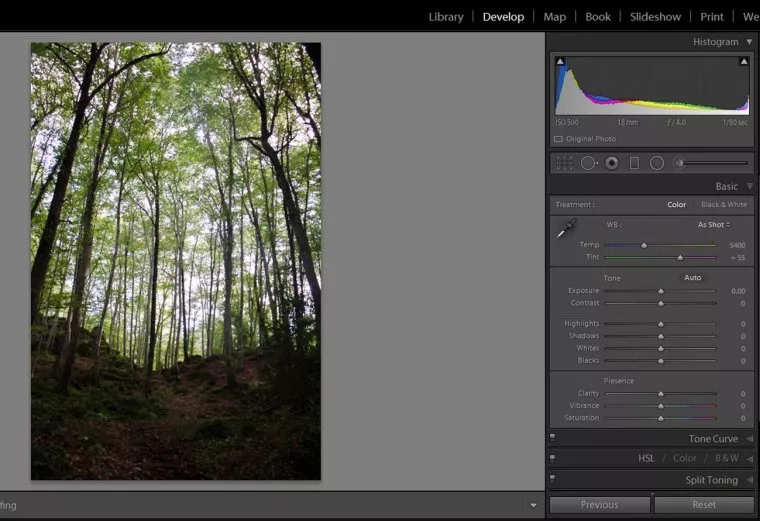
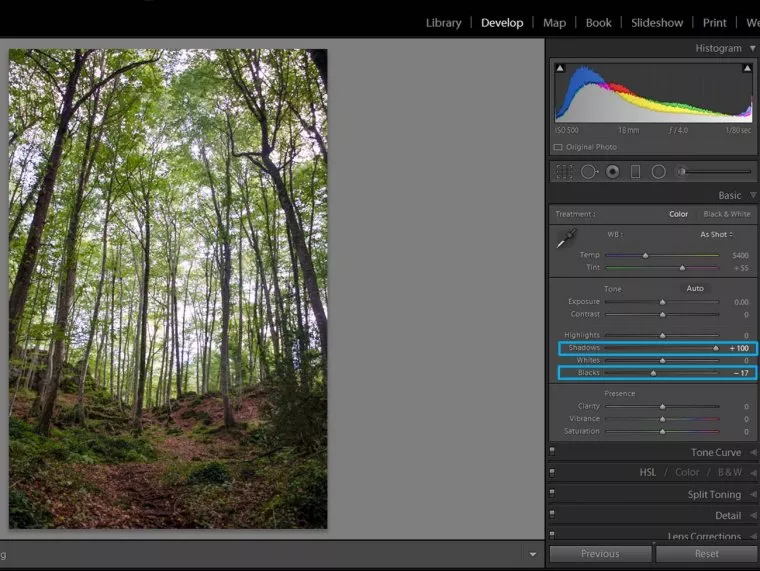
You can improve your photo by opening the shadows (moving Lightroom preset Shadows slider to the right). Maybe this will make you lose a bit of contrast, but you can fix it easily by darkening the Blacks (moving the Blacks slider slides to the left). With these two adjustments you will make appear the details in the shadows without losing contrast in the blacks.
If you want to open the shadows a bit more, you can do it using the brush tool. Select a brush with the shadows slider towards the right and “paint” the area you want to work with.
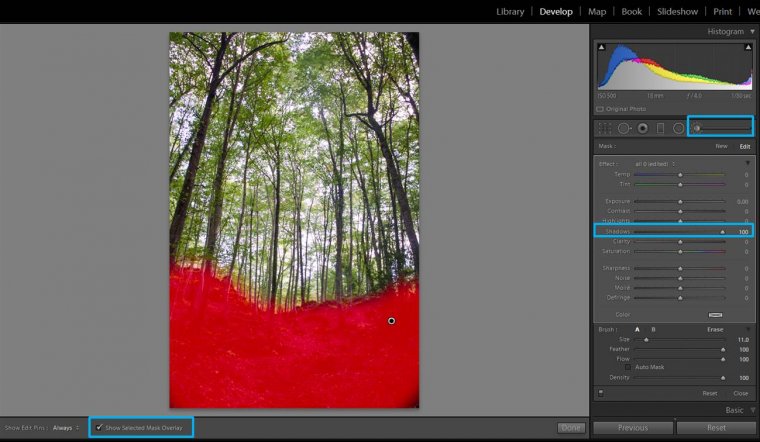
With these adjustments you can improve a lot a photo with a combination of light and shadow
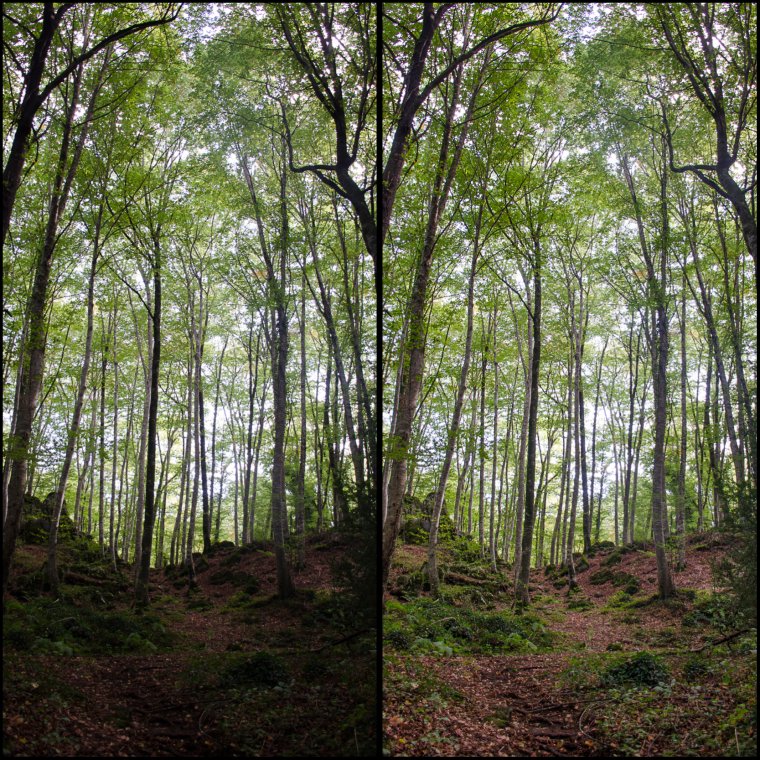
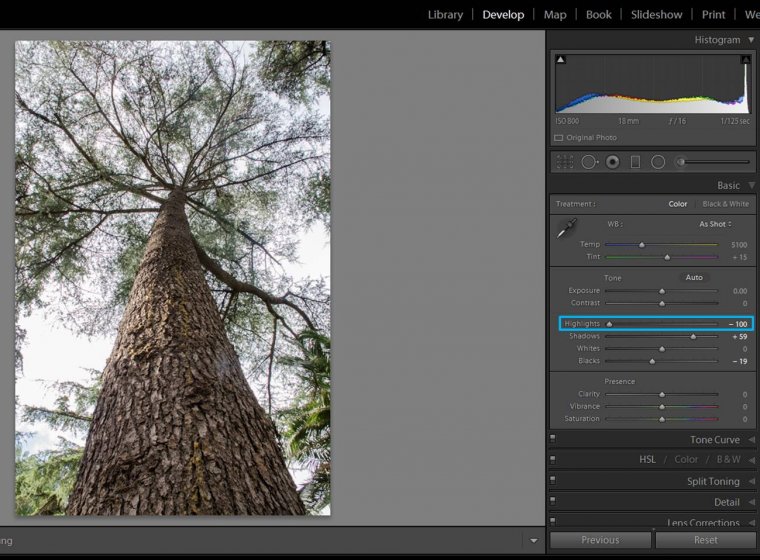
When you take photos of forests you will end up with images that are well exposed in some areas, but others are quite overexposed. It happens for example when you take photos of a tree from its base.
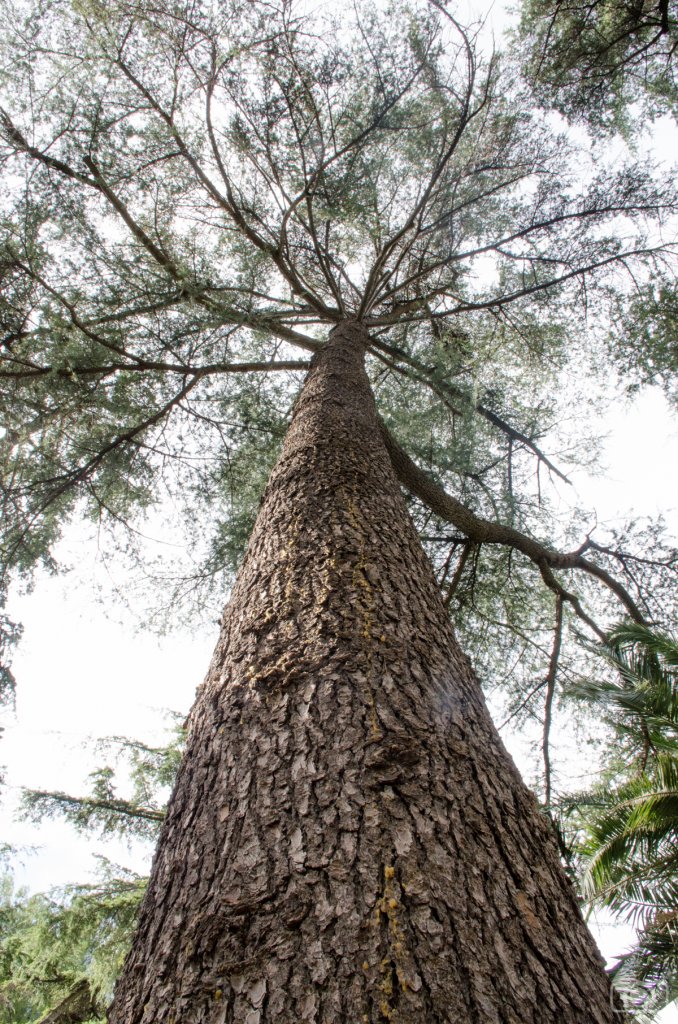
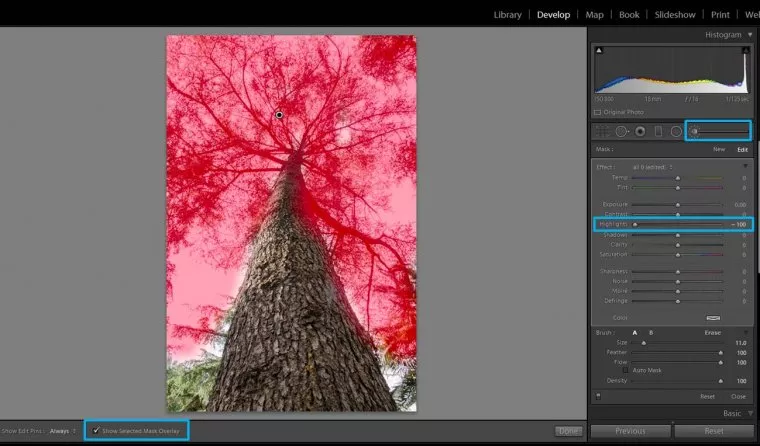
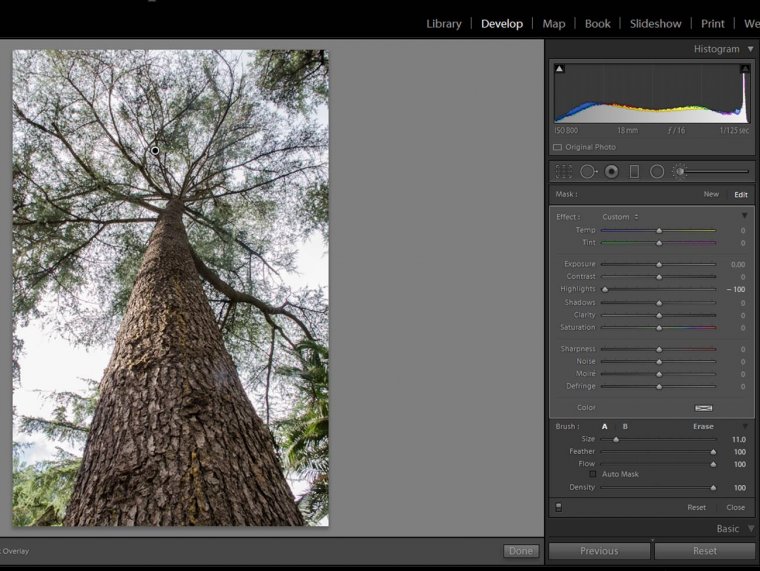
The tree is well exposed, but some branches and the sky can get quite overexposed. In these cases, adjusting the highlights might help you. You can do it in the whole image.
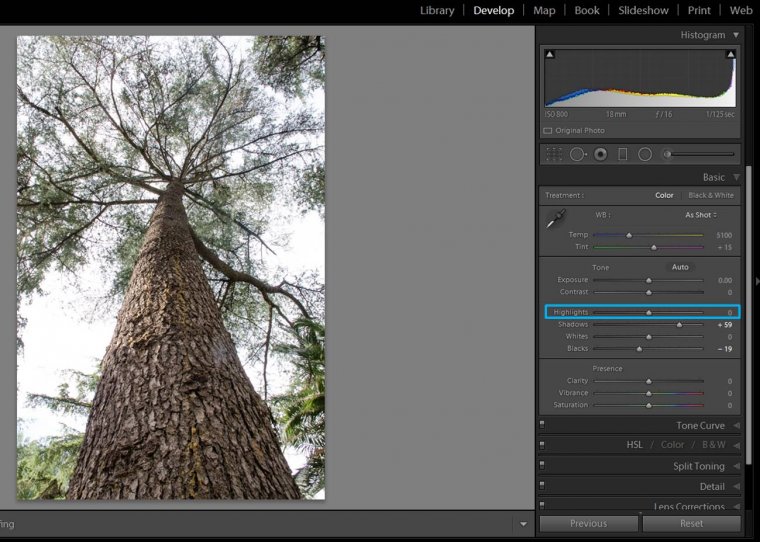
Or you can do it in just some areas by using the brush tool.
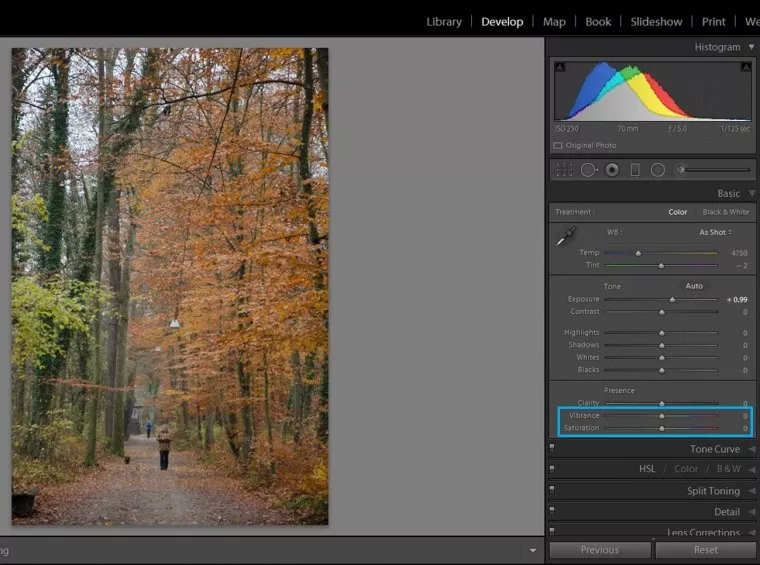
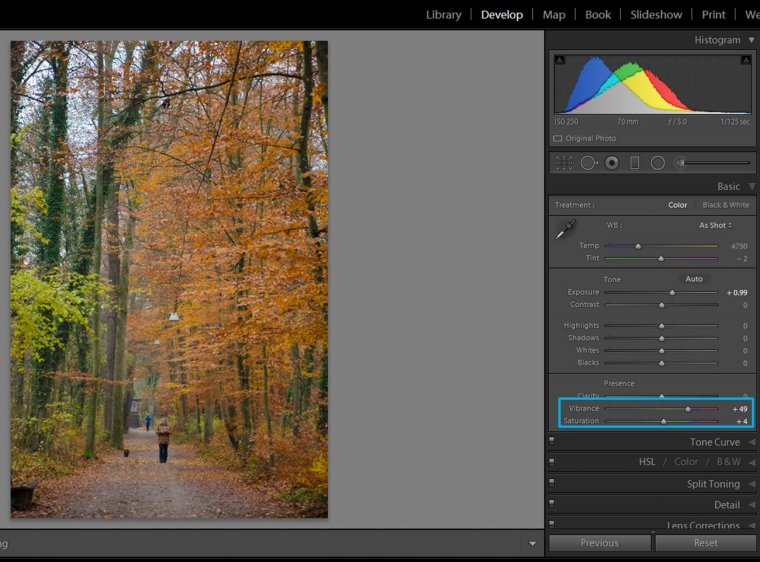
Colors are an important element in forest photography. The way you adjust the colors will depend on what you want to communicate with your photo, so it is quite subjective. With forest photography, increasing the intensity of the colors might work quite well. To do that, you can increase the vibrance and/or the saturation by moving its sliders to the right.
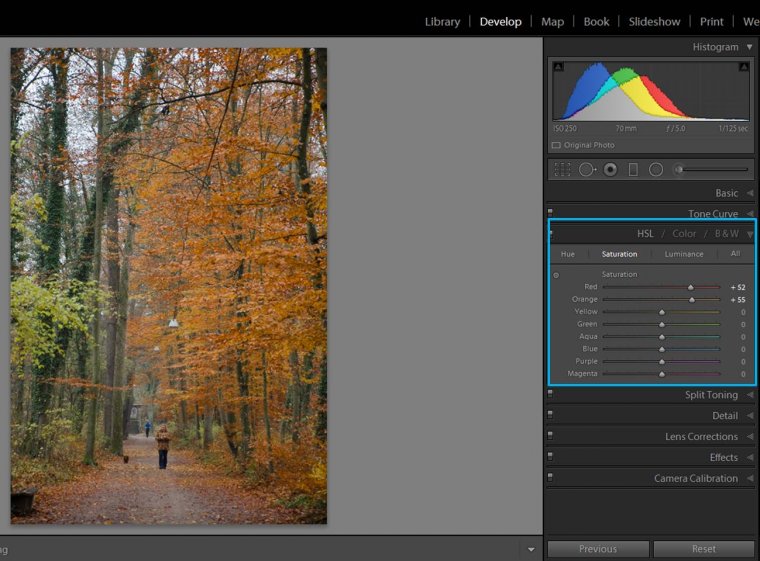
You can be more selective by adjusting individual colors in the HSL/Color/B & W section. You can see that each color has its own slide of hue, saturation and luminance. I usually modify just the saturation.
You can highlight the main subject of your image by making it a bit lighter or a bit sharper. This is easily achieved by adding a circular filter.
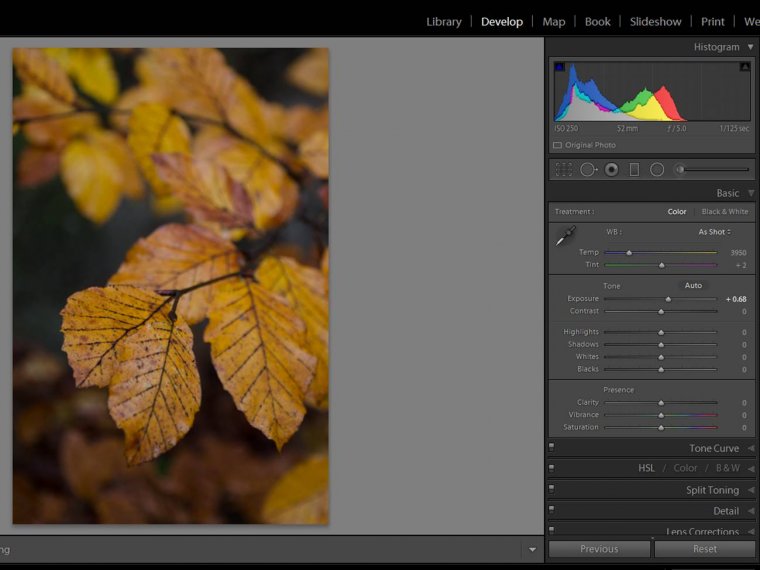
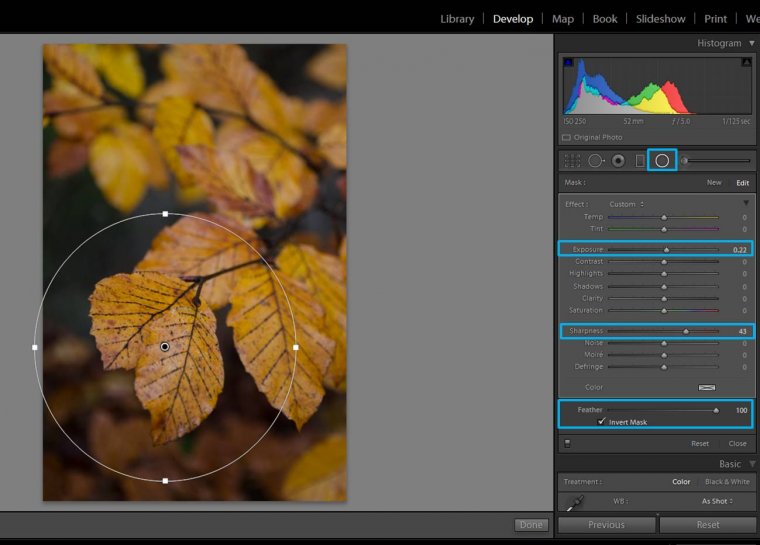
If you are looking for a dreamy mood, you can achieve it by blurring some parts of the photo and adding a matte effect.
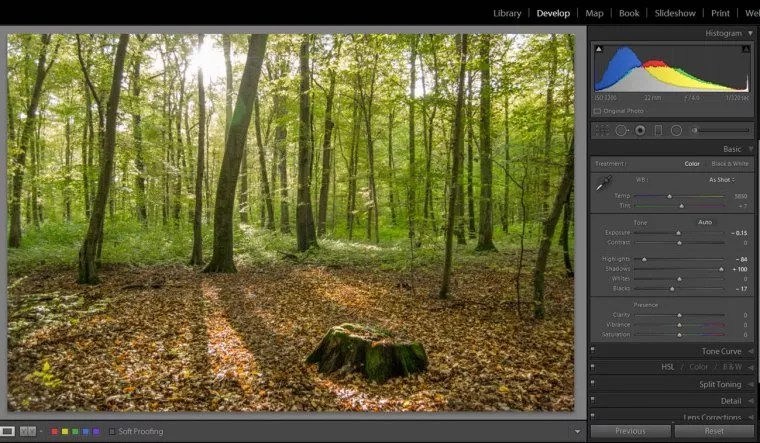
To blurry some parts of the photo you can either use the brush tool or the circular filter tool. In both cases, you need to decrease the sharpness and/or clarity.
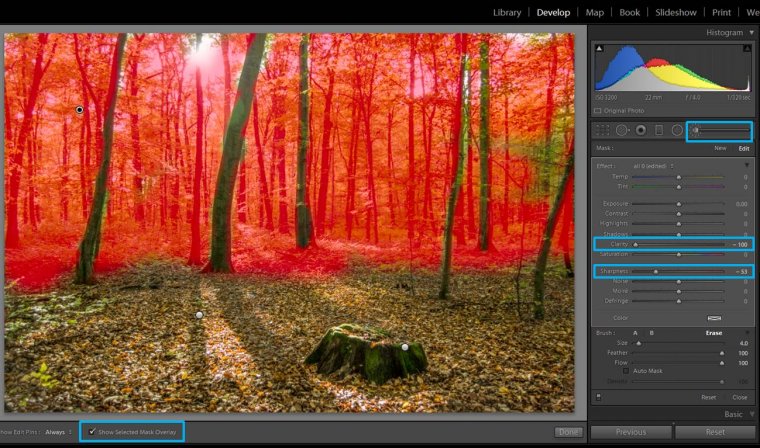
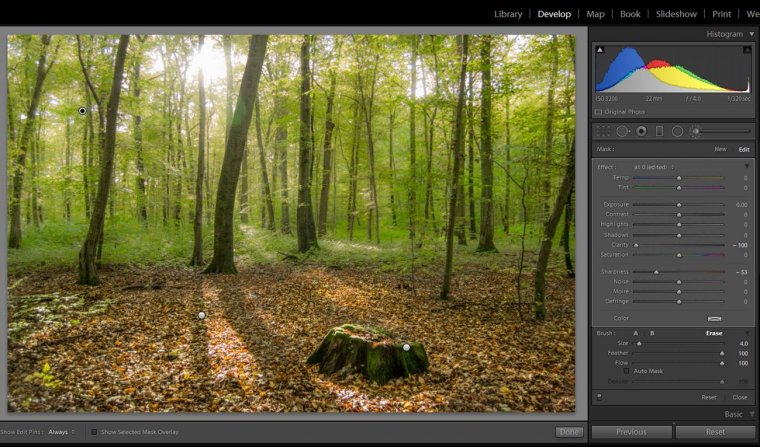
To achieve a matte effect you will need to make some changes in the Tone curve.
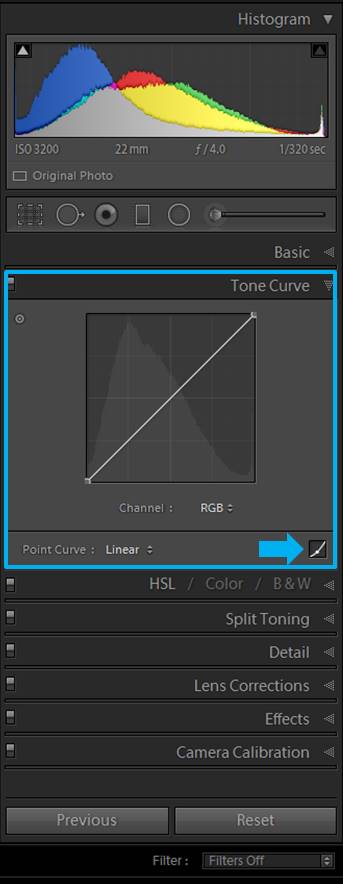
You can select a point in the curve that it is around 30%-40% to anchor it. When you select it, you see a circle in the curve. This means that you can move any other part of the curve, but this particular spot will remain there.
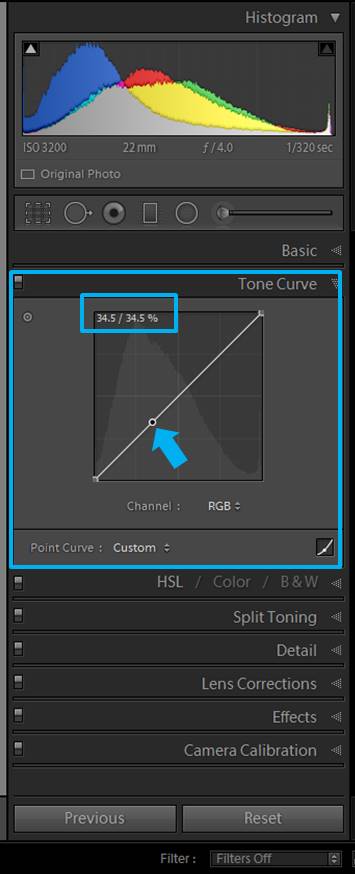
Then you can drag up the left bottom of the Tone curve. You can try with 10% up and adjust it according to your taste.
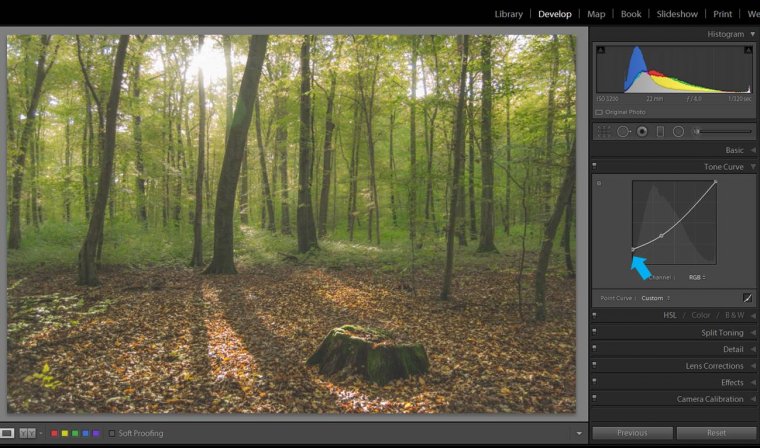
If you need to post-process a lot of photos you might find useful to check some made presets as the Through the Woods Workflow. They will speed up your editing.
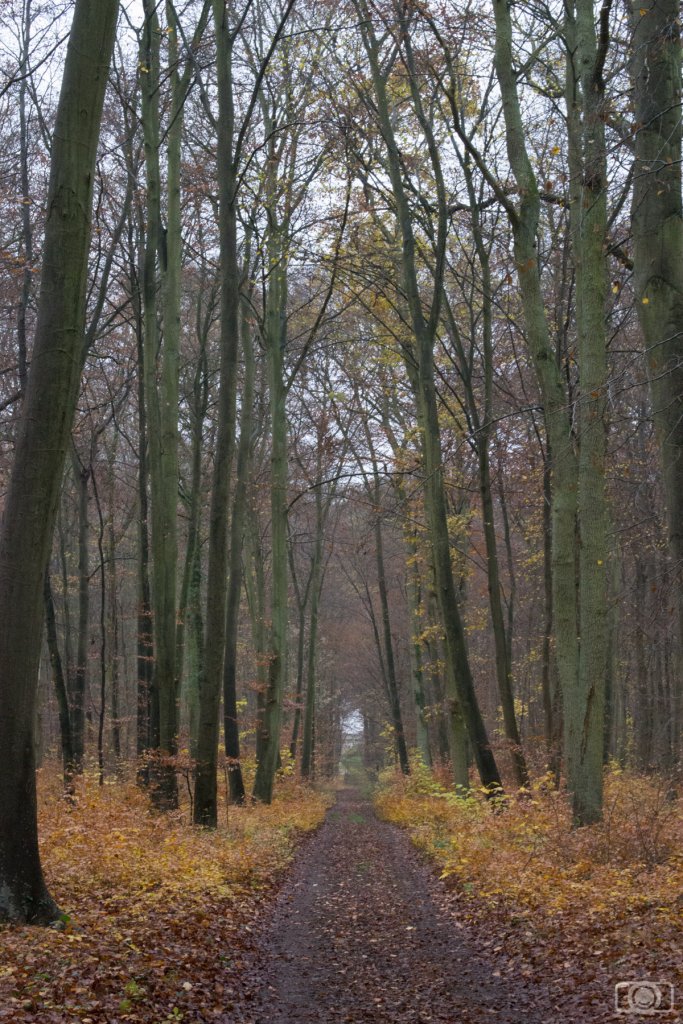
The good thing of these particular presets is that they have been designed for landscape photography. You can stack several presets on one single image, giving you a lot of flexibility.
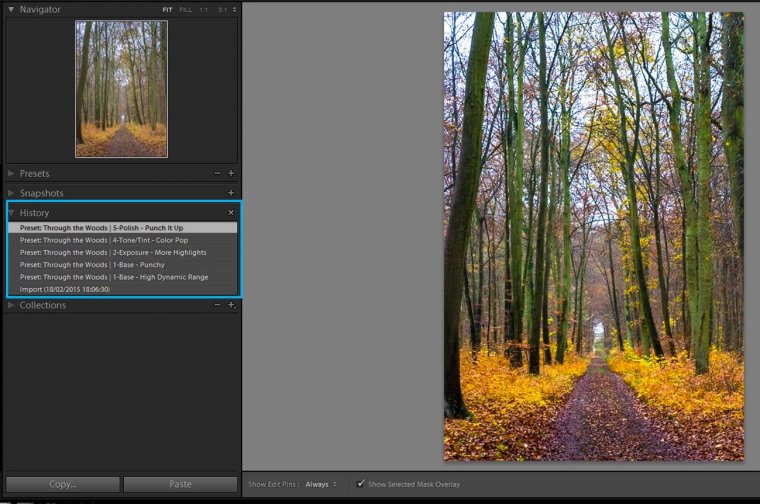
They also provide you with brushes.
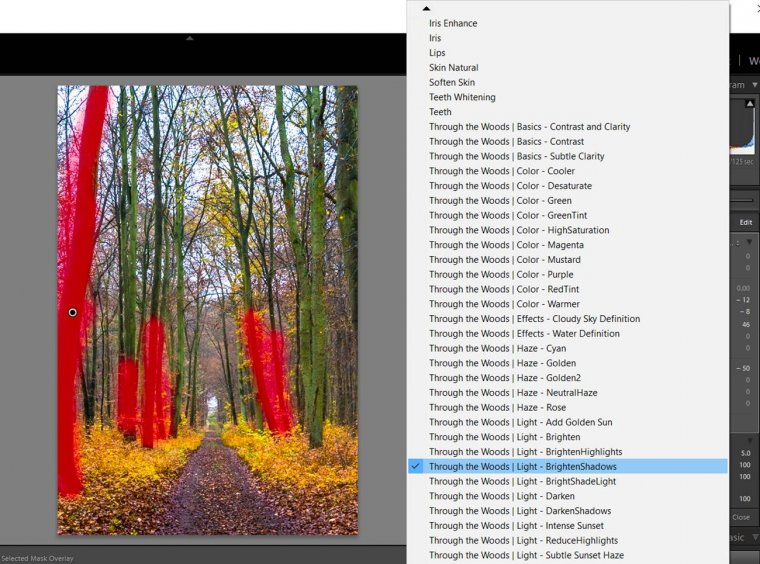
Another thing I also like is that the names given to the presets and brushes are intuitive, so you can easily find the ones you need. And if they are not exactly fitting your needs, you can always adjust them a little. However, they already gave you a good starting point.
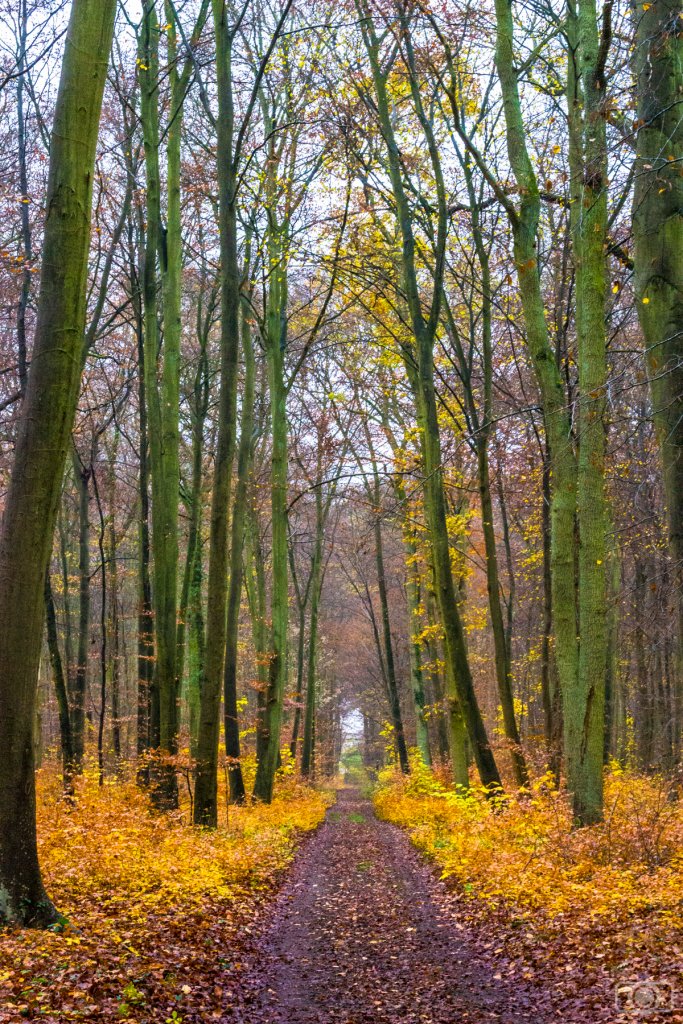
I hope you liked this tips for post-editing your forest photographs. Do you have any other tip? I would love to hear about it! Have a happy post-processing!!!
Comments (0)
There are no comments yet.