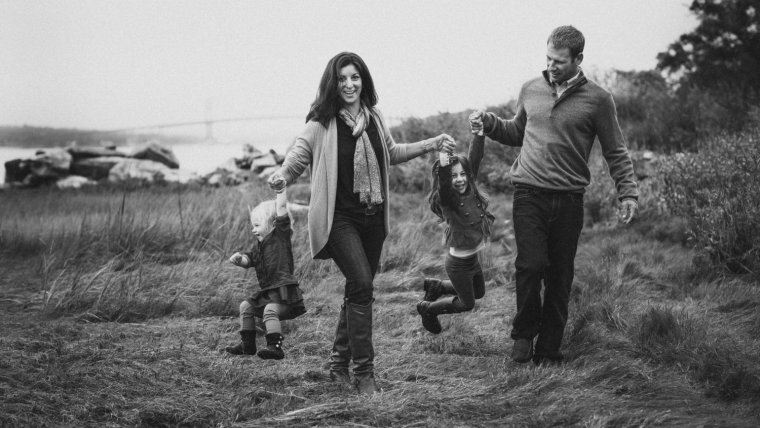
Hello all! Today we have another tutorial on how to work with the “Grayscale Essentials” workflow by Sleeklens. Specifically, We’ll be talking about creating vintage photographs using the Matte, Sepia and Film Grain presets that are included with this workflow.
So, let’s get right into it. For my first photograph, I have a picture up of a boy sitting in front of what appears to be a wood paneled building.
Getting started, the first thing that I’m going to do is go into the “Grayscale Essentials” Tone/Tint presets. We are going to use the Tone/Tint – Sepia preset.
Once that has been applied, we will go over to our Basic panel and make some adjustments to that preset, turning the Contrast and Exposure up just a little bit.
Now let’s go back over to the presets, this time we’ll go with the Effects – Film Grain 3 preset, to give the photo an even more vintage feel. This preset will give the photograph kind of a grainy texture.
The last thing that we’ll do to this photograph is use a vignette. Going back into our “Grayscale Essentials” presets, we will scroll down and select Film Grain Vignette 5. When applied, we will get a white vignette, however I want it to be black. We can change this by going over to the panel on the right and going into Effects, then Highlight Priority. From there we will move the Amount Slider back until the vignette is as dark as we want it to be.
What you may find with older photographs is that if they aren’t in black & white or not completely tone sepia, you’ll often find the colors more muted. For that, we can go into the Colors tab and make adjustments. In this photo we are going to turn down the saturation of the colors, to get more muted tones. Next in the Colors tab, we’ll go to Luminance and turn up the Yellow and Aqua.
So, that’s one way to do it. What we have done mutes the colors a bit and given its an old, used photograph feel.
Now let’s move on to our next photograph. We’ll start with this photo by converting it to black & white. To do this, we will scroll down through our “Grayscale Essentials” presets, until we get into Film – Black & White Contrast 3. Once we’ve applied that preset we will scroll back up through our presets and select Exposure – Matte Finish, giving the photograph that vintage matte finish that we often see with older pictures.
Next we will go ahead and tone it with the Tone/Tint – Sepia 3 preset.
Then, like the previous photo, we are going to use a vignette again, but instead of using the vignette preset, this time we are going to go into Effects and make our own.
So, go over to the panel on the right, then go into the Effects and move the Amount slider to lighten it up a bit.
Go back over to the “Grayscale Essentials” presets and find the Base preset. This time we’ll go with Base – Classic, just to add a little bit of a darker tone. After applied, I am going to open up the Basic tab and make adjustments by bringing the Contrast, Highlights and Shadows down just a bit.
Now we want to add that grain back in. To do that, we will go to our Effects presets and select Film Grain 4, really adding a grainy vintage feel to the picture.
That is all we are going to do with this one. We started with a highly saturated, modern photograph and gave it a really nice vintage feel.
Now we will move to our third photograph. For this one, I am going to start with an All in One preset.
Let’s go into our “Grayscale Essentials” presets and click on the All in One – Yogi Bear preset. I like this preset because it does convert the photo to a grayscale, but it also adds a sepia tone to it, which give this photo a nice dark brown tone.
Next we will go to the Base – Clean preset, to bring a little bit of light back into the picture. Then to get that grainy effect, we will use the Effects – Film Grain 3 preset.
Before we finish I want to also add a vignette, so for that I am going to use Film Grain Vignette 3, but like earlier, I would prefer it not to be white. So to fix that, like with the previous photo, we will go into our Effects, the Highlight Priority and move the Amount slider down to give the vignette a much darker tone.
Next, we will go into our “Grayscale Essentials” brushes, then scroll down and select Light – Brighten. I’m going to run this brush all over the subjects, increasing the Exposure some, just to add a little more light and help them stand out a bit.
In the after effect of this photo, you’ll see that we have added the matte effect, the grain and the sepia, all coming together nicely to give this photograph that old fashioned, vintage look.
I hope you all enjoyed this short tutorial and found it helpful. Hopefully you can try it for yourself and create some beautiful images soon !
Comments (0)
There are no comments yet.