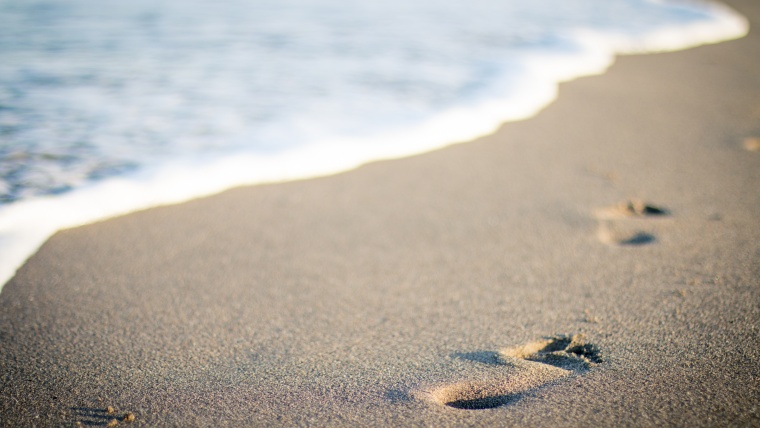
In this video, we will be learning some amazing post processing tips which you can use in Adobe Lightroom for all your beach photos. For this tutorial, we already have our image ready and it was taken very early in the morning, during sunrise. The image already has some great colors but we want to bring those colors out splendidly. Beach photography editing is all about getting the right colors and the right mood so you have images looking better with all the highlights perfectly balanced. Our original photo has some dull colors and looks more of a snapshot than a photograph. So, our main goal is to turn this into a photograph. This, we can achieve if we install Lightroom presets.
The first thing we will do is to straighten the image up since the horizon looks a little bit off. We will do the tidying using the ruler and we will drag it out to straighten and then press enter. With that, we will be having a straight image.
The next thing to do is to work on the colors to bring out the best in the image. We will increase vibrancy and then also pump the magenta and clarity as well. The shadows should also go up since the sun was coming up and there is a little bit of darkness because it is meandering for the bright sun. So, we are trying to get things to brighten up and the shadows will do that. We can also reduce the highlight and contrast as well.
Looking at the after and before image, you will notice some changes. The next thing will be to emphasize how the sun will be. In the image, the sun wasn’t captured fully and therefore we will have to mimic the sun a little bit using the Radial filter. We will pick the radial filter and draw big circle and then take up the exposure and the warmth. This will both mimic the warmth of the sun and affect the waters while adding a little bit of punch.
Looking at the ‘Before’ and ‘after’ photos, you will see how the colors, the main interest, foreground object and the clouds have been transformed. The only thing we might need to do is bright out the sky a little bit more by going to ‘Gradient filter’ to help us work on the sky. We ‘drag’ the clear part of the sky a little bit down and then reduce exposure while at the same time pumping the warmth and magenta a little bit.
Looking at the before and after photos will clearly show how transformative our editing is as it turns the great, darker image into an even greater brighter piece of work. That is basically what beach photography editing is all about as it involves playing around to get the collect colors while playing with the toning of the image to get the highlights and shadows and the like.
You can use these techniques to edit those lovely beach photos to give you even more amazing results. you can learn more on photography by visiting Sleeklens.com where you will get more videos, posts and amazing LR and Photoshop materials for digital artists, painters, and designers.


Please verify your software version before proceeding.
 I’ve verified my software version


 Facebook
 Google +
Comments (0)
There are no comments yet.