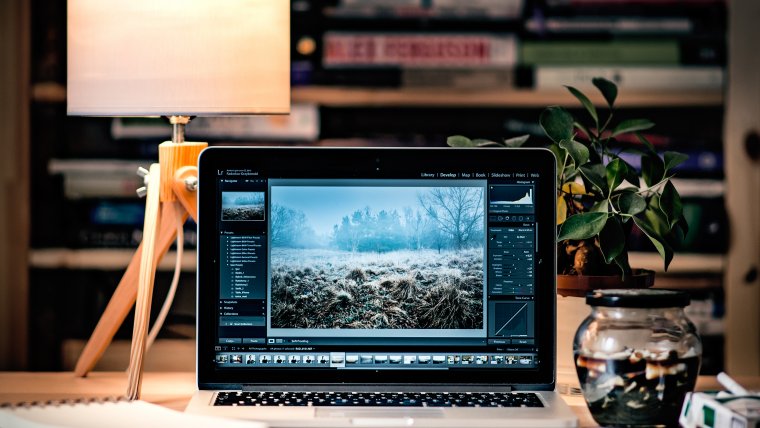
In this video, I will talk about my five favourite tips and tricks when it comes to Lightroom. We will first speak of performance. To get started, we just choose Lightroom and then preferences. From here, we will choose performance tab. Most people keep this used graphic processor enabled and if you have an older machine or a slightly older machine that does not have an excellent graphic processor, Lightroom might run a little bit slower and so if you disable this, you won’t be using this graphic processor at all but instead will mainly use your CPU in the computer to do all the processing and stuff like that. It’s a good thing to have a good graphic processor, and if you don’t, you might want to have a look at that and uncheck it. That way your computer will run a little faster.
Another thing you can do is go to the “File Handling” option and change your maximum cache size to 25.0. However, you should make sure that you have enough space on your computer. This helps ensure you do not have problems with caches. You can also purge it if you want to go so as get rid of all the old cache files in there, and you’ll be ready to go.
The next one I want to talk about is “Light Out”, a fun little feature that you have in Lightroom. Let’s say you have this photo, and I’m editing it around and just want to highlight this photo just to show the picture only. If you click the “L” key on your keyboard, you will dim the lights of your screen as you can see here. Everything is dimmed out, and I can still play with it on the editing part of it, but everything else is dimmed out. If I click it one more time, it kind of blacks out the screen, turn the lights off, and you can just concentrate on the image itself. If I click it again, then it turns everything back on, and we are ready to go.
Number three is what I call removing widgets. As you can see, we have library develop, map, book, slideshow, print and web. Some of these I don’t even go up to them, and therefore there is no need to keep them there. One way of getting rid of them is to “Right Click” near them, and then you get the little menu, and you can take off the ones you do not need. In this case, we will make the web, go back there and then right click, choose print, slideshow and book. Now, these are the ones that are mainly used, and I don’t have to worry about having other items up here.
The next item I want to talk about is “exporting presets”. Exporting presets are great if you do a lot of exporting of the same types of files. I will go up to “file export’, and this is the file export box that we are all familiar with. I will go into the file export and change the resolution to 400 and width to 1920 by 1080 but make sure that my watermark is checked “On”, and then I can click “add” and I will get another small box, and I can put my presets name. I will choose the name “Test” and then put it in my user preset folder and click “Create”. As you can see, I have a test one, and if I want to export a whole bunch of files and use these, same exact settings, all I will do is open up the box, click “test” and click ‘export” and they will all export exactly where I want them to with the same settings.
The last and final tips and tricks I have for you is how to edit using your histogram. A lot of people the do not know that you can do that., You have your histogram up there as shown in the video and as you move across, you see you have columns up there. You have blacks, shadows, exposures, highlights and whites. What you can do is, if you know you want to change your exposure a little bit, you can just click and slide it up or down, and it will change your exposures, and you will see that reflected down there. Likewise, if you want to change your shadows, you can click where the shadows move them up or down, and you’ll see the Histogram moving, and you can also see it moving at the bottom. This is just a visual way to do this as well. So you can take your highlights, pump them up a bit, take the blacks and reduce them a little bit to give the image more contrast. As seen, I have edited this photo only using the histogram and not using any of the sliders, and it’s a real cool effect to do that with.
These are the five effects that I normally use day to day although there are many others which you can use. You can visit Sleeklens for anything photography including amazing Lightroom workflows, Photoshop Actions and overlays.
Comments (0)
There are no comments yet.