It happens very often when I speak with a fellow photographer that I realize how many problems they face to illuminate in a correct way the scene they are going to capture.
A very common mistake is to think that to illuminate our scene correctly it is necessary to use a lot of powerful flashes or light bulbs. Another wrong idea is that “ the more money we spend on lighting equipment the better results we will achieve “. In fact, there is no magic recipe to get our set up well illuminated, in the end, it’s all about technique.
That said, in this article, I will try to demystify some of the most common beliefs, myths or urban legends in the world of fashion photography and publicity about how to illuminate a fashion scene and of course, trying to do it in the most simple and economical way.
Table of Contents
To explain it in the most simple and summarized way, both in fashion photography or advertising campaigns, as well as in any kind of photography work, we can make use of two types of light sources: natural sunlight (outdoors), and artificial light (indoors/outdoors).
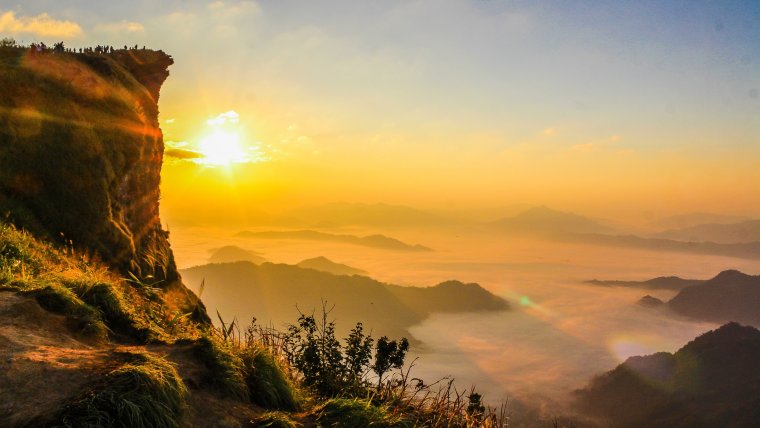
First of all, I have to say that this is undoubtedly my favorite type of lighting, the one I use the most and in most of my shootings whenever possible and of course if the weather conditions were appropriate. The biggest and best light source that we have at our disposal is sunlight (solar), so why not to use it?
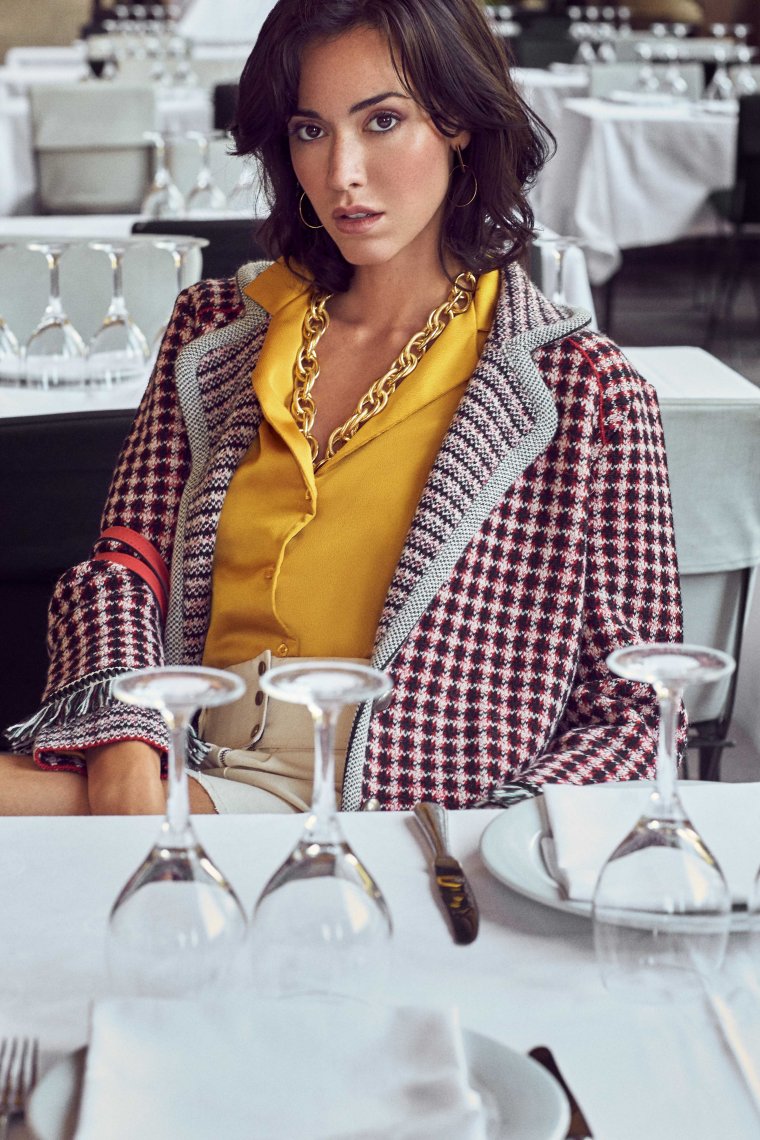
Natural Light Sample
An important factor to consider before planning an outdoors fashion session is the time we are going to carry out the session. Whether it is in the morning, at noon or in the afternoon. In fact, we won´t find the same type/quality of light at dawn than at noon or even at nightfall.
It is key to determine what time slot is best to achieve our goal. Depending on it the intensity of the light and color temperature (Kelvin) will be very different.
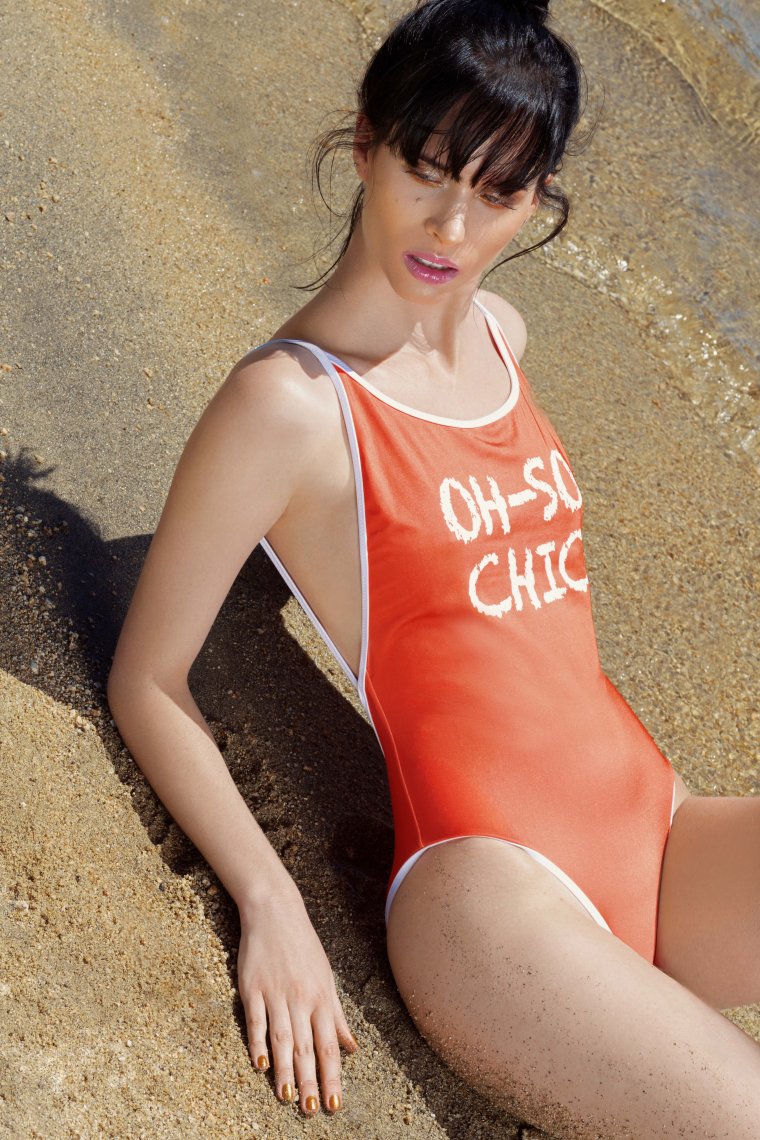
Picture taken under harsh lighting conditions
I suggest you be informed about the position of the sun at different times along the day, being able this way to take better advantage of your hours of shooting. Note that at some hours the sun position it is very high and vertical, which will generate very hard shadows on your models face, which is awful, and even producing areas in your photographs with very high lights which are very difficult to be recovered in postproduction. Try to avoid this by doing an appropriate schedule and if it is not possible to choose another timing for your shooting at least try to keep your model under the shadow or to block the sunlight with some element, a translucent reflector, for instance.
Concerning the reflector, it is a great ally to fill with light unwanted shadow areas in our models, especially in headshots or beauty sessions. I always bring a few of them with me. You won´t find a cheaper and more useful accessory to include in your equipment.
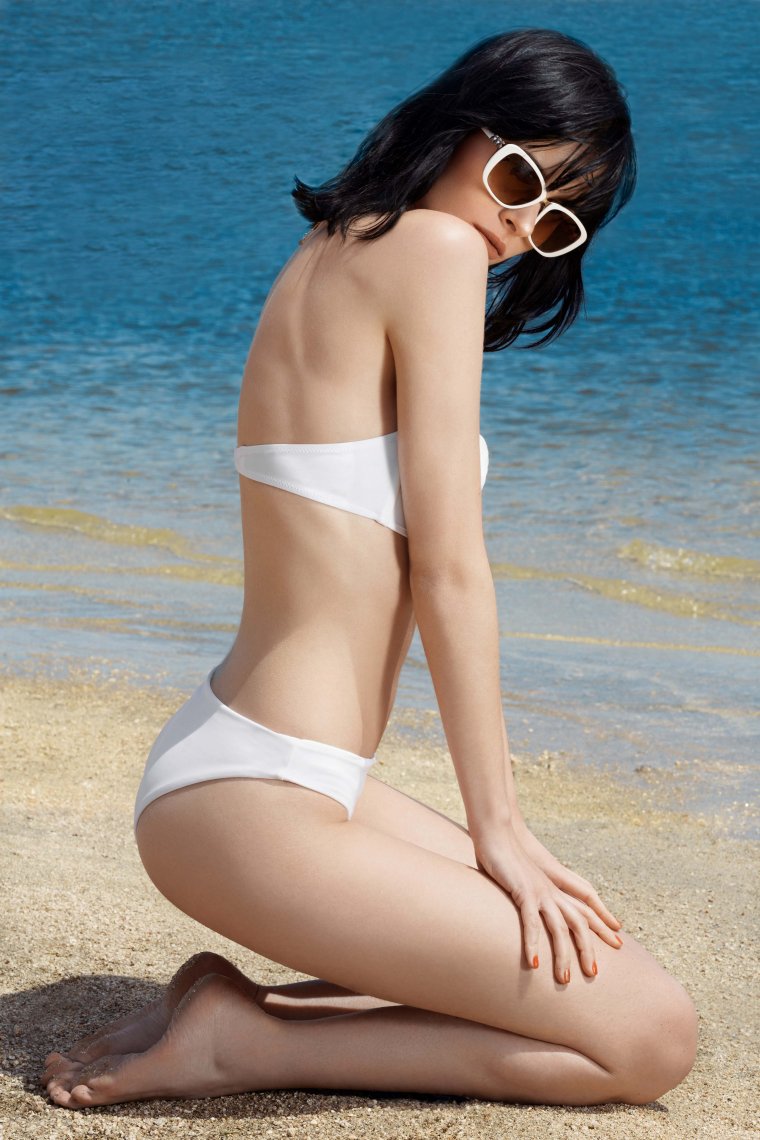
Model covered by a translucent reflector
On the other hand, remember that the intensity and duration of sunlight it is quite different during the diverse seasons of the year. We won´t find the same type of light at 8 pm in wintertime that at noon along the summer season.
My recommendation is to check beforehand all those available forecast sites that can be found on the web. There we can check not only forecasts but also the position of the sun hour by hour.
It is so important to choose the correct time of our shooting that the color temperature of our pictures will depend on it. In fact, the average daylight color spectrum ( 5500 K ) alters during different moments of the day. In the early morning and late evening, the color temperature will fall to 5000 K and lower causing color shifts in our pictures resulting in warmer color rendering.
As a result of it, we must choose the time slot depending on which kind of light/color temperature fits best to the project we previously established in our mood board. In essence, which ambiance/mood we want to describe in our editorial: warmer like in summertime or colder like in autumn or wintertime.
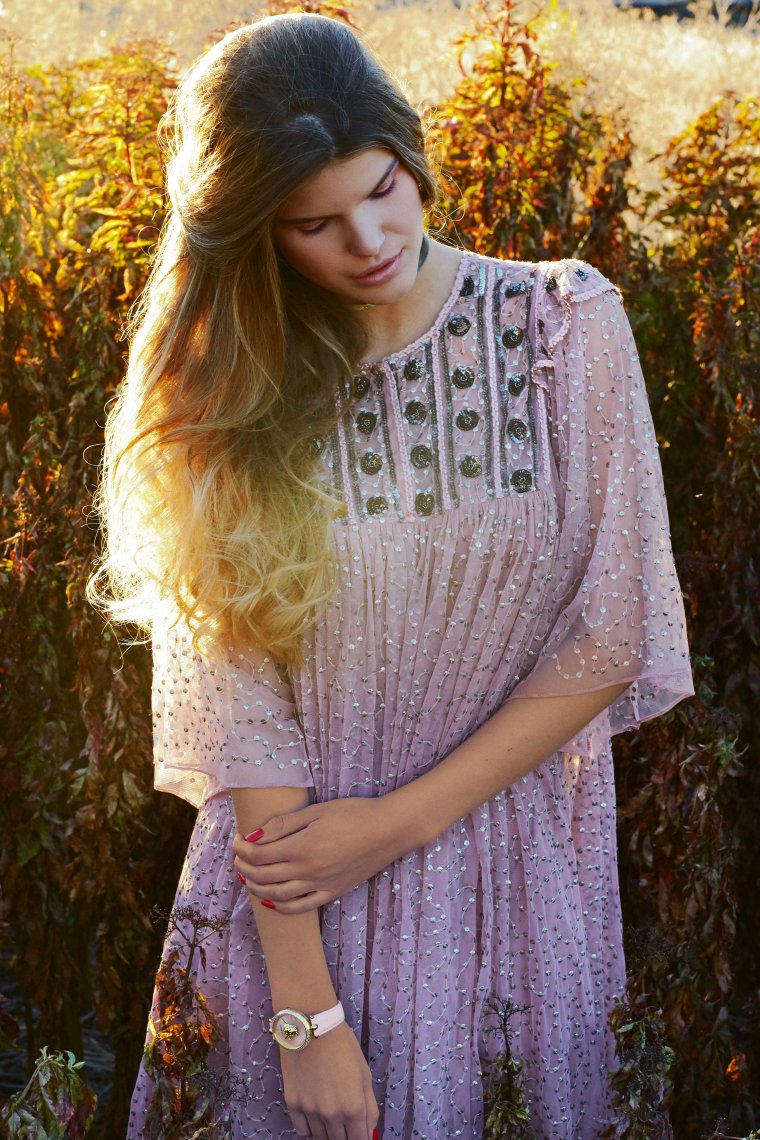
Late evening shooting sample
Another of my recommendations is to do some scouting. It is crucial, if possible, to cover the place where we are going to shoot, at the same time and on the same day of the week, previously to our session. This way, we will not only avoid unpleasant surprises with the sunlight but also with the location. Always expect the unexpected!
Let’s imagine that we are going to carry out our session in a building or public place. It can be a frustrating situation if the session day you get to that place with all your large team and heavy gear to discover that the place is closed and that you work it is spoiled.
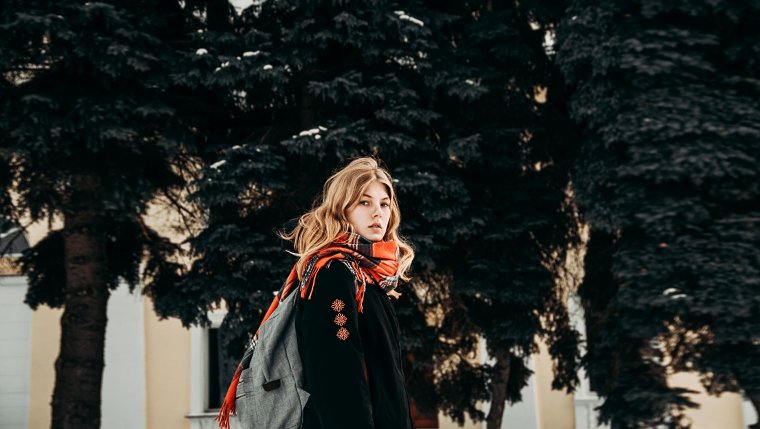
Lighting is one of the biggest factors in shaping the mood and feel of your photograph. It also has a huge impact on how your model looks physically. Shadows and the intensity/harshness of light can literally make all the difference in your model’s appearance. As a general rule of thumb, soft light which produces soft shadows will always be better on someone’s face. It will smoothen out wrinkles and blemishes. It’s not to say that harsher light, which produces hard shadows, can’t be used but you have to know when and where you can get away with it. It’s quite popular to use harsh lighting in higher-end fashion shoots, but it usually always involves more extensive editing. These are general rules though and like all rules of photography, can and should be broken.
Hopefully, you come away from this with more knowledge on lighting. Use this information as a tool in your tool belt to help make your ideas/visions a reality!
Keep learning and have fun!
Comments (0)
There are no comments yet.