How many times did you want to enhance beach scenes with natural results? And I mean this not by simply applying an all-in-one Lightroom Preset but to actually know what each tool does. In this tutorial, we’re going to cover the process of enhancing a somewhat overexposed beach photo into a better outcome. Let’s get started!
Table of Contents
Your first step is to ask yourself in which direction you want to go. If you aim for soft, velvety results or a sharp as tack photo. Colour toning is crucial as well, since some photographers prefer a colder white balance, whereas others opt for warmer.
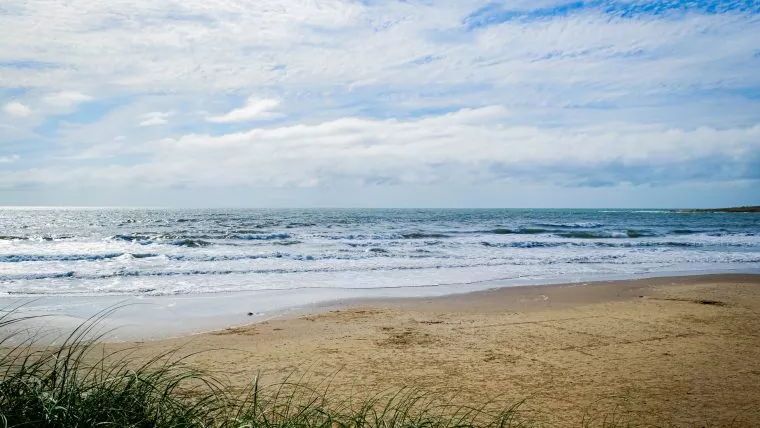
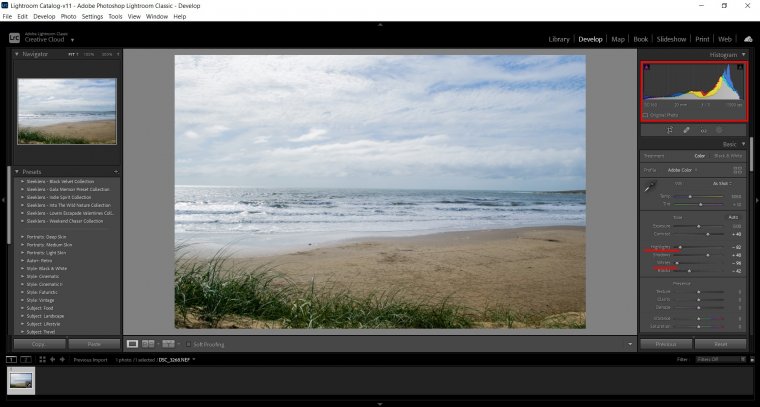
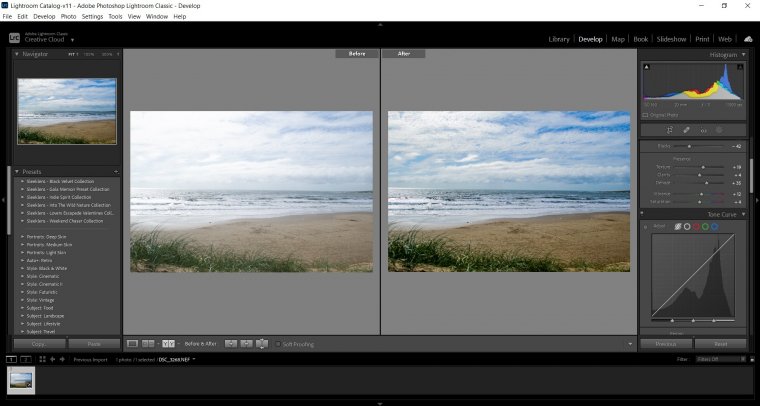
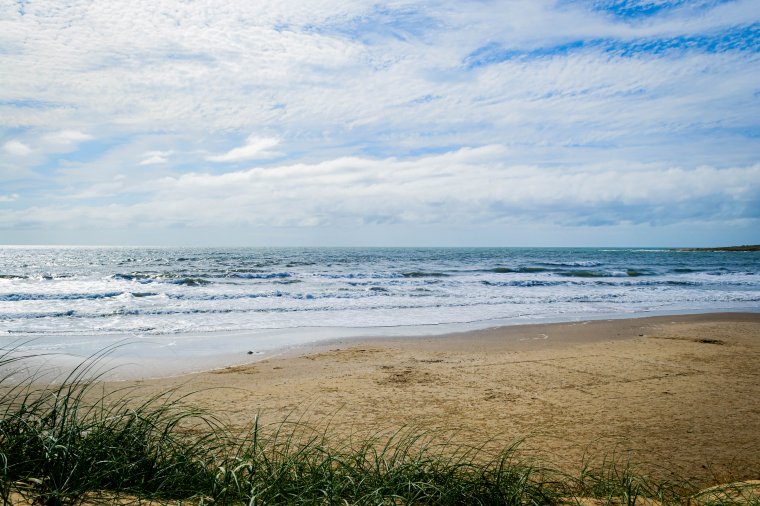
The start point of this project is as seen below.
The overall photo looks washed out as the highlights are too harsh, and the image is somewhat overexposed. We can verify that information via the Histogram.
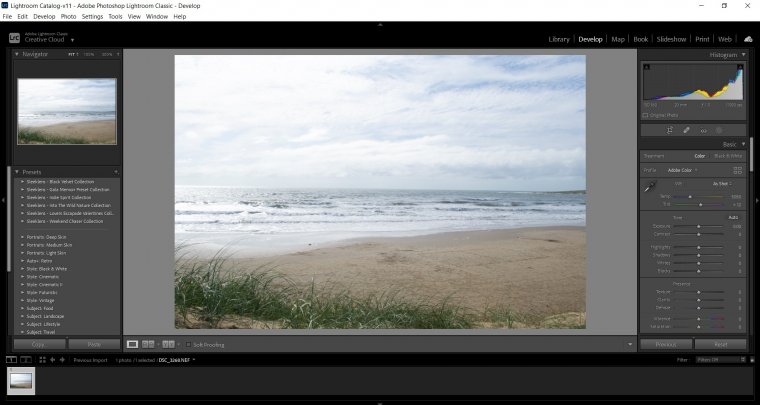
My first step is to compensate those intense Highlights and Whites by lowering their values.
By doing this, we recover some detail areas, especially in the sky, hence the importance to work under RAW format. I also tweaked the Black values by moving the slider towards the left. That adjusts the darker areas to be more noticeable, so don’t overdo it.
When working with beach scenes you may feel scared of too intense lighting being reflected into the water, or better said, how will other details look when you tone it down.
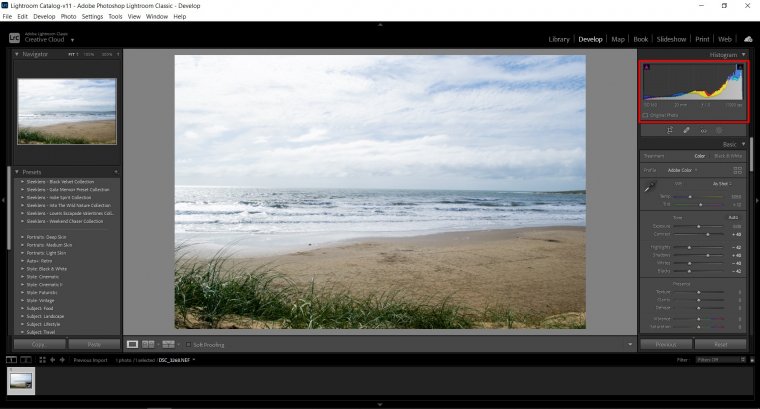
In my process, after doing the steps mentioned in Step 1, I follow up with altering the Shadows slider towards positive values.

That brings a bit of light back into the overall scene that was lost when decreasing the Whites slider.
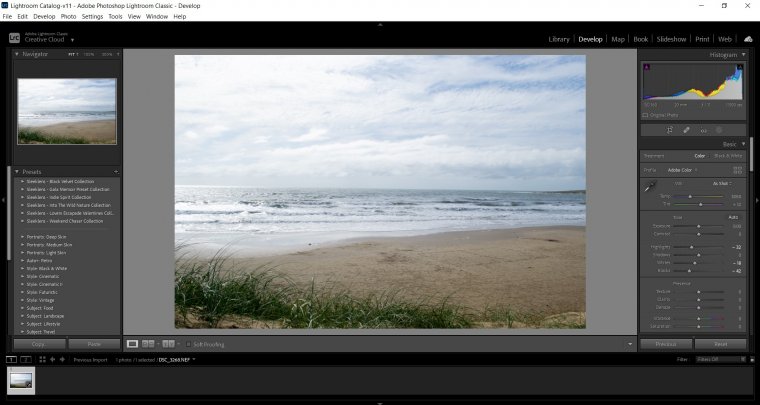
If you take a look at the Histogram, that’s telling us that some areas are clipped, especially the Whites and Highlights. We can fix this in a simple step by just dragging the Histogram from right to left, you will see the sliders change their value.
Whites and Highlights went almost all the way down.
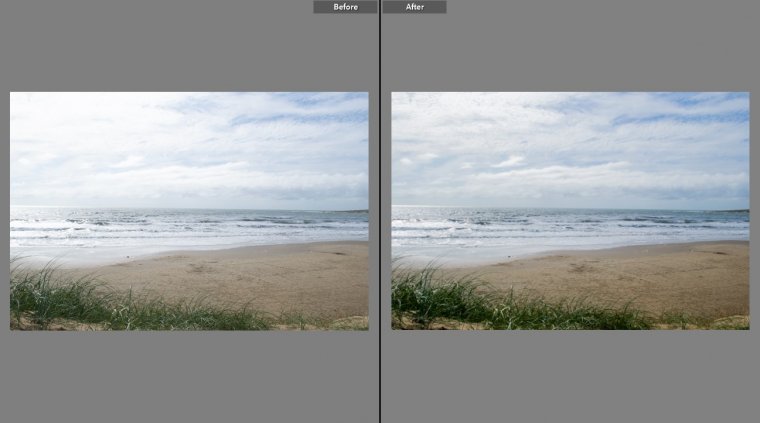
So far, this is the current situation, Before/After.
With newer Lightroom versions, the Texture and Dehaze tools are available to work. For this scene, I’ll apply the Dehaze tool, but, word of caution: overdoing this tool totally ruins the image. Better to fall short with this adjustment and give an extra kick with Vibrance.
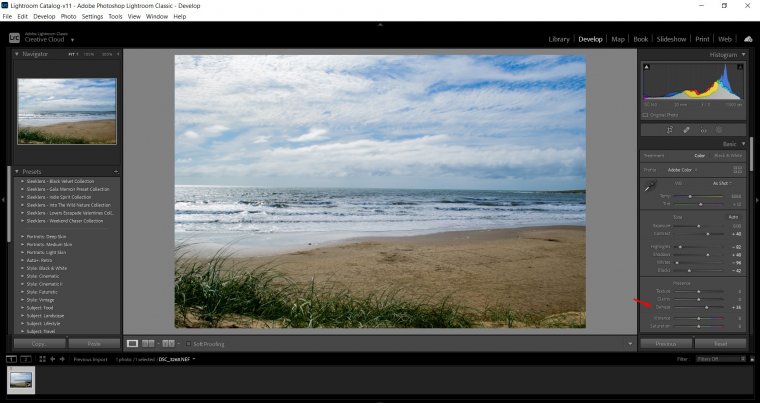
The next step is to introduce some Texture for finer details, and slightly increase Clarity.
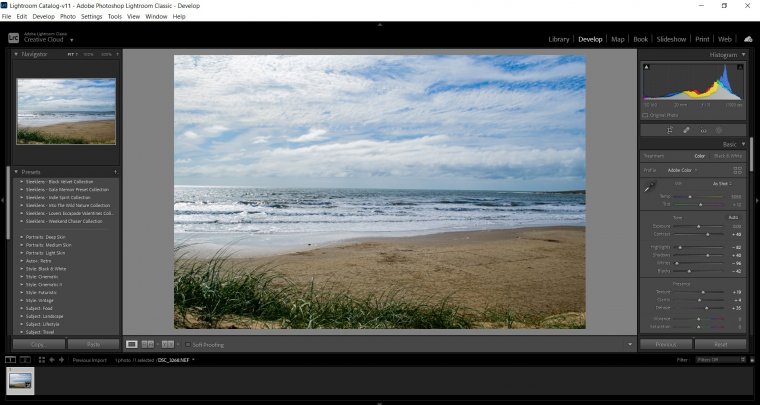
And so far, the image looks like this. Let’s move on by adding some Vibrance and Saturation. I prefer to work more with Vibrance than the Saturation slider, then alter the Saturation individually for each Hue in the HSL panel.
The Tone Curve adjustments are just minimal, just to correct minor lighting values.

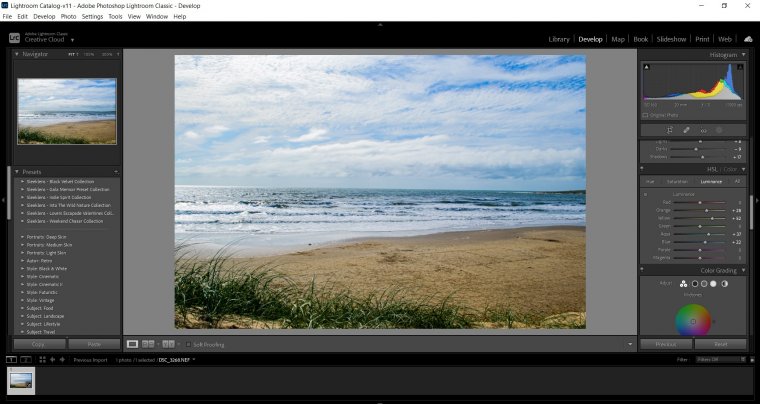
My HSL adjustments in this case will go only for Saturation and Luminance, removing any potential influence of magenta or purple hues. Boost blue (for sky) and aqua (sky and water), and also orange (for the sand area). Red saturation can be decreased for a colder look.

The Luminance area is, in this case, aimed to boost orange & yellow (for sand), and blue & aqua (water and sky). By applying this, the composition regains some life as the decrease of lighting in previous steps made it look dull.
Overall, I like to finish my projects with the following set of steps.
Chromatic Aberration Removal is a must, same as enabling Profile Corrections. Some minor noise correction was applied as well.
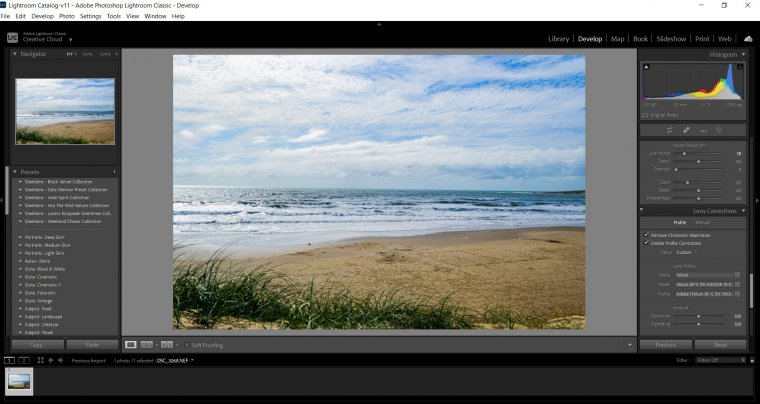
Then I moved on to apply a little bit of vignetting to the image to enhance the focal point.

The final step is to apply minor corrections to the image if I feel something is off. It’s a sort of second-check for the tonal aspect. As always, it’s best to compare the start point to our current situation.
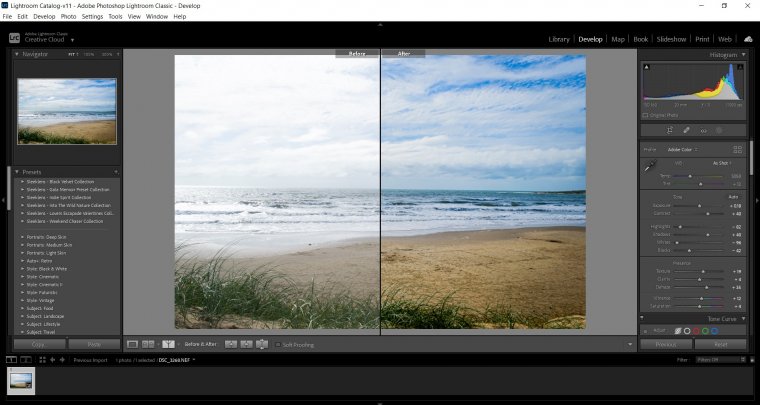
And this is the final result.
I hope this guide was helpful to your photo editing work, and see you next time!


Please verify your software version before proceeding.
 I’ve verified my software version


 Facebook
 Google +
Comments (0)
There are no comments yet.