For many of us, the thought of starting a conversation with a complete stranger frightens us. So why in the world would we do this willingly while also trying to sneak a picture out of it? Simply put: because it opens up an entirely new and exciting world of possibilities.
If you’ve been inspired by the work of street photographers, such as Henri Cartier Bresson or more modern day street photographers such as Bruce Gilden, and wished you could gather up the courage to do it yourself—today is the day to get started. In this street photography guide, we will consider some practical advice, along with some tried and true methods that will help a beginner get on the streets.
Table of Contents
Being one of the most diverse forms of photography, street photography can be very exciting. Street photography encompasses things such as portrait photography, landscape photography, urban photography, low light photography, and more all bundled into one. This ultimately means there are no specific rules or guidelines when it comes to street photography, and you can pretty much try anything you please that fits into the genre of street photography itself. However, in this section, we will be discussing street photography tips to help you get the best photographs.
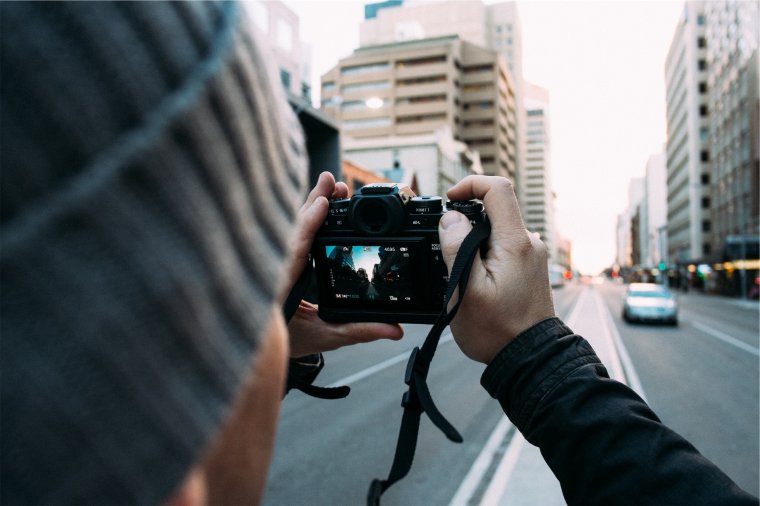
The goal is to be as unintimidating to others a possible. In the day of mirrorless cameras, it’s getting much easier to get great image quality while using a very light and inconspicuous setup. One thing you can do, especially if you own a bulkier DSLR camera, is cover any brand logos with black tape and lean towards the use of smaller, wide angle lenses to make your camera seem low key.
Don’t be afraid to use the camera on your phone! It’s said that the best camera is the one you always have on you. With that being said, you can get great images from most phones on the market today. The iPhone also offer subtle ways of taking a street photo that allow us to use the volume buttons on the side of the device, as well as with buttons on earbuds.
I’m personally not the biggest fan of wide angle lenses when it comes to photography, but I must admit they do play their part. Wide angle lenses, such as a 24mm or wider, are usually considered and mentioned when it comes to things like documentary photography, landscape photography, real estate photography, or even architecture photography. However, as I mentioned earlier, street photography encompasses many different genres of photography, and is not too specific.
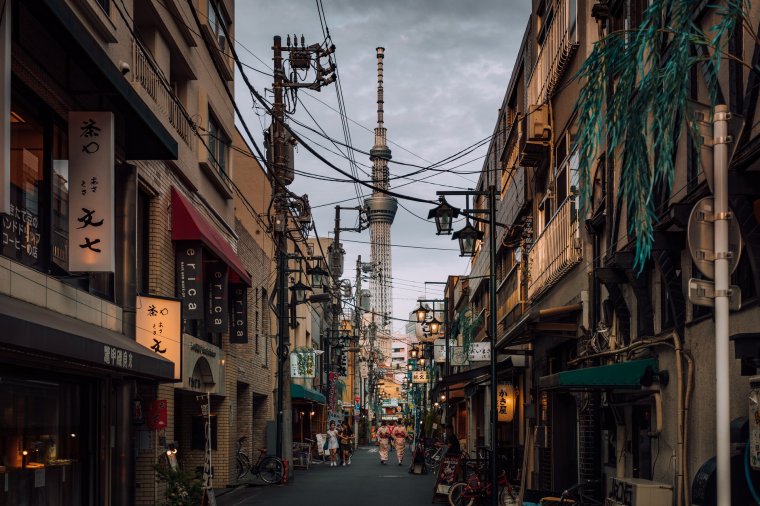
With that said, It is sometimes helpful to get a wider perspective of your scene than a close up of everything. Capturing wide angle shots can help tell more of a story, as it contains many different elements within the frame that contribute to the image itself. Wide angles also tend to show a lot more interaction with different subjects, and from time to time, can yield some very rewarding and interesting images. A 24mm f/2.8 would come in handy if you’re interested in getting wide angle shots, or you could walk around with a 24-70mm f/2.8 as well for variation.
Most photographers like myself use a 50mm f/1.8 or 50mm f/1.4 for many reasons. First, I must say I personally have a lovely relationship with my 50mm prime lens, as it came in handy when I needed it the most. The 50mm is so easy to mount on your camera and carry around while working perfectly in low light situations. The size of this lens also helps you avoid being seen or drawing too much attention to yourself when shooting. The 24-70mm f/2.8 zoom lens failed me a few times in regards to blending into the background and not drawing too much attention myself.
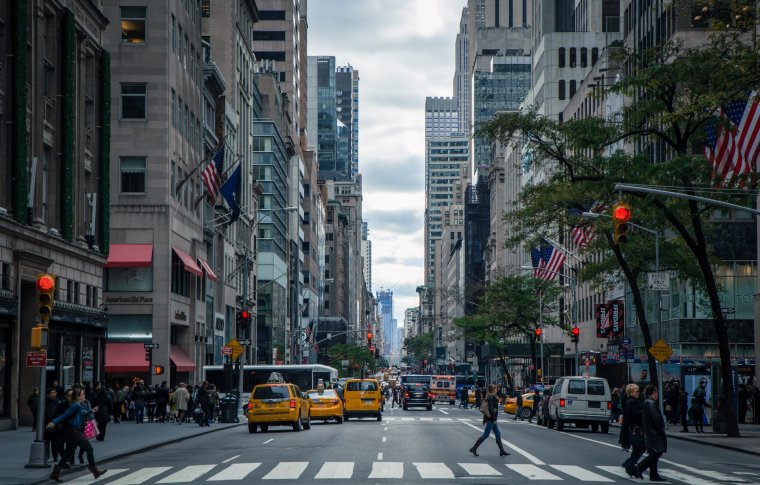
With the 50mm, you are capable of capturing some amazing candids or portraits when on the move. It is also a good focal length to use in places such as cities or highly populated areas. I would recommend using a 50mm over a 24mm when doing street photography any day, but this is also subjective to what it is you’re looking to capture or even the environment you plan to be in.
In addition to focus length and blending in easily with your surroundings, there is a beautiful depth of field that is created by a 50mm that adds an extra layer professionalism to your street photo. The 50mm is arguably one of the best lenses out there to have as a beginner and a professional photographer overall. I’m almost certain this will be debated, but you must give credit where it’s due, and this lens always gets the job done right when you need it.
For close, detailed shots, the 85mm is a lens that could be considered as well. It can almost be seen as the bigger brother of the 50mm, but it does have its challenges in the field.
The first challenge can sometimes be the focal length of the lens itself. If you’re used to using a 50mm, and then switch to using an 85mm, then you can expect some similar but noticeable differences when shooting. The first thing I noticed when taking a street photograph with an 85mm lens is the isolation of my subject. The 85mm creates a crazy out of focus or blurred background, which intensifies the focus on the subject itself.
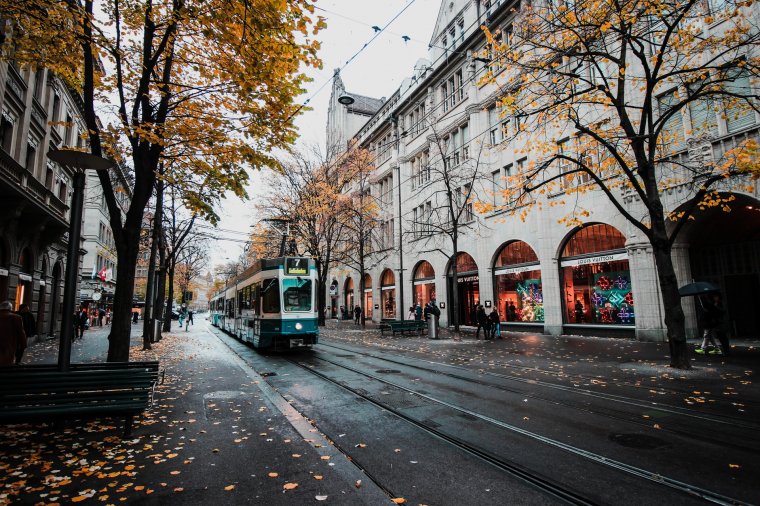
The result of this is very stunning, and will leave your viewer captivated by the image, especially if it’s a close up street portrait. However, the focal length of this lens can be a bit challenging when trying to capture subjects moving towards you, as it is an extra 35mm closer than your 50mm. Nonetheless, you eventually get used to it very quickly, and start to take some amazing shots.
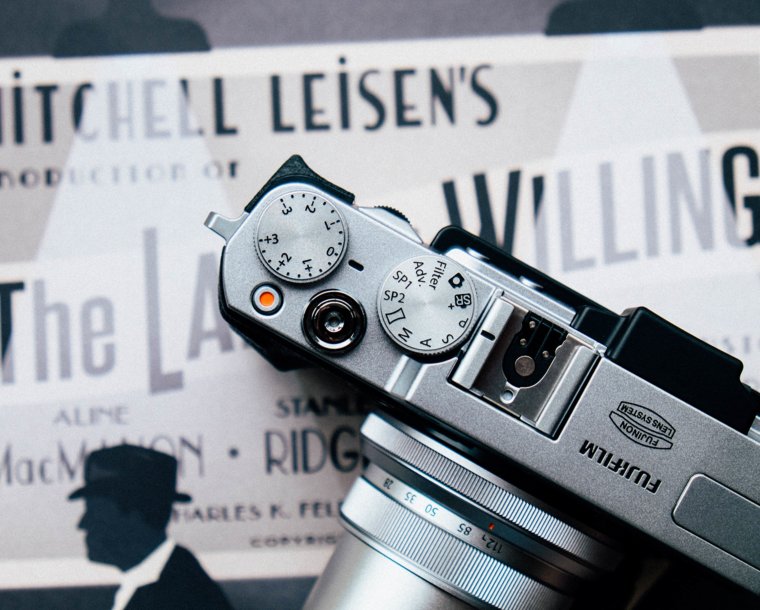
It’s often times more important to get the shot than to miss it while trying to get the settings perfect. There are many techniques that can aid in your shooting. Many cameras have a fully automatic setting. While this is the easiest way to get the shot, it limits your creativity over the final image . Many cameras have a shutter priority (S) and aperture priority (A) mode that will tailor the camera’s settings around your decided shutter speed or aperture. These modes are your friends.
Some may say that in order to be a “true” photographer you need to be shooting in manual mode at all times. I can guarantee this type of thinking will only result in missed opportunities. Don’t allow your ego get in the way of efficiency.
Many cameras these days have quick autofocusing systems that are crazy accurate. However, if you are using a camera that has less than stellar autofocus, you can switch to manual focusing. Many street photographers swear by the method of Zone Focusing.
Zone Focusing is a technique where you pre-focus your lens at a set distance, and anticipate the position of your subject, which will result in acceptable sharpness. If your lens gives you distance markers, this aids in your ability to pre-focus accurately. Over time you’ll get more in tune with what you can get away in terms of acceptable clarity.
In order to maximize your area of focus, use an aperture anywhere between f.9 and f.16. The smaller aperture (the larger number) will give you a wider depth of field, meaning more things will be in focus.
In my expert opinion, I would say that street photography is not one of the easiest genres of photography, but it can produce many great images. The best thing in street photography is that everything is captured in real time and cannot be faked or replicated more than once. Each image has its own unique style, meaning, and elements in the frame.
Street photography can also be subjective to where you live. For example, depending on whether you live in a city or suburbs, you will find that photographers who live close to a major city, like New York, are capable of capturing more captivating street shots than those who live in a suburban area.
In this section, I will be sharing with you the top five mistakes that are commonly made in street photography, and how to correct them. Some of these mistakes were even made by me as a beginner—and sometimes even now as a professional—so I urge you not to feel embarrassed or discouraged, because we’re constantly learning when it comes to this craft.
Most of us are guilty of this first mistake. Doing street photography in fear will not bring you much reward or shots because to get the best shots, you just have to go for it. I used to be afraid myself to take out my camera and capture a shot of strangers walking or to actually just take out my camera to public place to practice street photography. The mentality I had was that everyone is gonna see me and I’m going to draw a bunch of attention to myself. I started to care more about how others feel about the camera than how I felt about getting the shots I want. This hindered me from getting what could be some pretty amazing shots in my pas,t but I’ve refused to let it hold me back now.
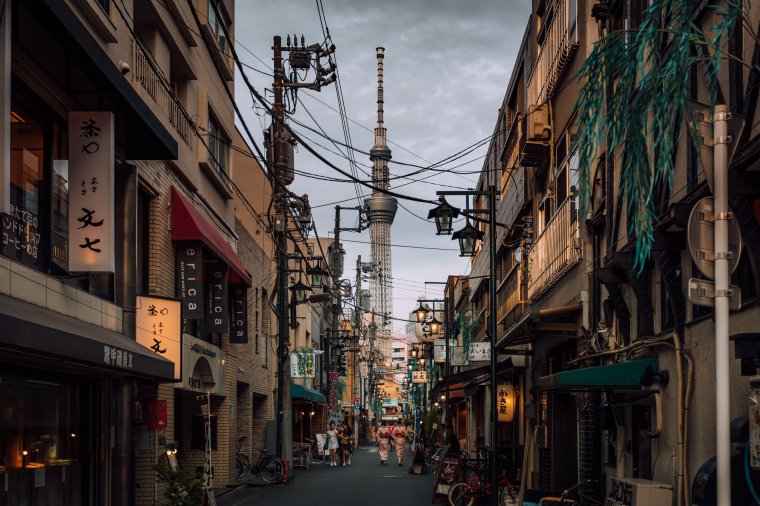
To get over this fear you should make it a habit to walk with optimism and positivity. Make sure to be polite and ask the stranger permission first before you take a single street portrait of them. Don’t be afraid to get close and be in the middle, because the people around you will never really know what it is you’re capturing. Make it a habit to just think about yourself and your camera and nothing else. Once you’ve developed that state of mind, you will become more comfortable when you shoot street photography. However, this is an issue you have to deal with very quickly, or else you will not get the shots you need and will remain timid.
Many people have differing opinions on whether a photographer should ask for permission when photographing strangers. While technically it is legal for us to take pictures of people in a public place (in most cases), one way to make sure you don’t run into trouble is to just simply ask for permission.
Now, even if you don’t intend to sell the picture, uploading a photo on the internet where people who did not even know they were being photographed is something that many people are not comfortable with. This is aggravated by the fact that some photographers tend to post pictures of people in situations that most people would not be happy to be shown in—for instance, drunk people lying on the street.
I believe that a healthy balance is to only post pictures of people in situations in which you would be comfortable to find a yourself in and, if someone ever finds an image where they are depicted and ask you to remove it from wherever you are showing it (something highly unlikely to be honest), just do so. Also, if you feel the picture is just too good, approach the person and ask them to sign a model release—they might be happy to do so!
Confidence is key. If you are nervous or feel bad about asking for a photo, these feeling will come across, and you’ll most likely walk away without taking the shot. Walk up with a smile and simply explain why you would like to take their picture. For example, you could ask, “excuse me, I’m professional photographer working on a photo project documenting New York City. Would it be okay to take your picture?” If they say no—no harm no foul.
There is another saying along the lines of, “the only photos you’ll regret are the ones you never took.” Personally, the worst feeling after a shoot is what if. What if I had asked that person or had taken that opportunity to take the shot. Don’t live in fear. Over time, rejection becomes natural; with a little practice, you’ll eventually get to the point where it no longer bothers you.
I used to believe in the rule that shooting at a low ISO when doing street photography is best. This has proven to be a mistake, as the advancement of cameras over the years has allowed photographers like myself to shoot at a high ISO without compromising my image with grain. A low ISO is obviously subjective to what you’re shooting with, but when it comes to street photography it’s not always the best option.
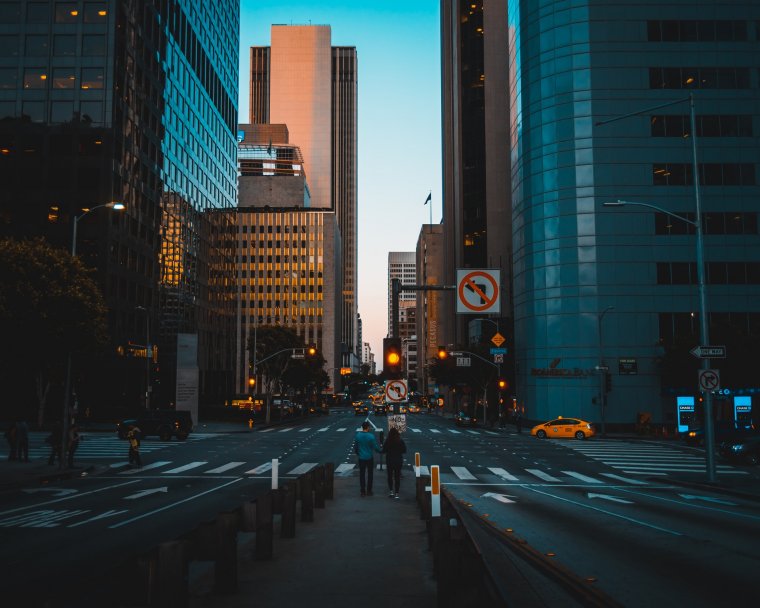
Normally, you are forced to shoot street photography at a high shutter speed, preferably 1/250 or higher, depending on your lighting conditions. We need the shutter speed high because street photography is very spontaneous, and you need to have a freeze frame of whatever it is your subject is doing.
In addition to having a high shutter speed, I would also recommend a high aperture value as well. Anywhere between f/8 – f/16. The reason for this is also related to the fact that your subject will more than likely be moving at an unpredictable rate. In the event that they are moving fast, would want to be able to have a large depth of field, just in case you miss the main focus. The rest of your shot will be pretty sharp, so you can make adjustments in post-production.
Try not to be so caught up looking for the next subject that you’re walking fast and missing the great things that are already around you. Take your time and observe where you are, and let that dictate your shots, because moving fast will distract you from what’s just around the corner. Street photography takes a little patience, but the patience you put in will give you a reward you will appreciate later, so try to take it slow.
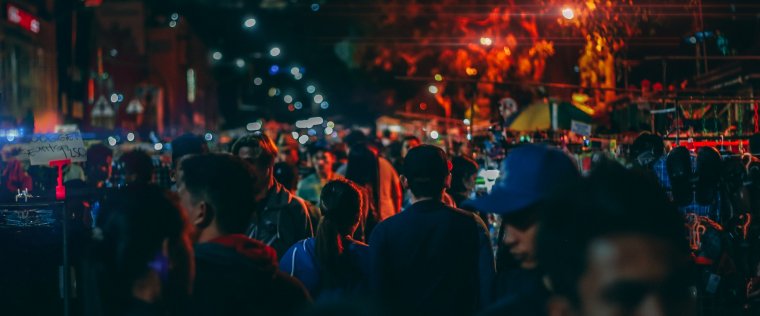
This mistake is one a lot of us make—not getting close enough to our subject because we are too scared or in a panic. A wide shot is always good in street photography, but there may be a lot of moving objects or people that will distract viewers from the main subject in your frame. Get close, and make sure you isolate what it is you would like viewers to see in your frame. Otherwise, they will be distracted by everything else.
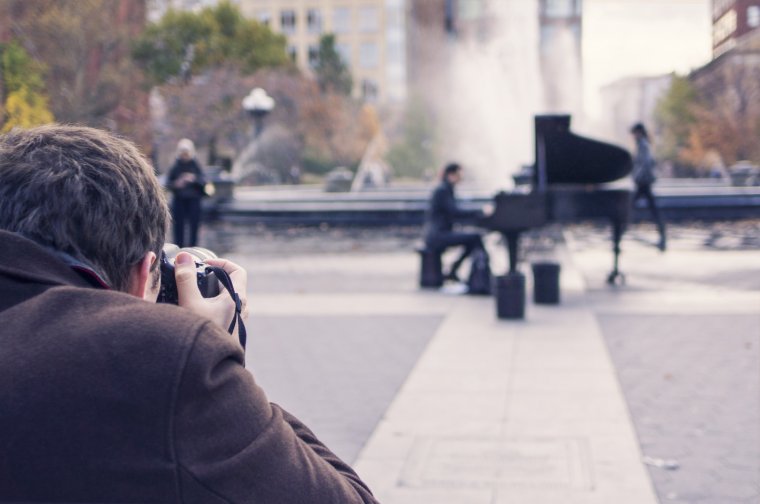
I know you need to look through your viewfinder to compose your shots, but don’t be distracted by the viewfinder so much that you forget to use your eyes.
Being distracted by looking through the viewfinder all the time will limit you from seeing the bigger picture, as your field of view is limited. Your eyes are the true viewfinder, and should be your primary tool when looking for shots during street photography.
Keep your head up and your eyes alert so when you can actually see your shot, then bring your camera up to your eyes and capture the frame. Street photography is a beautiful thing, but it’s all about timing, patience, and being fearless. Once you’ve mastered all these things then you have nothing to worry about.
Street photography is one of the most dynamic and interesting forms of photography out there. It is something that can really capture the world as it is. There is no posing, no special lighting, it is just capturing the world at that moment. The most interesting photos are the ones that are captured like this. The problem is that it takes a very special type of photographer to be able to capture street photos. You have to be outgoing, confident, and very good at what you do.
For those who do street photography, it is rewarding and amazing. It is not always easy though, and there are always challenges that a street photographer is going to run into. Understanding those challenges, and working to keep them from becoming a major problem, can improve your street photography skill.
There is a chance that when you’re photographing people on the street, you choose a poor location. If your location is empty, and there isn’t anything interesting there, your photos are not going to be interesting either.
It is not an easy thing to go up to someone and ask them to take their picture at random. You may feel shy, or even afraid, so that can impede you from getting the photos you want. You should never let this push you away from getting photos. You should always make sure you push yourself and try to get the photo and talk to that person. Don’t let fear limit you.
The biggest part of street photography are the people, but some people are going to be wary of you getting their picture. If you are not going to talk to the person, then just be as subtle as you can with your photography, but don’t be rude about it. Make yourself look like the photographer you are, and people will be much more apt to trust you. Don’t look dodgy or creepy, and don’t hide to get your photos.
Some people will not want their photo taken. If they confront you, then all you have to do is apologize, explain what you are doing, and offer to delete the photo from your camera. This will show you have nothing to hide, and that you understand they are angry about the picture. Work with people, never against them.
When you have the confidence to get the shot, you may find that the person stops doing what they were doing. Maybe they walk out of the frame, maybe they see you and just freeze up. It is important to be subtle, but understanding, and move on if you have to because your photo may not work out and there will always be other photos down the road. Try to plan what your subject is going to do, and where they will enter the shot, so you are ready when the moment comes.
It is important to understand that there may not be a decisive moment for you. You may be waiting a while for that moment, but that moment may not come. If it doesn’t, move on and just get another shot whenever you can.
You may start to worry that you will never get that shot. You may want that perfect shot that will never come. All you can do here is stop worrying and take as many photos as you can. The more you take, the more chances you have at getting that perfect photo you have been hoping for. Don’t be afraid to take dozens, or even hundreds, of photos of one subject. Just start taking photos and don’t stop until you are satisfied.
On the same note as before, you may get those quick shots, but that could end up being a poorly exposed picture, or one that is out of focus. Try to have your camera ready before you start shooting, and get some preview photos if you can. Just a small bit of planning ahead can ensure that you get the pictures that you want, and that they are not going to turn out poor or out of focus. It is always best to take that extra time to do it right.
If you’re looking for inspiration to improve your street photography skills, one of the best ways is to study the experts. A few popular street photographers to study include:
Street photography can be a fun and challenging way to improve your photographic skills. It’s also a great way to explore the world and capture everyday life as it happens. We hope these tips have given you some ideas on how to get started with street photography.
Comments (0)
There are no comments yet.