Hi ! I’m back again to give you some great tips and tricks as to how you can bring light modifiers into your photography. As a photographer, we depending on light to get our job done in some way, shape or form. Without light then we would all be taking pictures and seeing pitch black and how exciting can that actually be. We are sometimes blessed by mother nature by giving us just the right amount of light through a window or making the light we get on a particular day, soft and just perfect. What happens when mother nature isn’t in the mood to be kind? We have to figure it out. We have come up with some many ways to bounce, reflect and create our own light to do what we want it to do and we want it to do it. All the tools are at our disposal to create exactly what we need, and in this article, we will be discussing in detail a few of those tools we can use. However, before we get into any details we first have to know what we are talking about and that brings us to the question as to what are light modifiers?
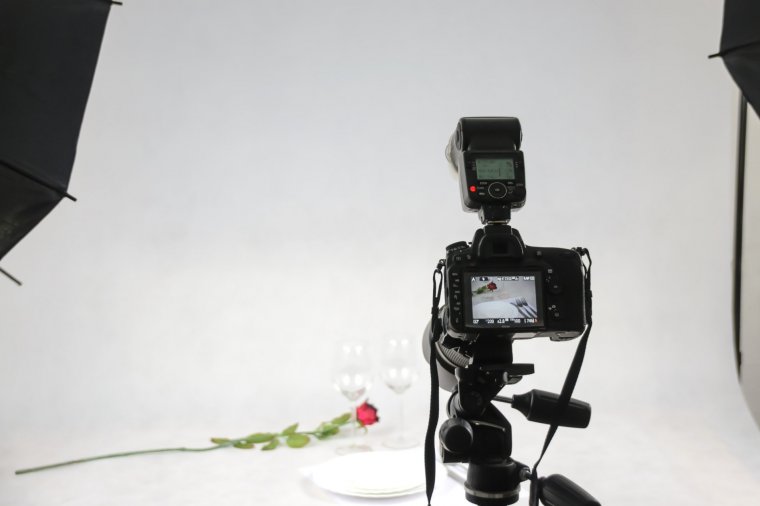
This answer can vary due to the different nature modifiers have taken over the year, but essentially it is a tool used to either soften, reflect or enhance light to a certain degree. In our case of photography, we use it for all those things. This modifier can often range in size and quality, so it is up to us to judge and select which one we need to get the job done.
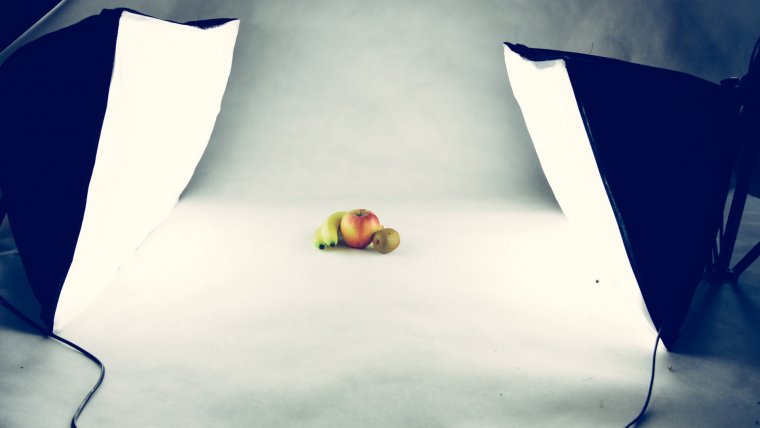
The Umbrella, this modifier can create light quality that is often abundant and soft. You may have seen these a lot inside photo studios or even on the set of some outdoor sessions. They are particularly amazing if you want to add some light to a large area, for example, a subject on a train line or in a field. These are the most common modifiers used today and not too expensive to get a hold of but remember cheaper isn’t always the best. You might save some money now but still end up buying another or better one in the future so scan through your options carefully and watch review videos and see what professionals have to say. The price tags on umbrellas can range from just about $10-$20 on Amazon. The only problem I find when using umbrellas is that if you’re not careful as to control how much light you’d like your flash to put out then you might just end up splashing light everywhere in your photo and that can be a bit overbearing and a headache in post production so be cautious when using them. Do a few test shots first just to get a hang of how much light you need and then begin your session to be safe.
Also be wary of the type of umbrella you’re buying in regards to the light shaper because these can also affect your shot. Just like you have different lenses for different occasions, you have different umbrellas for different reasons. The first one of them all is your Silver or Gold Reflective umbrella which generally is the culprit in spreading light in every possible direction it can and will be a light saver if taking images of a large group of people. The silver umbrella will give you the type of light close to a cool look while your gold umbrella will bring some warm light to your photo. Our second type is the White Reflective Umbrella, my personal favorite because it creates a nice soft light on my subject and spreads the light a bit less than your Silver or Gold reflective. The white reflective will distribute the light evenly and is great for events where you’ll be snapping a lot of group pictures under pressure. Lastly is our White Shoot Through Umbrella, great for beginners if you’re trying to get the hang of modifiers on a whole as it diffuses light very well and also spreads it evenly.
The Softbox, these also can vary in type, but they are not commonly used. These are usually used to reflect and diffuse light at the same time. Therefore you have softboxes that when you look inside you will see a white reflective interior and the extra panels in the front also to soften or diffuse the light as much as possible. There isn’t much to say about these as they are good for general shooting depending on the size of the softbox. Logically the larger the softbox, the more light will be reflected and then diffused for a larger area, and with a small softbox then it would do the opposite. These range in price between $20-$115 on Amazon depending on the size softbox you’re looking for. As always I recommend watching reviews to see which would best serve your needs.
The Scrim, not a modifier I’ve used often, but it still serves it purpose. The scrim is typically a large rectangular shaped frame with an extensive material of diffusion stretched over it. Might not sound as exciting as the others but is a cool tool to have when you want to create an area of large diffused light as if the clouds were covering the sun giving you that cool soft light effect. If you’re not up to spend money on this, then that’s fine because it can also easily be made at home. If you are too lazy to make it, however, it’s just about $55-$100 on Amazon.
That’s it for our quick guide to light modifiers. I hope the article has given you a good Idea on how to use a light modifier or encouraged you to start using them. Thank you for stopping by!


Please verify your software version before proceeding.
 I’ve verified my software version


 Facebook
 Google +
Comments (0)
There are no comments yet.