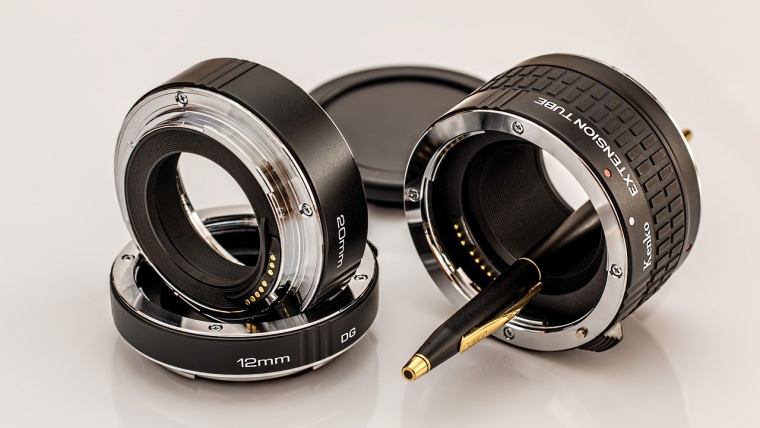
Sometimes you take a picture, but the end result is not as you expected, leaving too many objects in focus and diverting attention from the main subject of the photo.
In this tutorial, we will learn how to use the adjustment brush to blur the background of a picture and highlight the main subject reducing the depth of field, a common effect in close-up photographs. You can see the result in this before and after comparison below. Let’s begin!
Step 1) Import or select an image from your library that has more than one object in focus so we can practice this effect. Go to develop mode and select adjustment brush from the panel on the right:
Step 2) When we select the adjustment brush, the adjustment panel will appear right above the basic panel. In this panel, we can work with various adjustments in our picture, but these settings will apply only to the adjustment mask. Click “New” and let’s start a new mask.
Step 3) You’ll notice that the cursor changes to a different format (a circle with a cross in the middle, similar to photoshop). In order to view the areas that will define the mask, select the “Show selected mask overlay” In the right panel you can see some options regarding the adjustment brush aspect:
Size – This is the brush size to be used, the higher the value, the bigger the image area that will be covered by the adjustment mask.
Feather – This option defines the hardness or softness of the brush, as an example of the brushstroke in the picture.
Flow – Defines the intensity of the stroke, the lower the value, the lower the intensity of the mask.
Just tweaking some of these parameters, we can already see the difference of the brush stroke. Let’s say, if we increase the hardness of the brush and decrease the size of the stroke, we will get the following result:
In case you cover an area of the image on which you do not want to apply the adjustment mask, you can trim and delete it by clicking on “erase”, so the brush can erase the mask off unwanted areas. You can notice that the right panel has the same adjustments for the normal brush, being able to control size, hardness and strength parameters.
After a couple minutes with the adjustment brush, the final mask will be like this:
(You can note some areas of my image are not trimmed perfectly, but I’ve made it like this because of the white background, which will end up not affecting the final effect)
Step 4) Now it is time to apply the blur effect, uncheck “show selected mask overlay”, so you can see the changes on the image as you change the parameters in the right panel. For the blur effect, we will move all the clarity and sharpness to the left, decreasing the contrast and highlight from the edges only in the areas selected by the mask. In the example image, I used the maximum values, but you can work with different values depending on the result you want or photo used.
Step 5) We can save this adjustment brush setting for future uses, this can be done by creating a preset. Click on the two small arrows located in the right panel and select “save current settings as new preset ..”.
Rename the preset with the desired name and click “create”.
Step 6) For the final result I want the picture edges to have a more pronounced effect, we can do this by creating another adjustment mask by clicking “new”
My second adjustment mask ended up like the image below. To finalize the editing, click “done”
The final result can be seen below. I’ve also removed some objects that were in the corner of the image with the “healing brush” using Photoshop. If you have any suggestions or doubts you can write a comment below or contact me directly. See you next time!
Comments (1)
Awesome