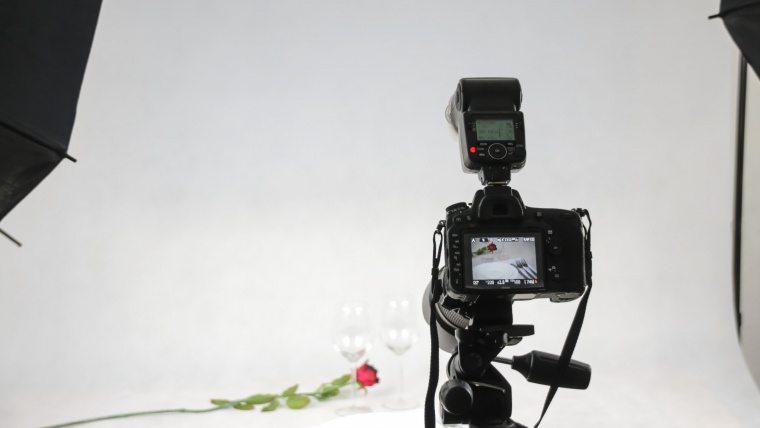
This quick video will teach you how to tether your DSLR camera in Adobe Lightroom. This is a very simple and very simple process yet very important as it allows you to see pictures on a big screen compared to the small screens at the back of your camera. It also allows you to check your focus, settings, exposure and also quickly import everything in Lightroom for you so you don’t have to worry about doing that stuff later.
The first thing you will need is obviously a DSLR camera. That is very important. You will also need a micro USB cable which comes with the camera when you buy a brand new one. You will need everything that is required for tethering your camera.
You will also need to have Lightroom. To begin the tethering process, you will take the camera USB cable and plug it into the computer and then look for the AVL Digital. That is a part of the camera that you need and you can access it by opening a small covering on the side of your camera. Plug in the other end of the USB camera and you are ready to go.
Turn on the camera and then go to ‘File’ in main Lightroom menu and then choose ‘Tether Capture’ and click ‘Start Tether’. This will open another dialogue box where you can type your session name and the file naming sequence (custom name or file name) and choose the location where you want the photos to go, answer keyword and then click Ok.
You will see a box pop-up and this is the ‘Tether Capture Box’. It allows you to change the settings on your camera using the Shutter button or do it directly from the camera. The purposes of this video, we shall do it directly from the camera. With the camera turned on, we can choose ‘Go-Pro’ and take a picture from the camera while it is still attached to the computer. At the top, you will see ‘Transferring files from the camera’.
The camera takes the picture and then puts it into the Lightroom catalogue automatically. Now you can take different pictures and they will all pop-up in Lightroom catalogue automatically. If you are a product or wedding photographer, and you want development of presets to apply to every photo that is imported, you can go to “None’ at the bottom of the Lightroom window and then choose one of the available options and then take a photo to see what happens. The preset will be applied to your picture quickly. This is fun and fast and although what we have in the video isn’t the best preset, you will realize that there is a clear different in the color tones and other adjustments on the right side of the window.
This is a quick and easy process for you to tether your camera in Adobe Lightroom and have everything popping up automatically. As such, you do not have to worry about the process of importing your pictures as everything is done automatically. Additionally, you are able to see your pictures in a large screen. You will be able to click on the picture to assess whether your camera focus was good.
Hope you enjoyed this quick video and you can visit Sleeklens.com for more videos and posts or anything you can think of that is related to photography.
Comments (0)
There are no comments yet.