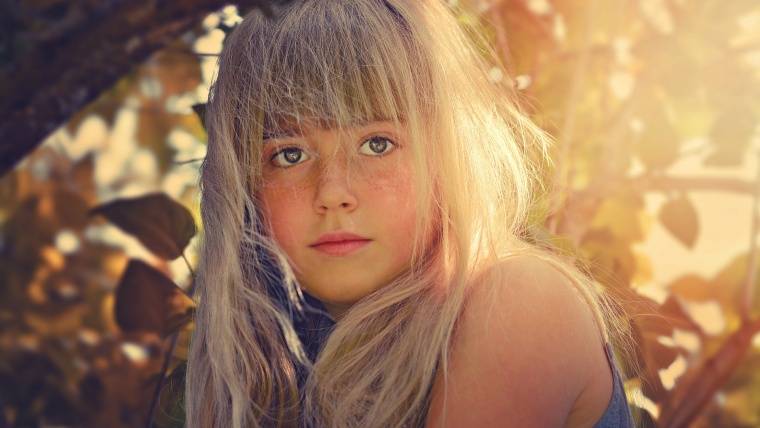
Have you ever been excited for a bright, sunny day to plan a portrait session only to find harsh lights, extreme shadows, and unflattering lighting? There’s a big misconception about the best time of day to shoot and what kind of weather to hope for. And it may not be what you’re expecting.
Between the hours of 10am and 4pm, depending on the time of year, the sun is at its highest points in the sky. This means your light source will be coming from one of three places:
1. Behind your subject, causing your background to be extremely bright and the subject to be dark
2. Above your subject, which will cast harsh and unattractive shadows on their face
3. Or in front of your subject, making them squint their eyes and scrunch up their face
If you want to make shooting in direct sunlight work, there are a few extra pieces of equipment you can carry with you. You can bring a reflector onto the field, which will allow you to fill in harsh shadows. This works by bouncing light back onto the subject and can give a more overall light. Another option is to use a fill in flash. Your camera may be equipped with a flash but you will get better results from an off-camera flash.

The best way to make shooting in direct sunlight work if there is no other option is to expose for the face and keep the sun behind the subject. This may mean your background is blown out but the most important part of the photo, the face, can be properly seen. You can also try shooting from different angles instead of straight on. Kneel down and shoot up or climb up high and shoot down.
However, if your subject is willing to move, there is a better option.
During your time as a photographer, you will hear the terminology “diffused light” coming up again and again. Diffused light is a soft light that spreads evenly across your entire subject. This does away with any harsh shadows or highlights and has an overall flattering look. When shooting outdoors, you don’t always have the luxury of controlling the light. Many times, the last thing you want to do is haul a bunch of gear out into the field. This is when shade can be your best friend.
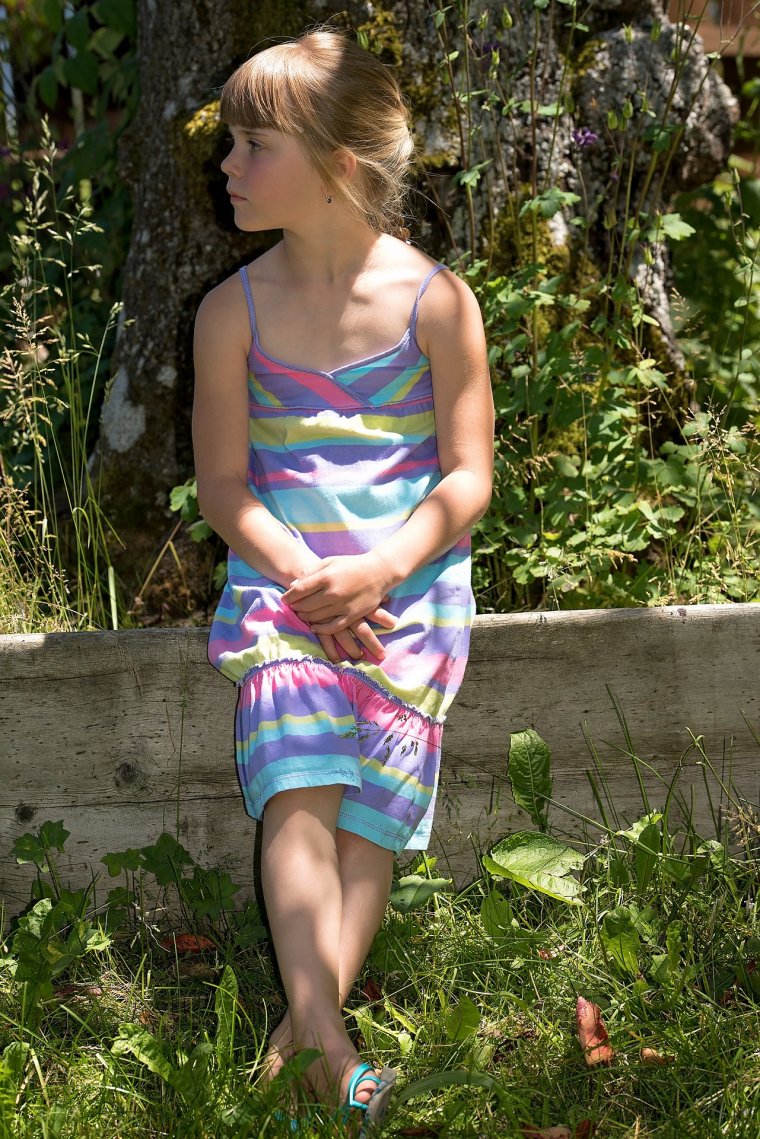
The tricky part to shooting in the shade can be getting the correct exposure. Your subject is now in a darker area so your exposure will have to be brought up. You can achieve this by opening your lens aperture (opening it up is the equivalent to smaller numbers) or slowing your shutter speed down. Another option is to shoot in Auto mode and allow the camera to determine the appropriate exposure.
Depending on where your subject is positioned in the shade, you may find your background getting overexposed or blown out. You can fix this by changing your position so that the background behind your subject is equally in the shade or allowing the bright background to be a creative addition. It can add highlights to the hair or a nice edge glow behind the subject.
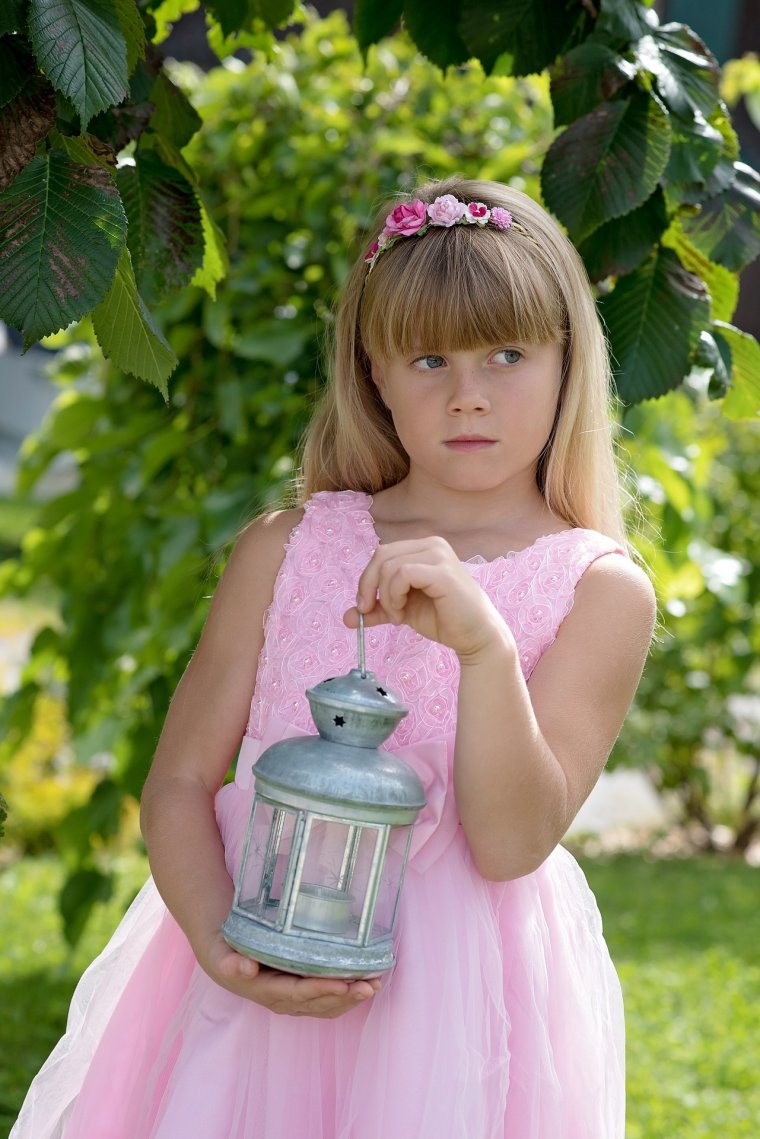
The best times of the day to plan your portrait shoots are actually early morning and late evening. These times of the day are referred to as the “golden hour”. The exact times will depend on the current season as it impacts the position of the sun. Ideally what you’re looking for is the sun to be low in the horizon.
During this time of the day you will have the most flexibility for subject vs sun position and also creative lighting. With the sun behind you and in front of your subject, they will be cast in a warm tone and the low horizon light will reduce squinting. Or, you can try positioning your subject with the sun behind them to create an outer glow.
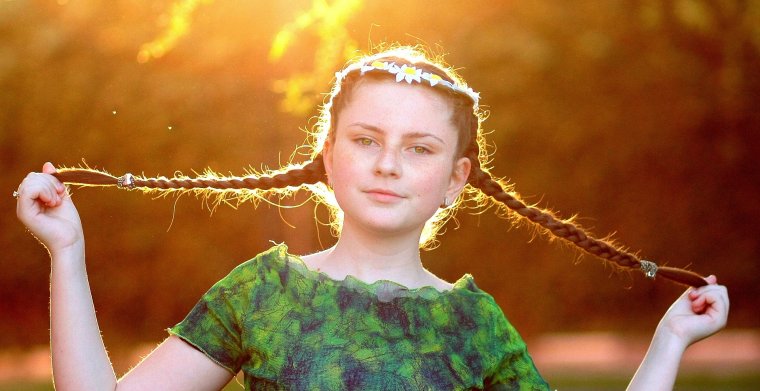
Remember, the best time to shoot is when the light is diffused or low on the horizon. Try to plan for cloudy days or dusk hours. If you’re stuck in the direct sunlight, look for some shade to move your subject into. All is not lost however if you’re out on an afternoon with no clouds in sight. You can shoot into the sun by putting the sun behind your subject, expose for their face, and try to adjust the angle that you’re shooting from to reduce harsh lights and shadows.
Comments (0)
There are no comments yet.