Brightness is a measure of the intensity of light in a photo; a histogram is oftentimes used to measure brightness. In digital photography, it is possible to adjust the level of brightness before and/or after a photo is taken in post-production. The level of brightness in a photo not only affects the mood of the photo, but also the amount of detail in certain parts of the photo. Therefore, learning to control the brightness in a photo is an essential skill for any budding photographer.
Below are a few examples of how proper exposure control can help you take amazing photos:
Every digital camera today has an integrated light meter which helps the camera decide which settings to use (aperture, shutter speed, and sensitivity of the sensor). The camera then uses that information in order to calculate the proper exposure for the scene that you are going to photograph. We will take a look at different ways to get the proper exposure (depending on the photographer’s goal and the type of image):
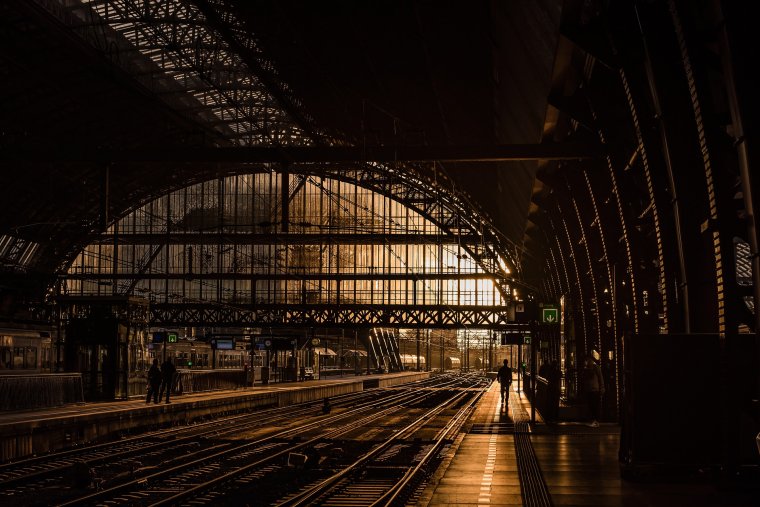
The dynamic range of cameras is limited. The sensors of cameras today, both digital and film, have limits on the range of brightness to darkness that they can capture. This is the reason why sometimes an photograph doesn’t look the same as the scene we remembered. Our eyes have a much higher dynamic range than camera sensors, which means we can see details in the shadows and in the bright areas of a scene. In a photographic setting, this means that in a scene with high contrast, our cameras must compromise either the lower range or the higher range of brightness. If we select the evaluating metering option on our camera, the camera will calculate the average brightness. This exposure will usually include a little bit of details in the shadows as well as include some of the highlights.

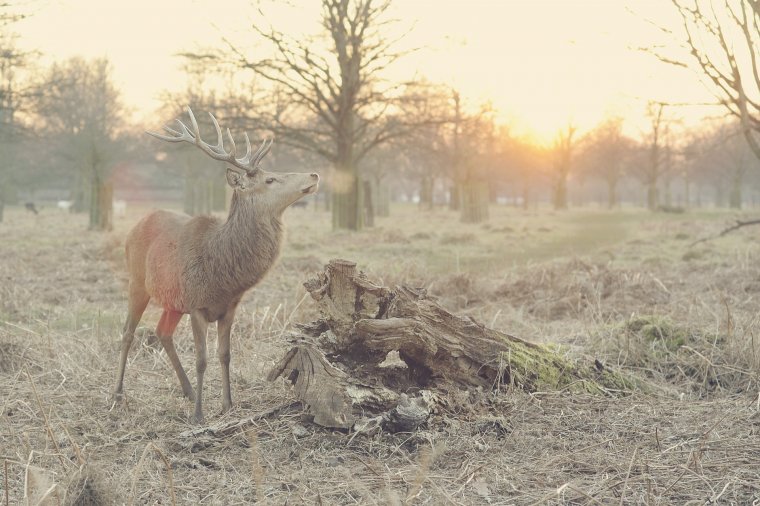
If you are new to photography, back-lit subjects are likely one of your worst nightmares. Nothing is worse than a washed-out photo with the bright sun silhouetting the subject. This is because the camera is trying to calculate the correct exposure for the ENTIRE scene, including the bright sun. Luckily, there are a few solutions to this potential issue. The first and easiest method is switching to the spot metering setting (most DSLRs have this feature). This setting locks the exposure of the center of your scene when you click on the AE lock button. The photographer just needs to center the subject, click the AE lock to expose for that subject, re-compose the photo, and shoot. In the example above of the back-lit portrait, the photographer would have exposed for the subject’s skin. The second method of exposing for back-lit subjects is by manually increasing the brightness of the photo through the camera settings. This is a trial-and-error process, however, so it may take longer.

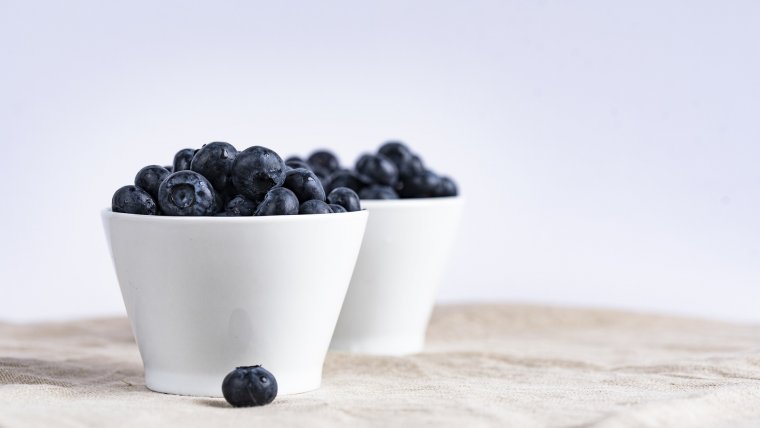
The easiest scenes for a camera to calculate the exposure for are scenes without a lot of contrast. These are scenes that have a smaller dynamic range than average. For these scenes, select the center-weighted average metering setting on the camera. This setting takes the average light throughout the scene (similar to evaluative metering), but focuses mainly on the center. Then center the subject and click on the AE lock button on the camera. This will lock the exposure for that scene. Afterwards, you can proceed to re-compose the image and shoot.


Please verify your software version before proceeding.
 I’ve verified my software version


 Facebook
 Google +
Comments (0)
There are no comments yet.