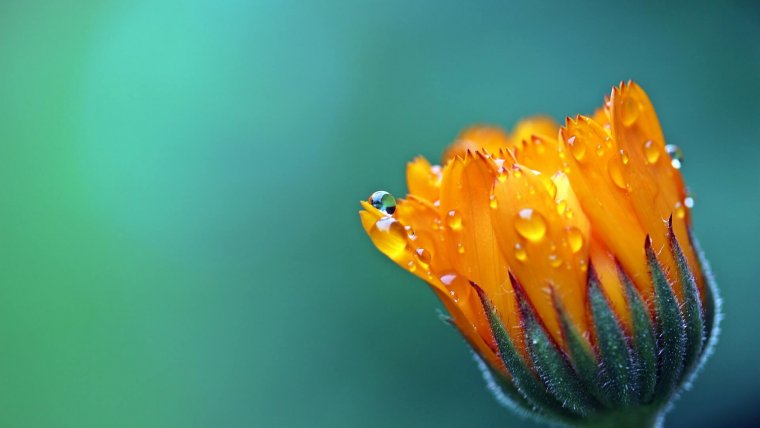
Exploring macro photography is pretty much like entering into a new world—just a bit smaller than the one we’re used to. It teaches you to appreciate details and all the little things we casually pass by without acknowledging.
In this article, I will be giving you some key reasons as to why a macro lens is essential to add to your lens collection, and making a few macro lens recommendations for those wanting to explore this photography style. Yes, there are lenses that may allow you to get close enough to a subject and enter the world of macro photography for just a bit, but they all have their limits. Macro lenses are made specifically to excel in the field.
Table of Contents
Let’s explain how a macro lens works. First, we need to understand a few basic optics principles. A regular camera lens has its focal plane closer to the camera sensor plane than a macro lens.
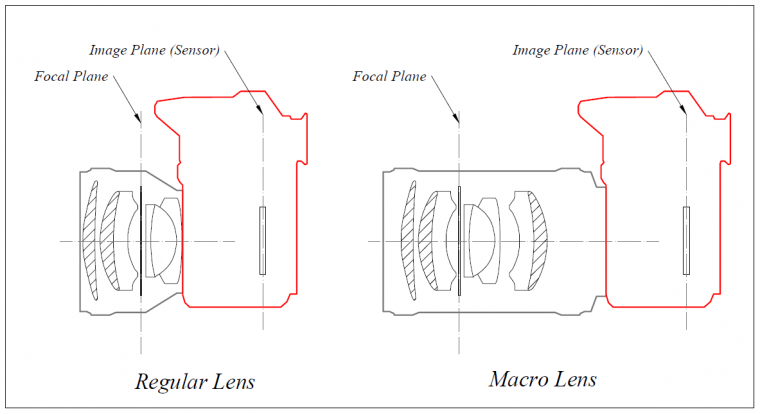 Optical schemes are simplified to show the main features in lens functions.
A macro lens has its focal plane (principal focal point) further away from the camera sensor, giving it a greater magnification ratio when standing closer to the subject. Not to get too deep into an explanation, a macro lens needs a larger lens barrel and more glass elements to be able to take a sharp, detailed macro photos—usually better than a regular lens.
Macro lenses will never give you the opportunity to get bored or lose interest in your craft for many reasons. People often like to form a relationship between macro photography and “close-ups”. While this is understandable because you seem very close to a subject, it is not always necessarily the same thing. It is often assumed that with macro lenses, you have to get real close to your subject to capture them, but this is not always the case.
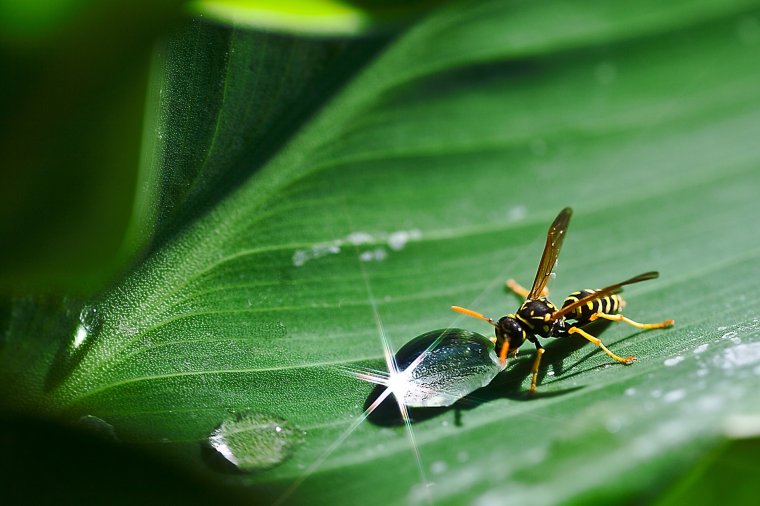
There are a wide variety of macro lenses that allow you to stay a safe distance away from your subject, but still capture it as if you were right in front of them. For example the Tamron 90mm f/2.8 SP Di USD Macro. Its focal length gives you a bit of room between you and your subject while still being able to capture so fine details as if you’re looking at your subject from an ant’s point of view. You will never get bored with a macro lens, as there is always something to capture that someone else is not seeing. This ultimately transforms any location you’re in to the one you can actually explore beyond the naked eye.
A lot of manufacturers have made it a duty to place the macro specification on their lenses. This often ends up giving a lot of customers the wrong impression, and leads to them to assume they already have a dedicated macro lens. These markings on your lens such as “Macro 0.16m/0.52ft” only speak to how close you can get to your subject before your lens begins to have difficulty focusing. I’ve seen this happen quite a few times with my Canon 50mm f/1.8 and my 24mm f/2.8.
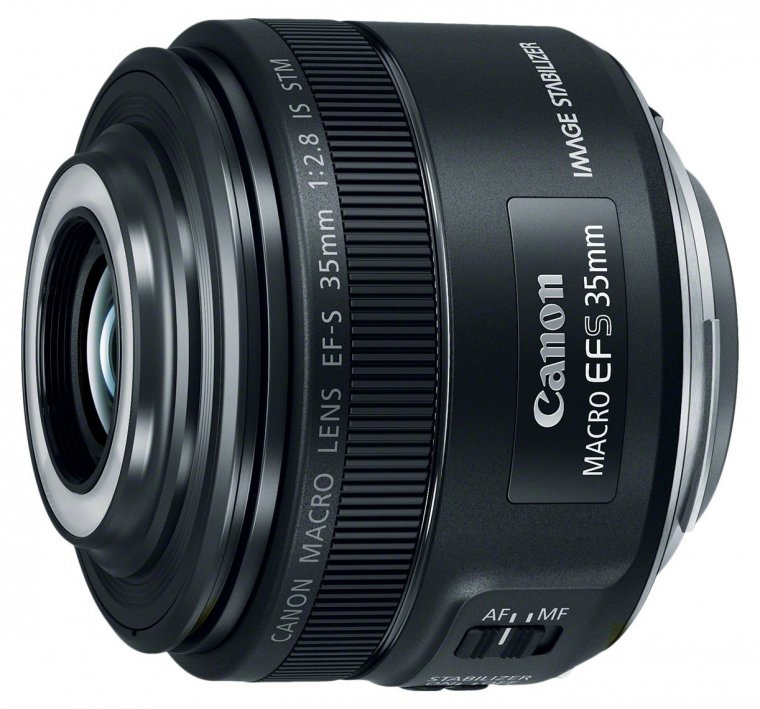
Both lenses bring you fairly close to the subject, but as soon as you get a bit too close, you probably hear your lens going crazy. It will try its best to still focus on the subject, but after a few seconds or so you will realize that if you don’t step back a bit, this issue will continue. This will all be a thing of the past when using a true macro lens, as it enables you to get as close as possible without struggling with focusing distance.
When using a true macro lens, you become more aware of all the things that play a key role in capturing just the right macro shot. Everything in your frame becomes more enhanced, which also means that anything that might be off even by just a little will show up. Therefore, you are forced to pay more attention to things like your manual focus, shutter speed, aperture values, and lighting.
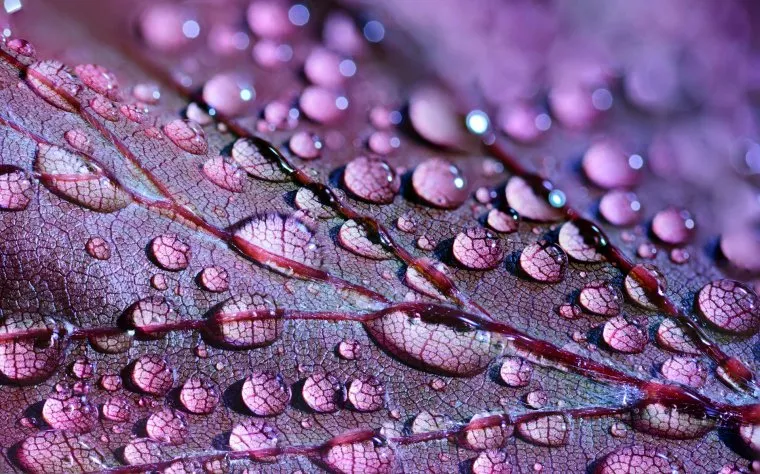
Yes, you generally pay attention to these things in your day-to-day shooting, but shooting with a macro lens demands more attention. It also helps when it comes to composing your macro shot. You often want to get that perfect 1:1 life-size magnification just right so the macro photo composition will become more important in your day-to-day shooting. Ultimately, working with a macro lens will enhance your skills.
While some lenses serve a specific purpose, most macro lenses are pretty versatile. Most carry an aperture between f/2.8 and f/3.5, which gives them the capability of performing in low light situations. They also can be used for more than just exploring the unknown. For example, the Tamron SP AF 60mm f/2 can be used to get some pretty cool portraits if put to the test or capture some great day-to-day lifestyle images, allowing you to get close only when you need to. Macro lenses can help with so much, are not generally limited to one special thing.
Before going out and purchasing any of these lenses, I would recommend (if possible) visiting your nearest lens depot and giving them a test run to see if they match your needs or fits what you’re looking for in a lens investment. I use the word investment because often, most, if not all, of these lenses can carry a pretty hefty price for what they have to offer and the specifications they entail.
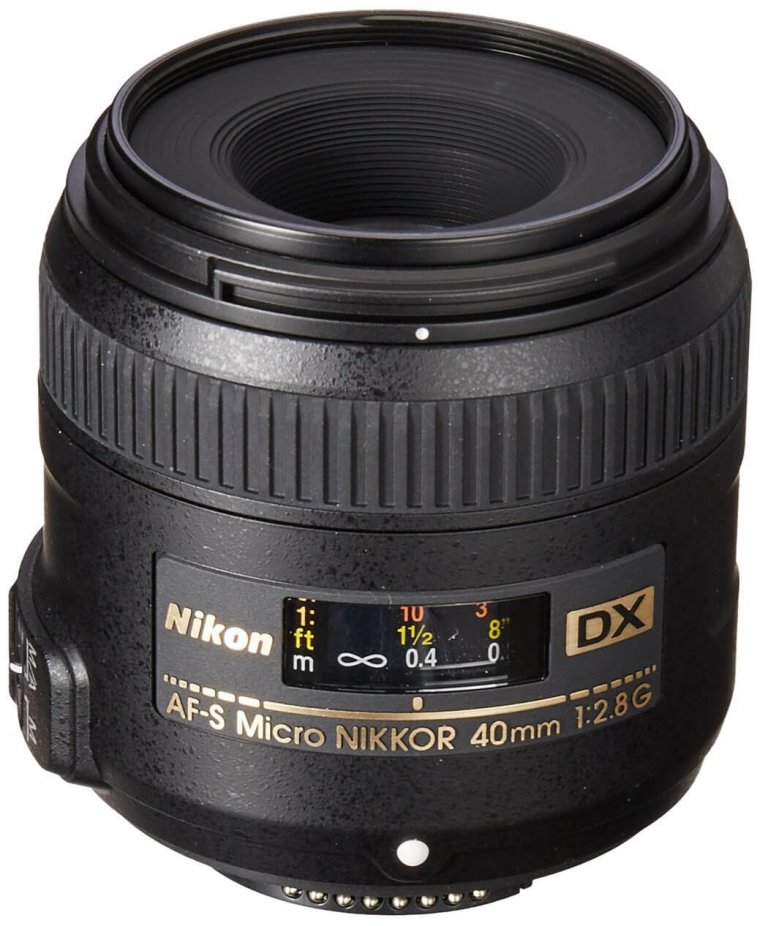
This is the best macro lens for a beginner macro photographer. Try not to be confused by the use of the term “micro” in the name of a few of these lenses, as macro and micro usually refer to the same thing in the case of some Nikon and third-party lenses.
This lens is pretty light and offers great focal length, which is quite similar to 60mm on most DX-format bodies. It is not equipped with image stabilization as one would hope, but makes up for it with its close range correctional system. This system helps to sustain image quality even when at close focusing distances. Its integrated coating helps to let as much light as possible pass through the camera sensor.
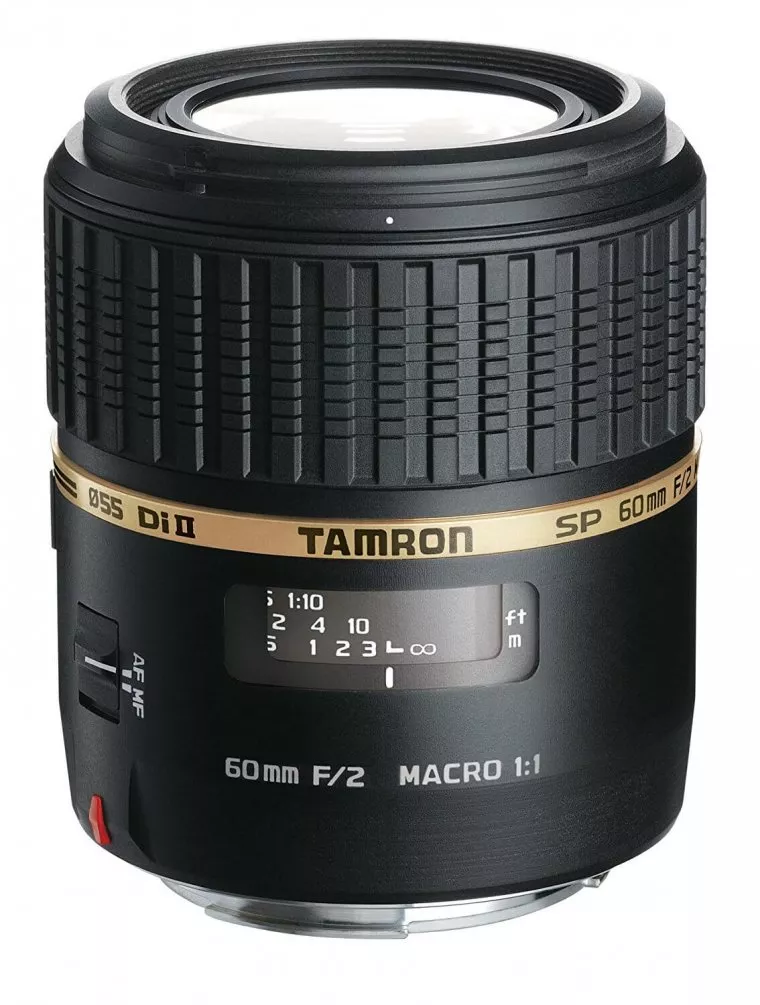
One of the top manufacturers of third-party lenses next to Sigma and Tokina, Tamron has done a good job with the craft of this lens. Apart from the long name, this lens is probably as equally lightweight as the Nikon 40mm f/2.8 mentioned above. It shares compatibility with brands such as Canon, Nikon, and even Sony, so you don’t have to miss out on the fun regardless of the brand you use. The wide aperture helps in low light situations, along with its internal focus, which keeps the length of the barrel constant. When mounted on the body of an APS-C body, it works effectively at a focal length of about 90mm, which makes it superb for portraits as well.
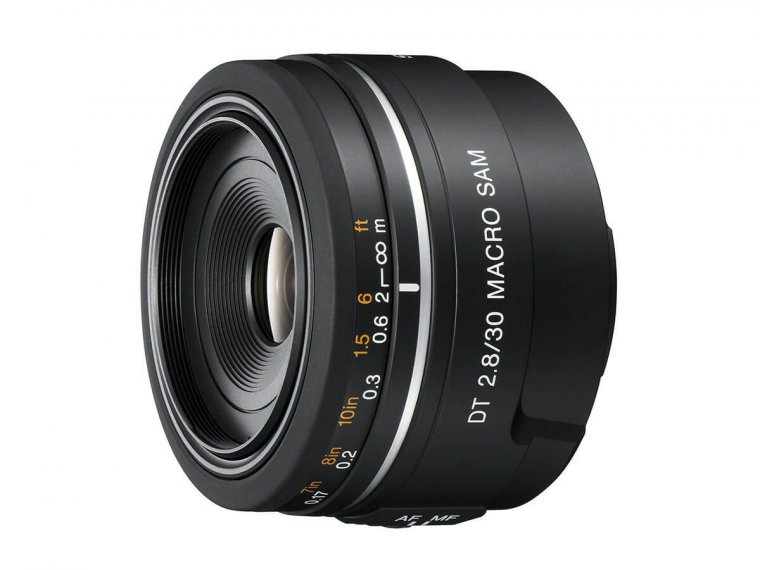
For the Sony users, this is your time to shine. This macro lens weighs in at about 150g and with its sleek design. I must commend Sony in the design of their products, as they always have a sleek or high-quality look to them, which many times influences the purchase. In terms of 35mm, this lens has an effective focal length of 45mm once being used on APS-C bodies. After giving this lens a quick test run, I noticed where it excels is in capturing food photography and product photography.
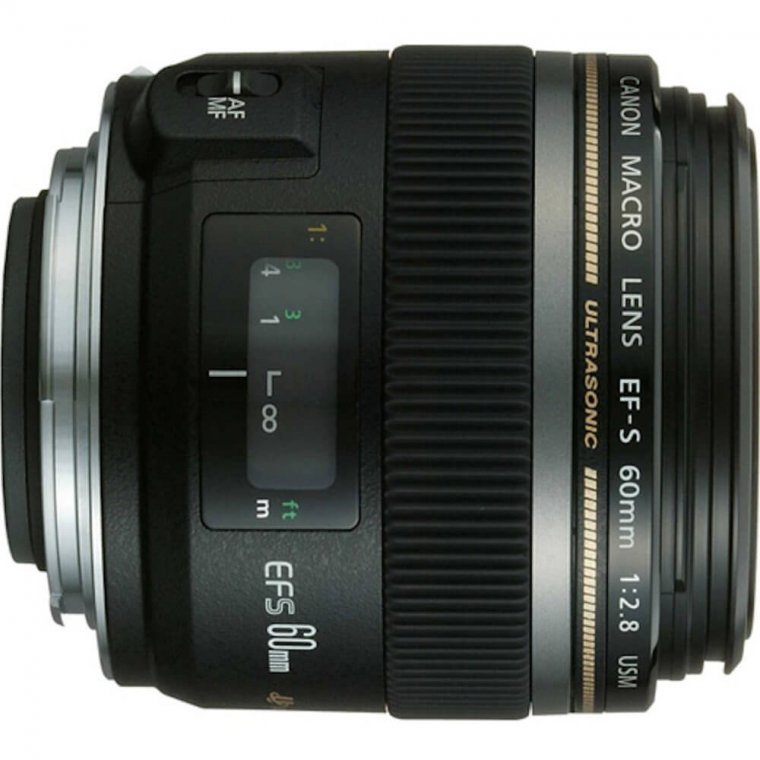
This macro lens is very compact, and is capable of providing an effective focal length of about 96mm in 35mm terms. This essentially makes this an all around great lens for portraits and your day-to-day close up photography. I often call it the silent shooter, as its USM motor practically whispers when in action and nothing makes a photographer happier than a lens that produces very minimal sound. It is also equipped with a large focused-window and a small 52mm filter thread, which allows for compatible filters, along with affordability.
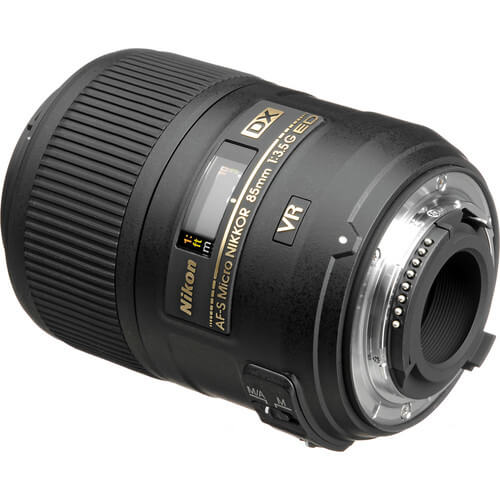
This lens is a bit different in terms of aperture size in comparison to the f/2.8. However, when this lens is mounted onto a DX-format body, it produces an effective focal length of about 130mm. This is perfect for both macro and portrait photography. As you can see it is a common trait with most of the lens listed, as they excel in both macro and portrait photography. This lens also has a built-in vibration reduction system, which should assist for a sharper macro image when working freehanded.
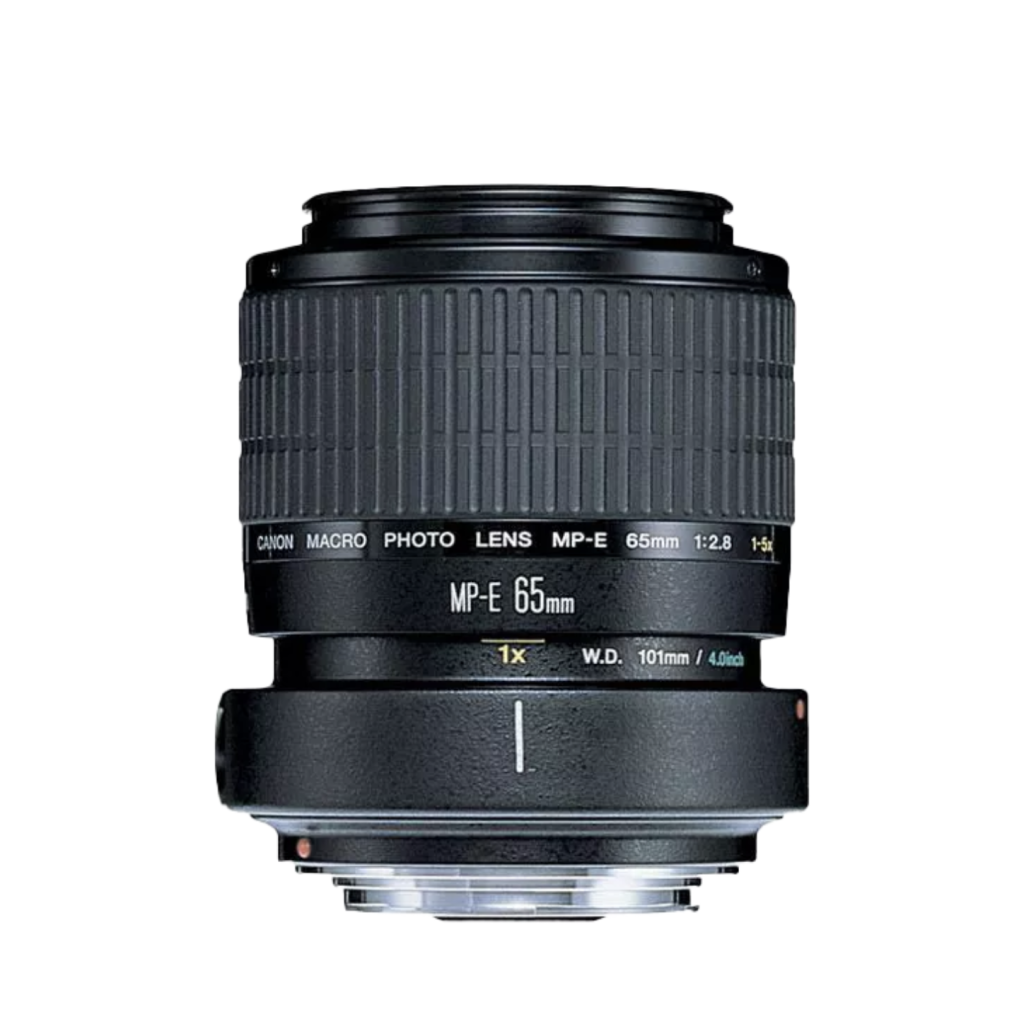
The Canon “Mp-E” Lens is probably the best lens for true macro photography. It’s really sharp and offers a brilliant overall image quality, but it’s not for a beginner macro photographer, because you will need some practice until you have mastered its handling. The lens itself costs just over $1,000, but quality has its price, as we all know. So, if you want to take stunning extreme macro shots, the Canon Mp-E is with no doubt the right lens.
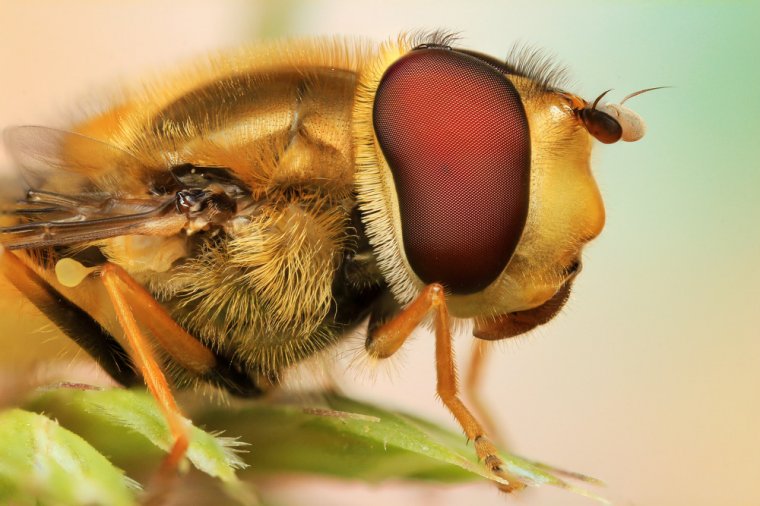
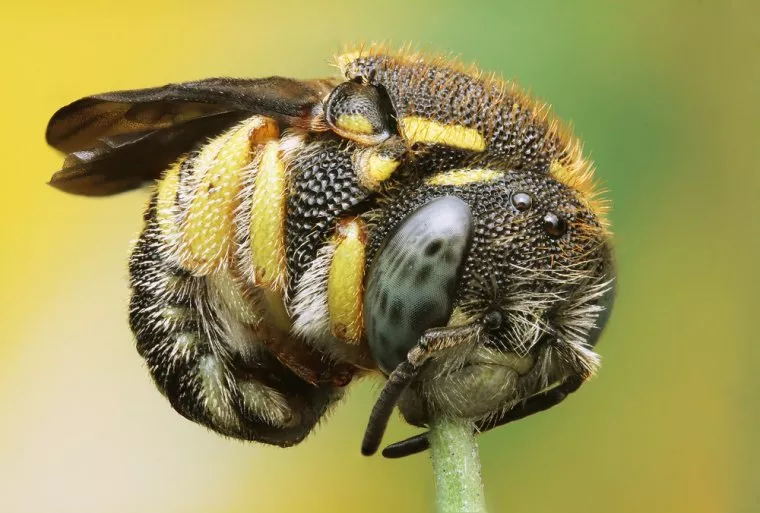
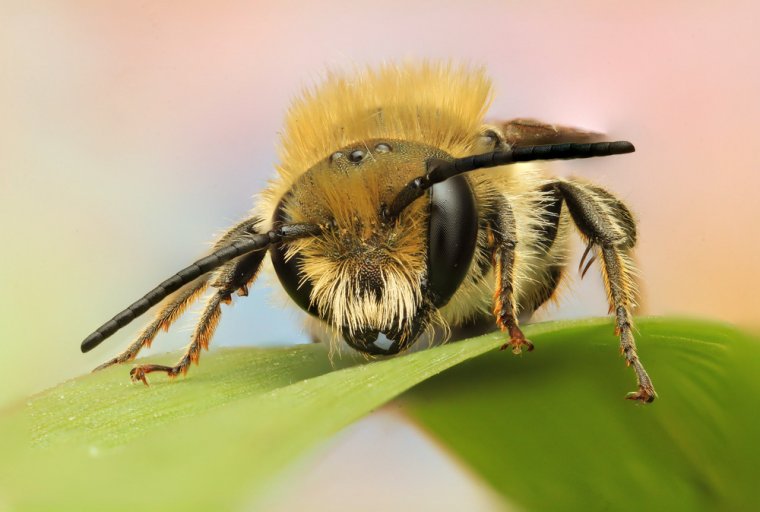
Here are few images that I had taken with the Canon Mp-E:
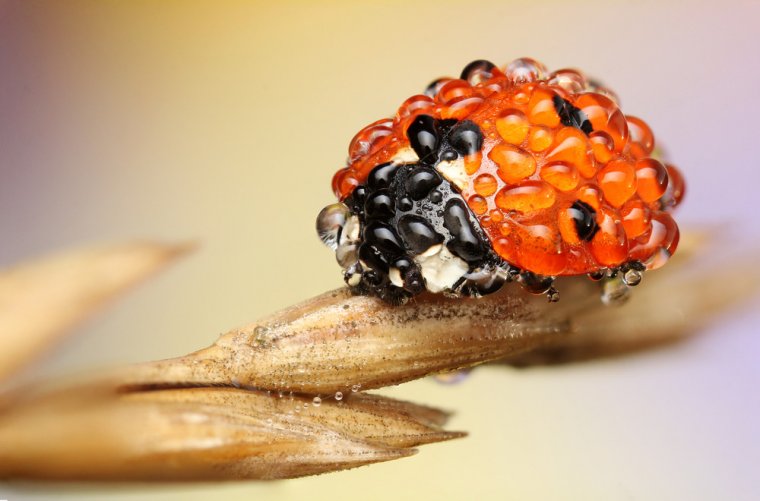
Camera: Canon 60D, Lens: Canon Mp-E, Shutter Speed: 1/200, Aperture: f 5.6, Focal Length: 65 mm, ISO Speed: 400
Camera: Canon 60D, Lens: Canon Mp-E, Shutter Speed: 1/200, Aperture: f 6.3, Focal Length: 65 mm, ISO Speed: 500
Imagine that you can take an outstanding macro photo without a macro lens. Is it possible to take a macro photo with a normal lens? Yes, definitely possible. You don’t necessarily need an expensive professional macro lens to capture a bug or a beautiful flower if you’re just wanting to dip your toes into macro photography. All you need to do is try an unusual technique.
We have already talked about macro lenses, so I will give you a few photography tips to look under the surface and think out of the box when it comes to capturing macro images. A flower is not just a beautiful color—it is an endless playground of possibilities.
Snap on lens adapters are also a great way to achieve stunning macro shots. You simply clip them on your regular lens in order get a higher magnification. It’s absolutely cheap, and it’s more than worth the cost. There are fantastic snap on lenses on the market for about $50-$100.
In addition I would consider buying a macro slider to find the right focus point while looking through the view finder, as focusing will get more difficult the higher the magnification is.
I personally owned a snap on lens for few years, and it was such a fantastic experience to use, as it allowed me to take tons of brilliant macro shots of insects. Don’t hesitate to try it out yourself, you will definitely be stunned with the results you can get!
The idea behind extension tubes is that you screw them between your camera and the lens to get a higher magnification. The more tubes you use the higher the magnification will be.
Extension tubes are usually cheap, they will cost you between $80-$150. When buying extension tubes, you will automatically get a set of two or even three tubes.
If you have a much smaller budget, the reversed lens technique is great way to start experimenting. All you will need is just a 50mm prime lens and an adapter to mount your lens backwards on the camera. You will be stunned how much fun you will have while using this technique. When you use the reverse lens macro technique, you can not use the autofocus function anymore, but I wouldn’t recommend using autofocus while doing extreme macros anyway—just get yourself a focus rail and you will have no focus issues anymore.
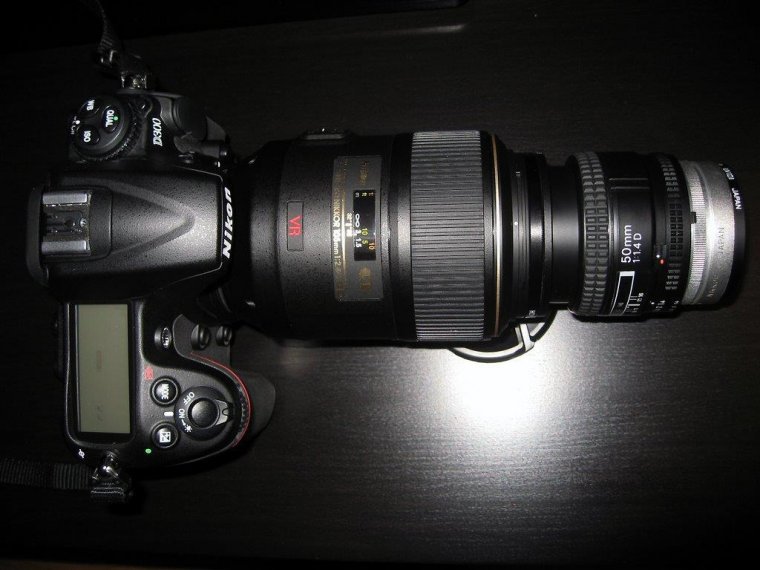
A primary lens is designed to take a wide angle as FOV and focus it onto a much smaller surface. This allows you get colossal landscapes on a frame only 55mm wide. Zoom lenses work by changing the angle. Or simplified: one lens takes the subject from “big to small.” If we turn this around, you will get the same thing, but reversed from “small to big”. This is the same way that projectors work taking a small image and make it big.
You can get this effect even with just one reversed lens, but you will need a special “reversing ring” accessory. If you are shooting with two lenses, the reversed lens will take a small subject, and make it larger. The attached lens will then take that magnified image and shrink it back to fit on the frame. The result is that the small object now fills the entire frame of film exactly as we wanted.
If you own a zoom lens, use it as a second lens and then you can zoom in closer or farther from your subject. In another way, not only can take a macro photo that is pretty typical for macro lens, but you can also capture macro images that are being classified as microscopic. Keep in mind that the lens is backward, so the zooming in and out will react also with reversed commands in the viewfinder. Also remember that the wideness of the angle will behave in reverse order. When zooming in, the angle will get wider instead of shrinking down. It is kind of difficult concept to describe, but if you get into it, you will understand what I am trying to say. 
In my experience, it is best to use a fixed 50mm lens as a primary attached to the camera. These kinds of lenses usually have a very large aperture, and the image quality is very good because there is very little glass for the light to pass through before reaching with the processor (or the film). For a reversed lens, I have used an 18-200 zoom lens and had no problems at all.
Before you started, this is the short important list:
We hope these tips have given you the motivation you need to properly explore the world of macro photography. Until next time, thank you for stopping by!
Comments (0)