
Clarity is simply a part of contrast. Just like how contrast can sharpen your image, so can clarity. But what is it that makes it not contrast? When you adjust the contrast on an image, you’re adjusting the whole image. Clarity can be used to adjust specific parts of an image in Lightroom presets. However, you don’t get to choose those parts. Clarity takes the mid-tones of an image and enhances them, bringing sharpness to a photo and increasing the texture found there. It is great to use as a spot tool and can be the perfect way to enhance your images in Lightroom. To do this, we have to import the Lightroom preset.
Table of Contents
Clarity is most often used to enhance texture. Because it only brings out the mid-tones, it helps sharpen the image and show off the natural textures which is also important when doing panorama in Lightroom. Changing it is very simple. When in Development, you can increase or decrease the clarity of a whole picture. Under the Basics tab you’ll find a Clarity slider. (You’ll also see the Contrast slider that can be used with the in conjunction to further enhance images). Below is the image we’ll be working with.
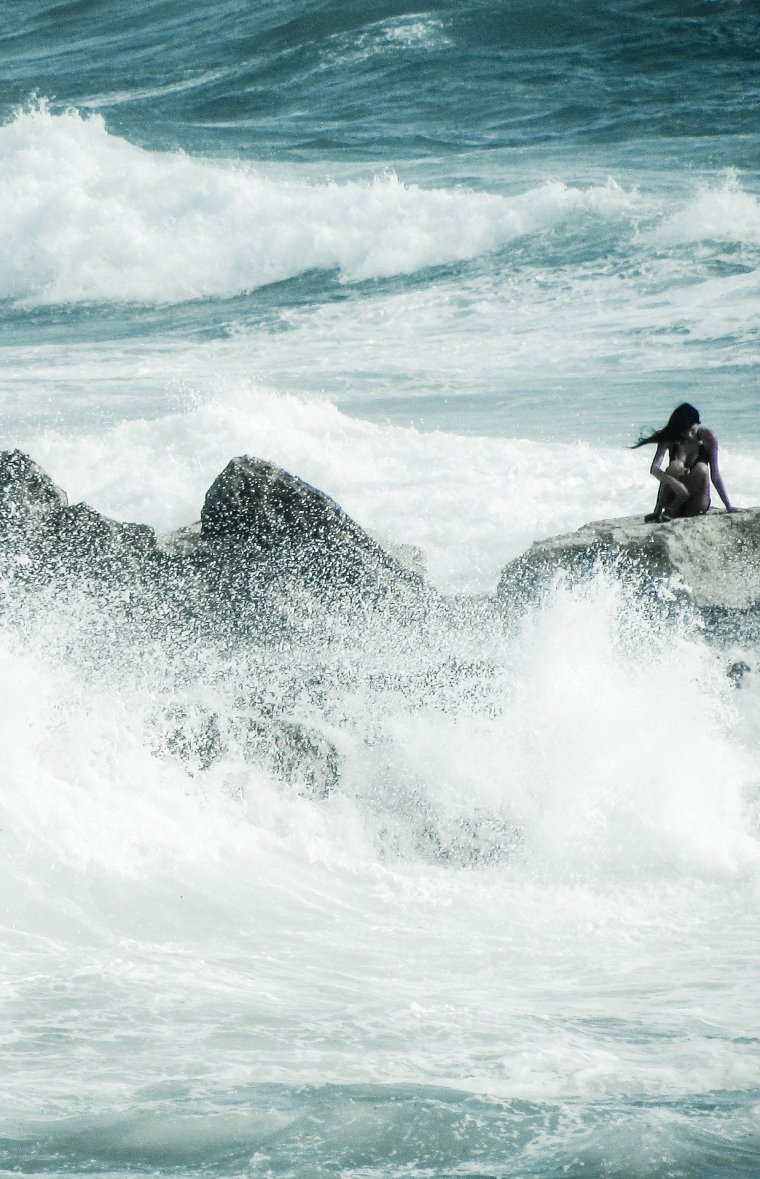
Next is the image with the slider all the way up (to the right). By bringing out the mid-tones, not only do the waves become sharper, but the texture of the rocks is featured more heavily.
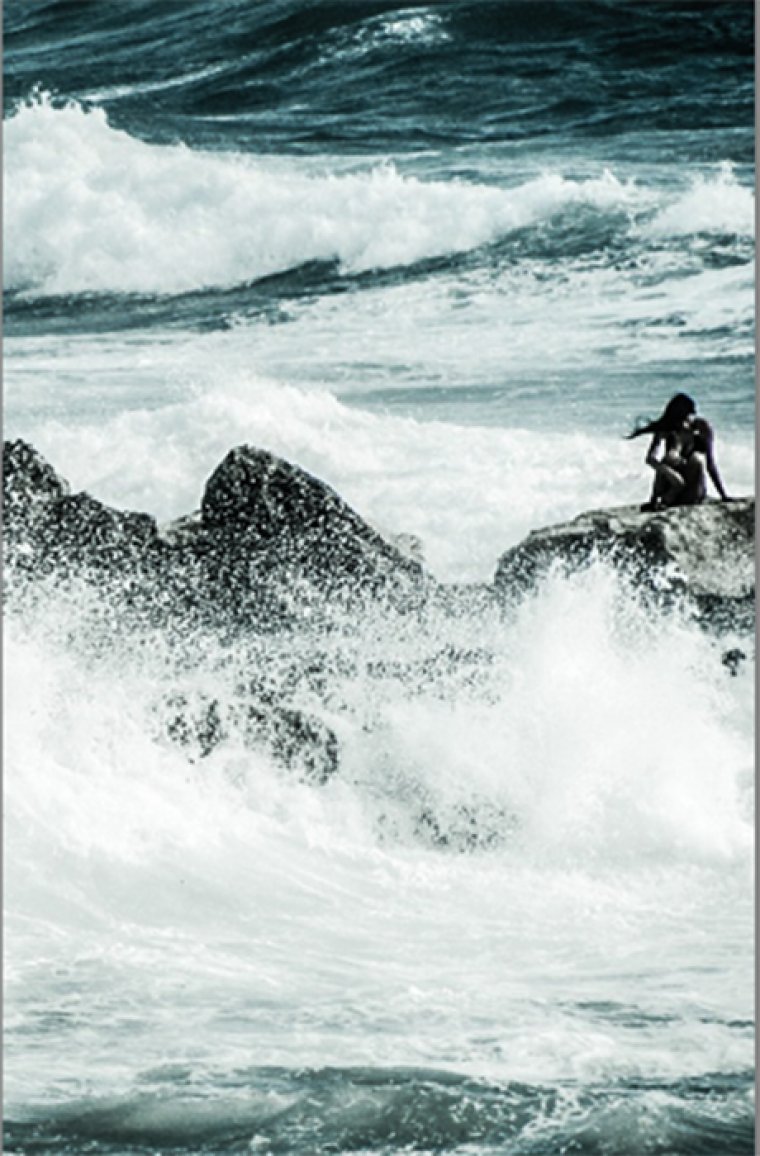
Notice how this also gives the image a bit of a grainy feel, but fully brings out the mid-tones. For a softer look, raise the slider just a bit to give it a more natural feel.
Increasing clarity isn’t the only way to edit an image. You can also lower the clarity of an image to make it appear softer and a little hazy. Here’s our example image taken to the other extreme, with the slider all the way down (to the left).

You can see how, with the mid-tones toned down, the water and rocks become hazy and blurry. This can actually be used to your advantage if you’re a water photographer. Sometimes, having water with a hazy effect is just what you want. You can’t always photograph water with a steady camera at a low shutter speed. So, in Lightroom, you can simply photograph the water as needed and use the clarity slider to give it that motioned/hazy look.
When adjusting clarity in Lightroom, you don’t have to fix the whole image. You can use the radial filter and adjustment brush to further enhance your image. Let’s look at the low clarity example one more time. That’s the effect we want for the water, we want to show off its hazy confusion. But the model in the picture doesn’t stand out enough for us. Now what do we do? We can use the radial filter to select the model, and then increase the clarity to enhance her mid-tones.
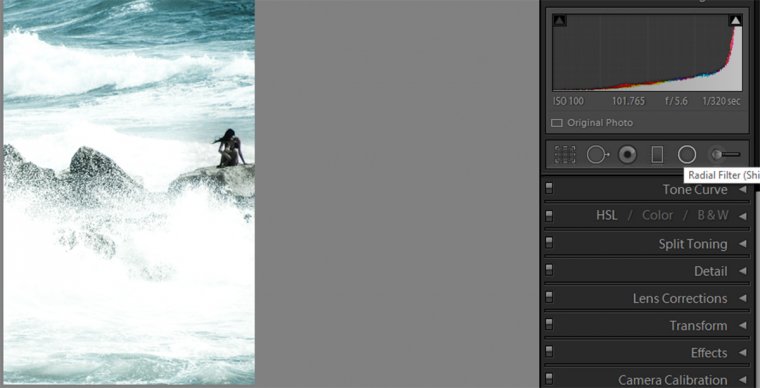
When she becomes sharper and has more texture, she’ll draw the eye and all attention to her, the subject of the image.
Clarity is a very important tool if you want to quickly touch-up a portrait photograph. Let’s look at how we can influence portraits by using this image as an example.

This image already looks pretty stellar, but we can make it even more fantastic. Let’s start by softening texture. We can use the adjustment brush to single out the model’s skin, focusing particularly on the cheeks, where a bit of rough skin shows itself. Then, just as the low clarity softened the water, we can decrease the slider to soften the skin. Already the image looks a bit better.
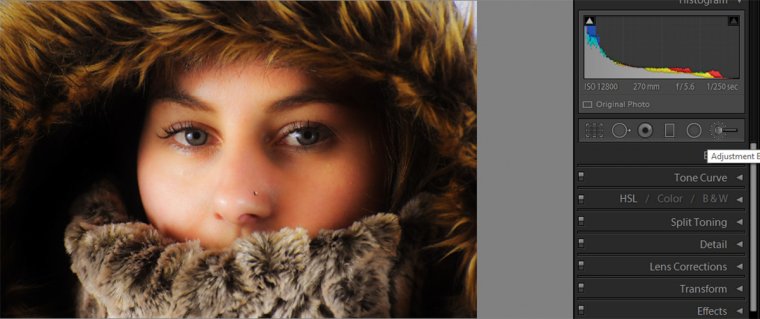
Next thing we’d want to do is increase the clarity around the eyes. Eyes draw the attention and the clearer they are, the more interested the viewer is in the image. Here’s the photograph with the eyes on high clarity to show off the difference. In reality, you might want to tone it down so it isn’t as bright and in-your-face.

With just two simple steps we’ve turned a great photo into an amazing one. Clarity is one of the most useful, easy-to-use settings for images. It brings out the mid-tones in a picture and helps show off natural textures. Of course, lowering the setting can also help soften images. And using the radial filter or adjustment brush can help you merge the two extremes to create eye-popping, and catching, pictures.
Comments (2)
I use clarity all the time, knowing how it works allows me to make better decisions on how and when to use it. I never thought to use to soften the image in selected areas or it’s direct impact on mid tones. Thank you Richard.
Very informative article. I have never thought of using only clarity brush to enhance a texture or subject. Thank you