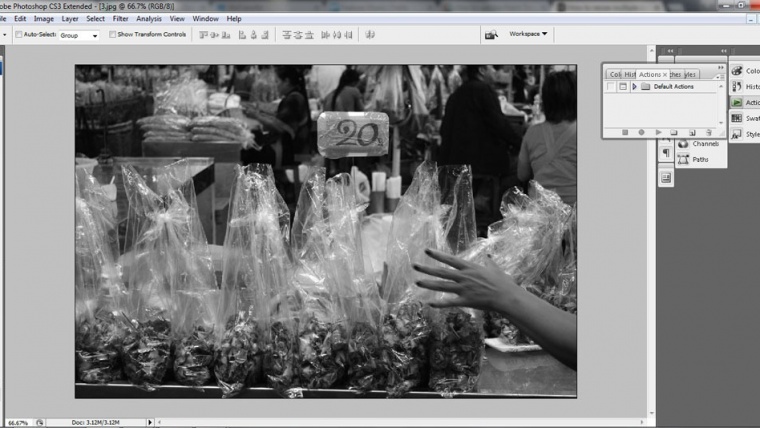
Resizing images in Photoshop can be tedious, especially if you’ve got an entire batch to go through. So, here’s a little trick I learned recently that’s saved me a lot of time and hopefully will benefit you too. In this tutorial I will teach you how to set up an Action, which once activated will re-size multiple images at once.
For those who doesn’t know what Actions are, they can be easily defined as Photoshop’s way of automatizing several tasks under the same process. They are crafted in a way for their usage to be universal – therefore you can apply them, regardless of the topic of your image.
It takes a while to set up, but if you follow these 10 steps carefully it will save you time in the long run. The great thing about this is that once you’ve mastered how to set an Action, you can set up Actions for all sorts of things in Photoshop.
Here’s how to do it:
1. First, you’ll need to create a folder for your resized images to move into. I created a file called ‘Resized Images’ on my desktop.
2. Next, open an image in Photoshop. Our next step is going to be geared towards the Action creation process.
3. Go to the Actions panel. If it doesn’t appear on the screen, go to Windows>Actions. My recommendation is to leave it as docked menu, right above of your layer panel.
4. At the bottom of Actions panel, there should be an icon which will allow you to create a new Action. It looks like a tiny dog-eared page. Click that.
5. Now choose a name for your Action.
6. Next, we have to record the Action. This process needs to be precise and well done because Photoshop will start tracking every single step you do within the software – My recommendation? Try to practice this process for a while before tracking it via Actions button.
So go to Image>Resize and fill in the field with your desired new size. For my Action, I have chosen to resize all images to 620 px in width.
7. Next, go File>Save As>Resized Images (the folder we created at the start). Then close the image.
8. Click stop in Actions panel (the small square at the bottom). The Action should now appear.
9. It’s a good idea to test out the Action before you put it to use, so open up an image and click play on the Actions panel. The image should resize of its own accord. You can check that the resized version has been saved in the Resized Images folder and then you’re good to go.
10. The next and final step is to resize multiple images using the Action we’ve just created. Open Photoshop. Go File>Automate>Batch. Select your Action. For ‘Source’ choose the folder where the images you want to resize are located. Check Destination says ‘Folder’ and that beneath it says ‘Resized Images’ – this will ensure the images will automatically save into the folder you created for them.
Click ‘OK’, sit back, and watch as Photoshop works its magic.
As you can see, a quick and effective process for resizing multiple images under the same step. Most users tend to believe that Batch adjustments can only be accomplished when using Adobe Lightroom or via Adobe Bridge, however, Photoshop does a fairly good job in cases like this one.
Please take into consideration that you can’t go over 10% of size increase on your image file, otherwise, you’re likely to experience undesired side effects such as pixelation (in the opposite case, you won’t have any problem at all).
You can increase the resolution of the image at any time of your editing process; which is advisable when your main goal is to print the final file. 72 px/inch resolution is meant for screen display, 150 px/inch is the minimum value to use when doing the print job and 300 px/inch is the advisable resolution to use. Remember to always set the size manually after increasing resolution values, as this tends to increase the image size in a far too notorious way as a side consequence of the resolution increase (creating noise in the same process).
Hope this guide on image resizing was helpful for you and see you next time!
You can also learn to make a photo look old in photoshop if you want to.
Comments (0)
There are no comments yet.