How to Make a Photo Look Old in Photoshopwww.sleeklens.com
Hi all, let’s get going with a brand new Photoshop Tutorial shall we.
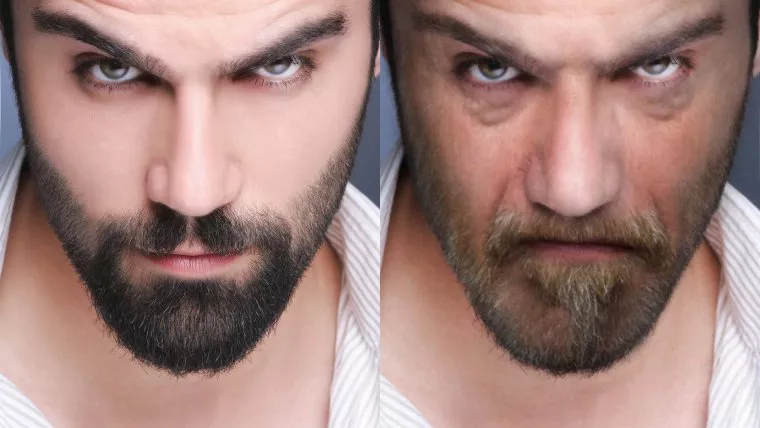
So, ya ever wondered what you could look like in a few years? well in this tutorial we are going to be exploring that very subject!
Recently I was having a laugh with a few friends with an app I downloaded over a few drinks, and we were taking photos of each other to see what we would look like at 60, and I have to say, if this app is true then I am going to have to start eating better and doing a bit more working out ha-ha because I was not so impressed to see myself looking back at age 60, like my dads in his 60s and he has def won the competition already for who is better looking at 60 and as I’m very competitive I can’t give my dad this one, so actions must be taken, I’m joking of course.
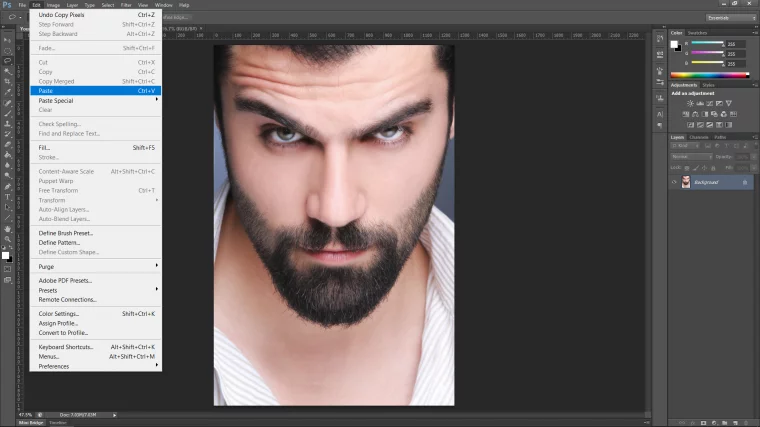
But what I’m not joking about is how much we are going to ace this tutorial, so let’s get ourselves a suitable image to use, if you wish, you can by all means use one of your own self portraits, but make sure it is good quality, make sure it’s at least 1200px wide and also make sure that it is not very grainy etc. as it will be harder to work with and find images that we can use to composite.
OK to start let’s find out image, so go ahead now and take a few minutes to find something good if you are not using one of your own.
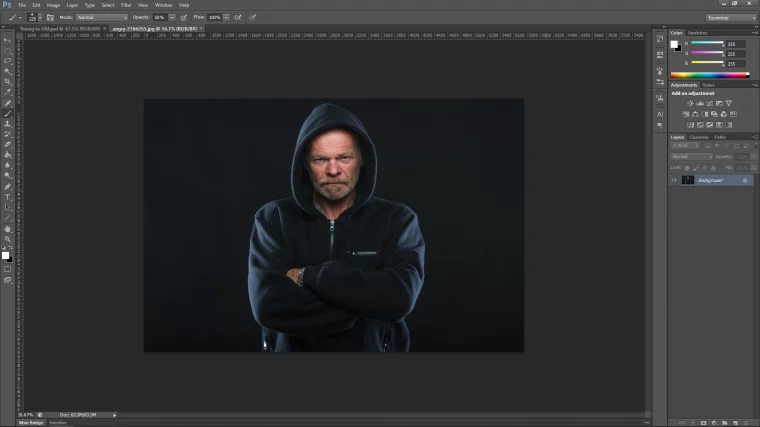
This is the image I’ll be using today and no, it’s not me!
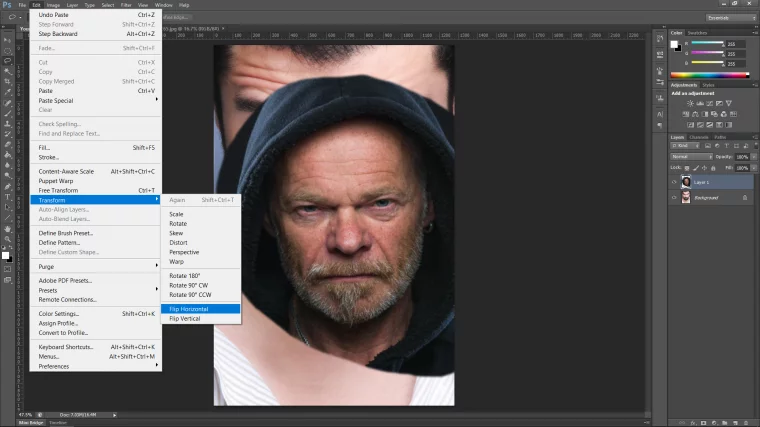
Ok now get yourself an image of someone older, you will want to find something as close to your main image as possible, we will be manipulating it a good bit but the closer the better as it will make our job a whole lot easier.
Right so the image below is the image that I have picked, I think I should be able to make it fit ok, if not no huge big deal it’s in the same general(ish) pose and if all fails I can always cut it up and use the liquify tool which let’s me warp and push areas about like clay.
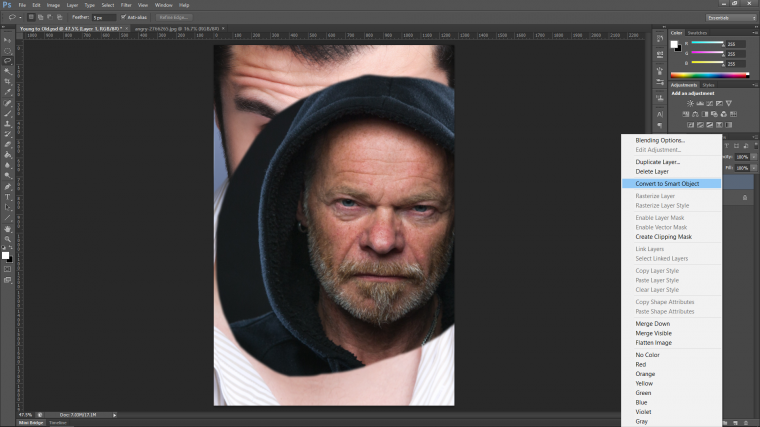
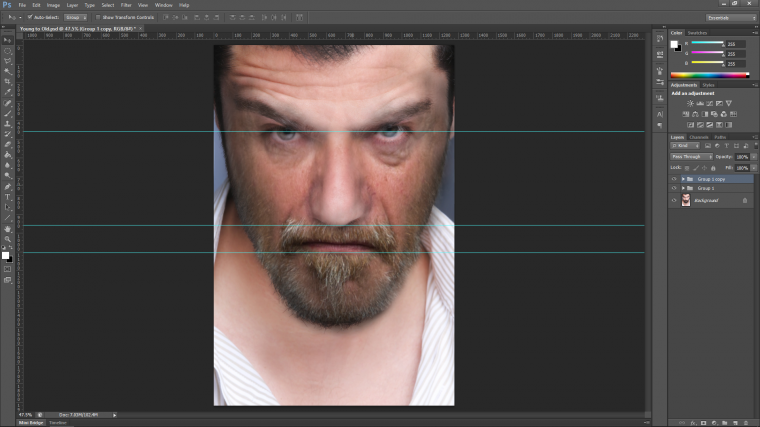
Next I want to place the old mans face over my main images face.
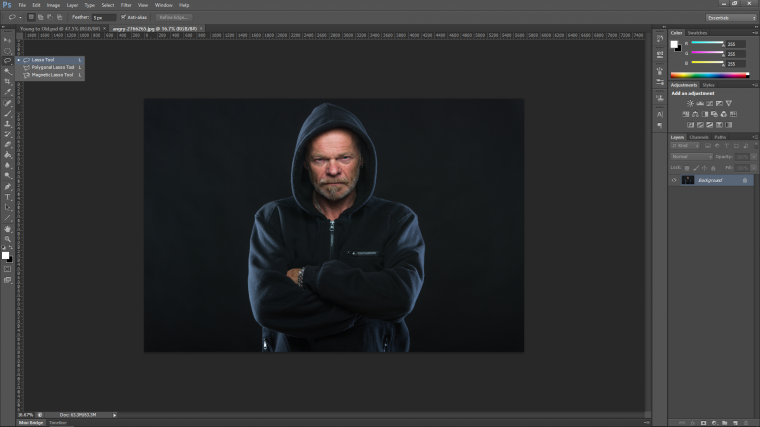
So open up your lasso tool.
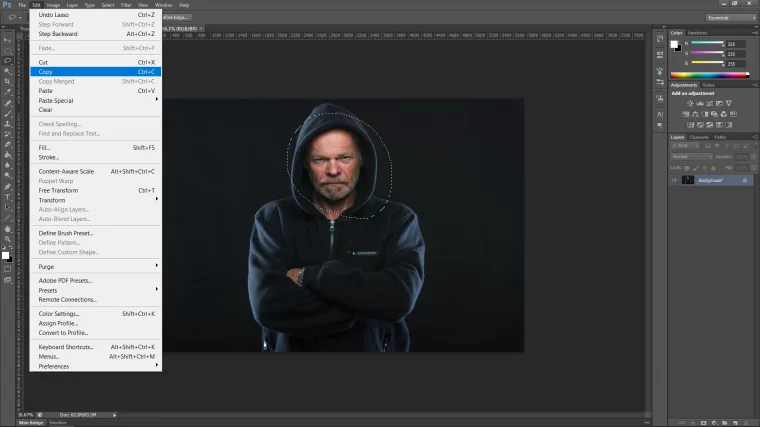
Draw a quick selection around the old man head.
Then we are going to copy it.
And paste it into our main image.
I wanted to flip my image as well once it was pasted in as I felt it would fit better the opposite way around.
Go to Edit – Transform – Flip Horizontal
Next, let’s change it to a Smart Object.
This will enable us to change the size of the pasted image without it losing detail.
Right click on the pasted images layer, and then choose Convert to Smart Object.
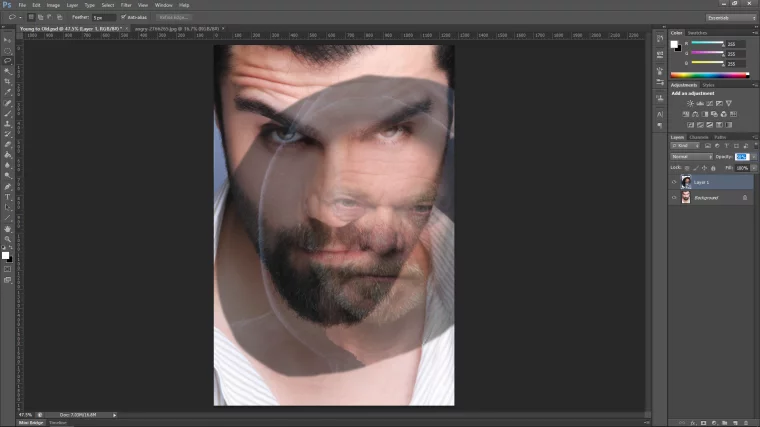
Next drop the layer’s opacity to 50%, which you’ll find just above the layer.
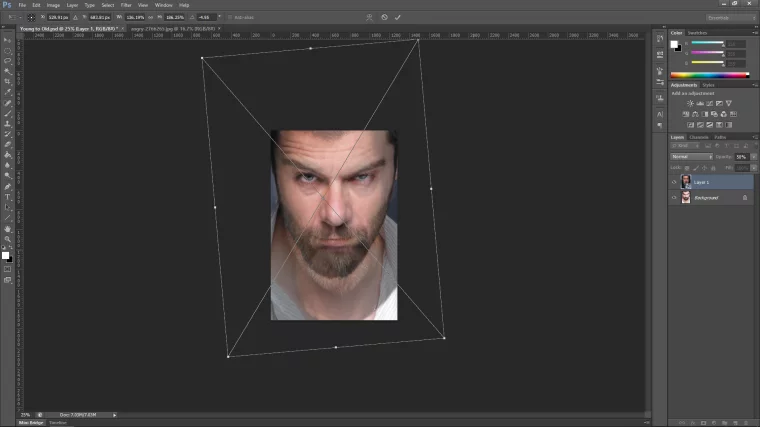
Then key in on your keyboard Ctrl T to open up your transform options.
Now you will be able to resize the image by clicking on the little tabs on the middle outside of your image on the top and on the sides, by just clicking and dragging, you can even click and rotate.
If needs be you can click the outside edges while holding Ctrl on your keyboard to warp the image a bit more.
Hit return on your keyboard.
Now we’re going to refine this even more but we have to create some guides for us first.
We are going to do this so we can make a real attempt to match the face-up, for this we’ll be using a pretty interesting warp tool that I’ll be showing you how to use in just a little bit.
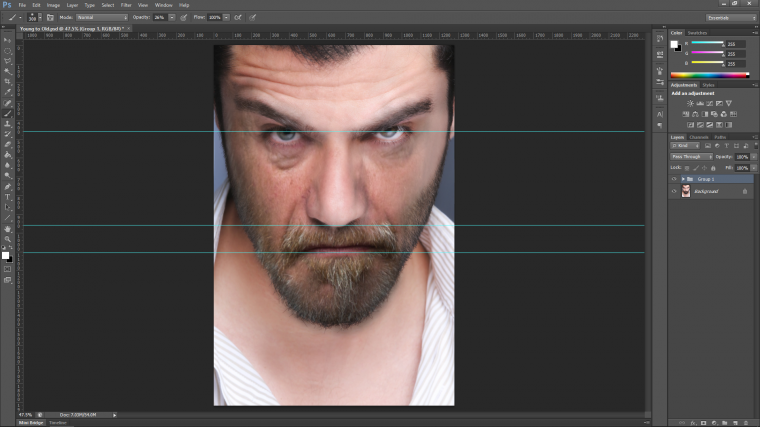
So go to your old man layer and click on the eye icon beside it to hide the layer.
Then go to View – Rulers if you haven’t it activated already, you’ll know because you’ll see all the numbers like a ruler along the top and the side.
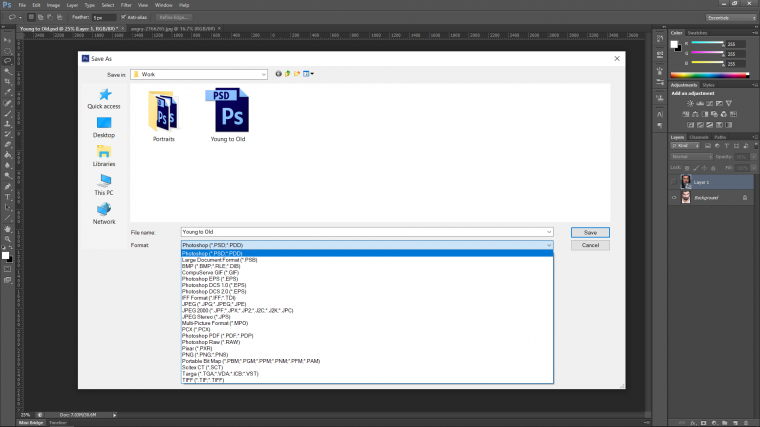
Save up as a PSD to keep your work safe.
After we saved up as a PSD you can now re-open your Photoshop file by just double clicking on it if you choose to take a break.
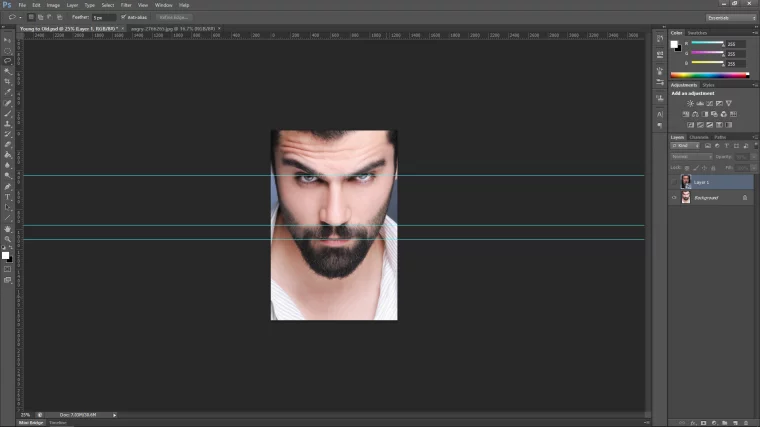
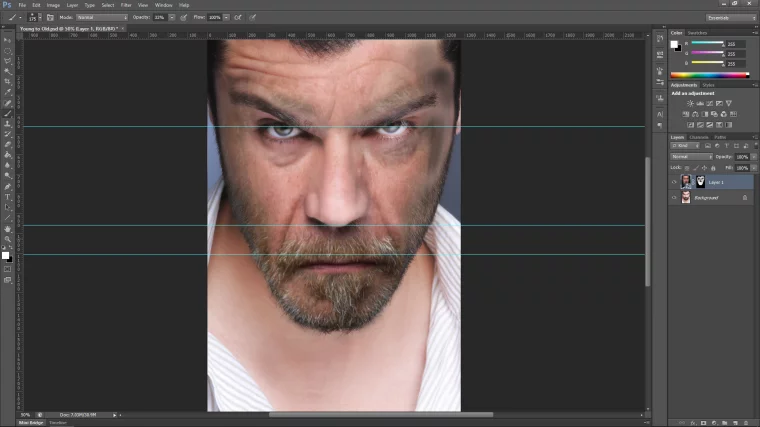
Ok so we now have our rulers ready at the top.
Now click on the rulers and hold, then you are able to just drag down the brightly colored guide that appears, place in the middle of the eyes as a starter.
You will do this another 2 times so that there will be one for the bottom of the nose and another for the mouth.
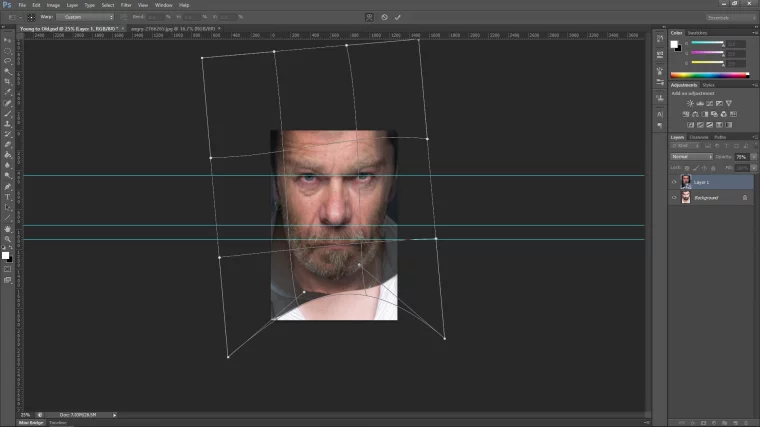
Now you can turn the old man layer back on by clicking the eye icon, change the opacity to 75% so it will be easier for you to see.
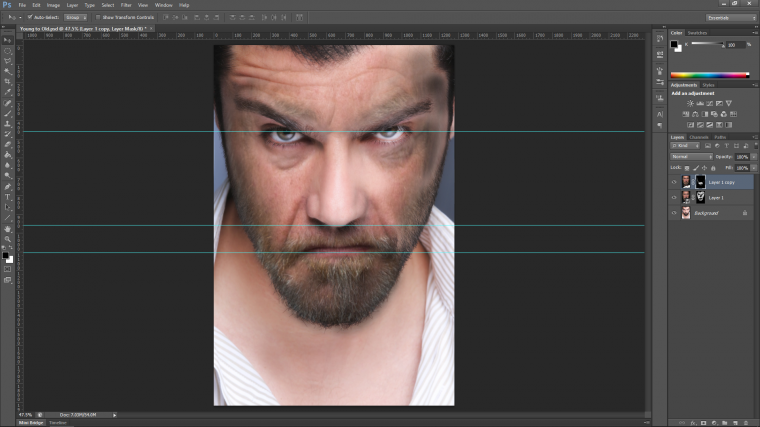
Key in Ctrl + T to open up Free Transform, then when you do this look along the top middle and you will see 3 little icons, the first one is the warp tool, so click that to see your onscreen grid gain a few more lines in it, so instead of before you would be able to just click on the edges you can now click on the intersection points and lines and manipulate, and when you do that it will warp your image, so now the goal is to do this and try to get the eyes to match up, the nose and the mouth as best you can.
Even you get 80% the way there you’re golden.
Note: you may have to copy and paste your top image into 2 different parts of the face such as the top part to the bottom of the nose, then the bottom of the nose to the chin etc. to get a better match, my image has a beard so I can get away with it lucky enough.
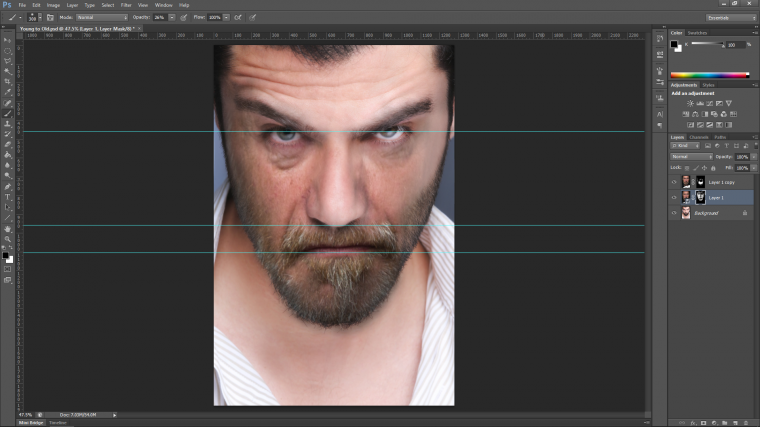
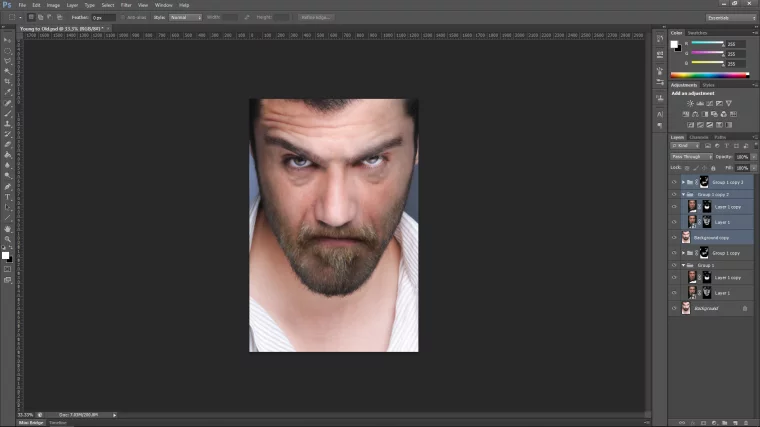
Now you can put your old man layer back up to 100% opacity, and don’t worry it may look pretty strange I’d imagine at this point as it’s probably going to be all warped out of shape but this is fine, as you can see from mine above it’s pretty close to the original.
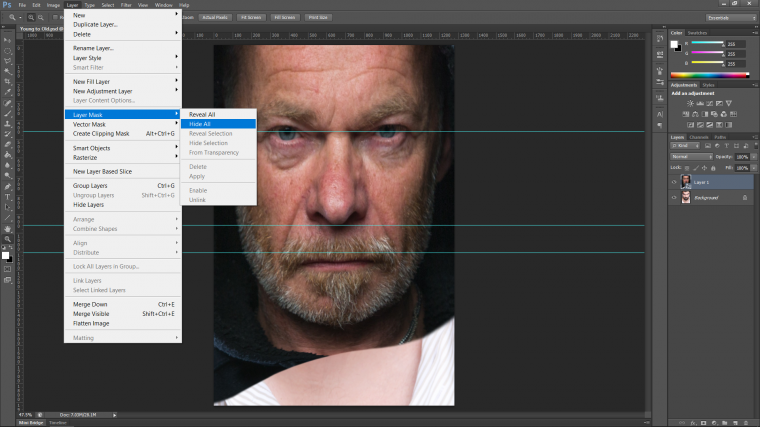
Now we’re going to create what is known as a layer mask, to do this go to Layer – Layer Mask – Hide All.
When you do this you will notice that a small black thumbnail will appear to the right-hand side of your layer that is in the layers panel on the right, and your entire image now will have disappeared.
So the technique here is if you’re not in the know is… when you use a paintbrush with white after you’ve clicked on the little thumbnail beside your images layer on the right is you now can paint the image back over the top and when you paint with black it will hide the image, so you can see that using different types of brushes and brush capacities you could get some interesting results with blends etc.
Now activate your Brush Tool as shown below.
Further down from that you will see black and white boxes overlapping each other, when you double click those you will be able to change the color to whichever color you want, also you will see two very small icons above it, one in the shape of the two boxes and a curved double sided arrow.
The double sided arrow allows you to flip between black and white and the other reverts whatever colors you have been using back to black and white.
Ok next, let’s drop the opacity of the Brush down to about 50% just to start with, but as I want to strengthen the blend I will change it back up to near 100% and back and forth to what opacity fits the situation.
This will take a little bit of time to develop the feeling for this but it will develop and probably sooner than you think without even noticing.
The last thing before we start to blend is to change the brush to a soft head, your brush may already be like so but let’s just check and get familiar with that option anyway.
So at the top left, just under ‘Edit’ you will see the circle brush indicator with a number that indicates size, choose the first brush on that list.
Side note, you can change your size as you work simply by hitting the bracket keys on your keyboard, and when you hold space you can click and drag around the images freely without interrupting your current work.
Next up, we’ll be creating the blend, this will not be easy… so prepare 🙂
Ok so this portion of the tutorial I’m going to talk you through what I did, this going to take a little bit of trial and error work and a little bit of artistic license but I have faith in you and I’m defiantly sure you will get a good result in the end.
Here I started to bring the image back by painting with the shape of my subjects face, so in short, I followed his features and continued to do so throughout.
I wasn’t happy with the position of the mouth, I felt it was low, so I created a new duplicate layer, moved the mouth up into place.
I then used the same Hide All technique I began to erase the areas that weren’t necessary, this got a little confusing at the beginning so I had to just work with it until I see something start to come out of the mess that looked good.
Working back and forth with my brush sizes and opacity my image started to come together, as yours should be by now too, granted it won’t be perfect yet.
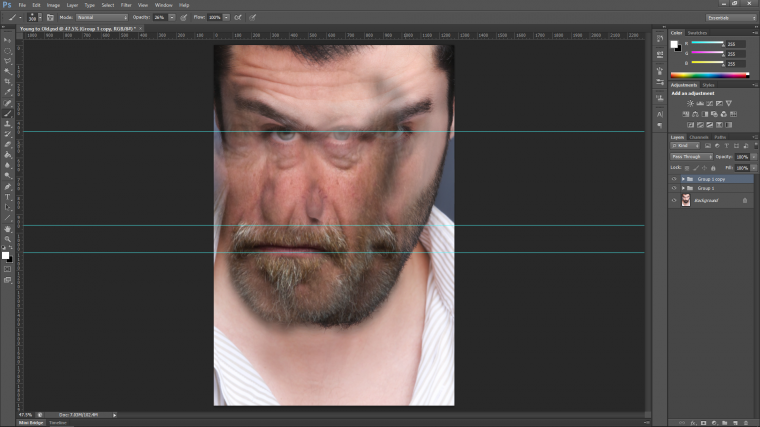
When I was working with mine I noticed that the right-hand side of subjects face wasn’t really matching up too good as it had a very dark shadow on it.
So to counter this I decided I was going to make a duplicate and flip it because I liked what I was seeing on the left-hand side.
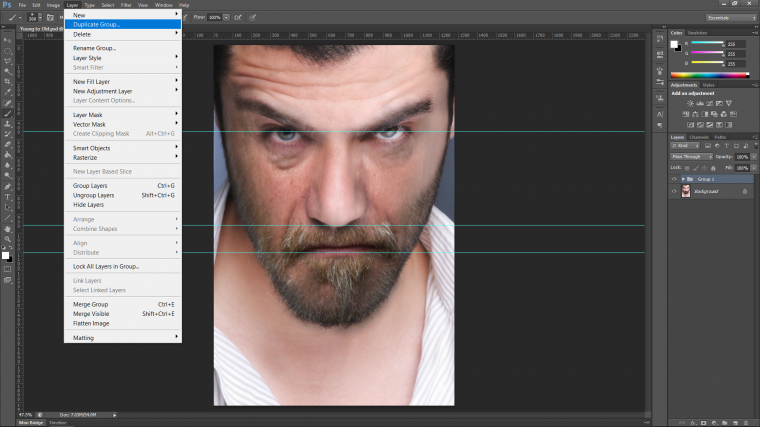
So I joined my two layers into a group, I did this by clicking on the bottom, then I held Shift and clicked on the top one, then I held Ctrl and hit G to group them.
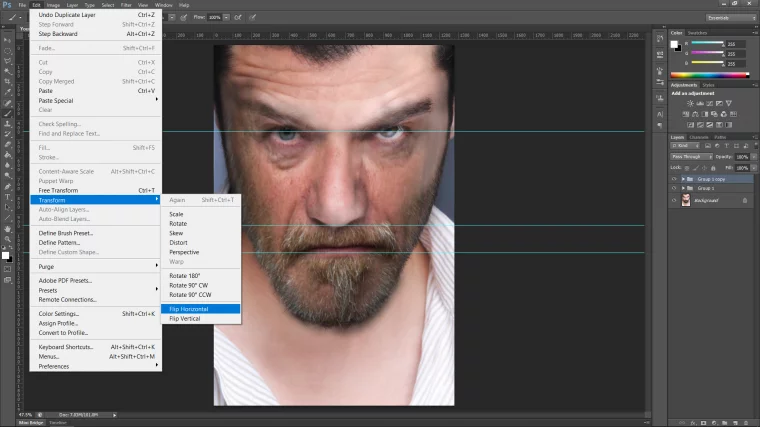
Then I duplicated the group, and Flipped it Horizontal as shown below.
Then that was ready I used the arrow keys on my keyboard to move the new piece across until I was happy with it’s position.
Then it was a matter of creating a hide all mask again to continue with my blending.
I then got to a point were I was starting to really like my results, I felt they were pretty close but I also felt that they weren’t exactly matching up completely, I knew this would happen as it is standard, we are only about 2 3rds the way in, so when you start to see bits that don’t match exactly don’t worry, what comes next is a little trick I learned when I started out to cover up these little inconsistencies.
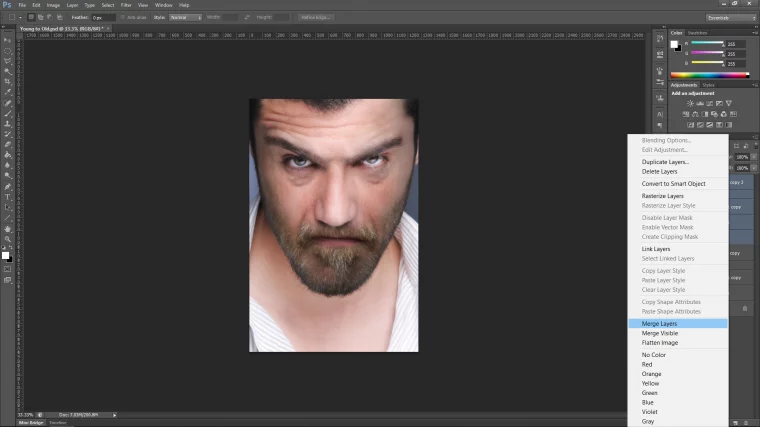
Ok so just like we did before when we grouped our layers with the masks attached, highlight your layers again only this time click on the bottom one and then the top, holding shift of course.
Only this time I right clicked on the layers and then clicked on Merge Layers.
You will now see that all the layers you highlighted have now collapsed into one image.
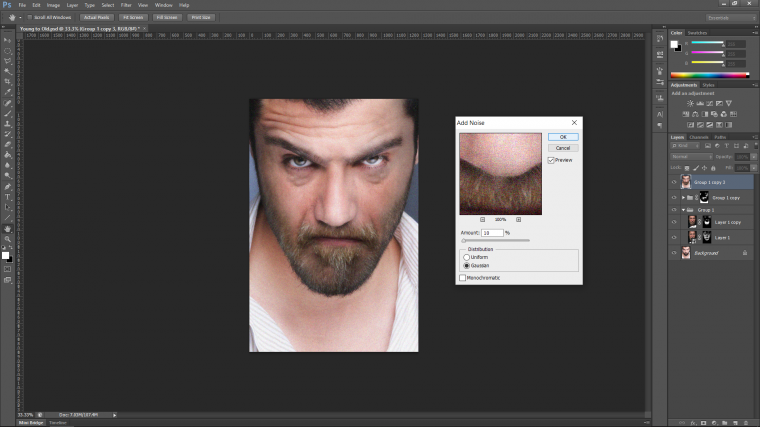
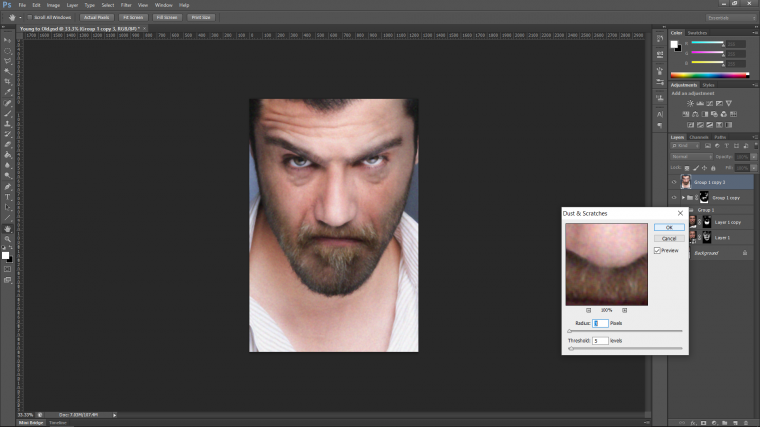
The amount may be different as your image may be smaller or bigger than mine, so have it so that it is similar to what I have, so just a slight grain will do ok.
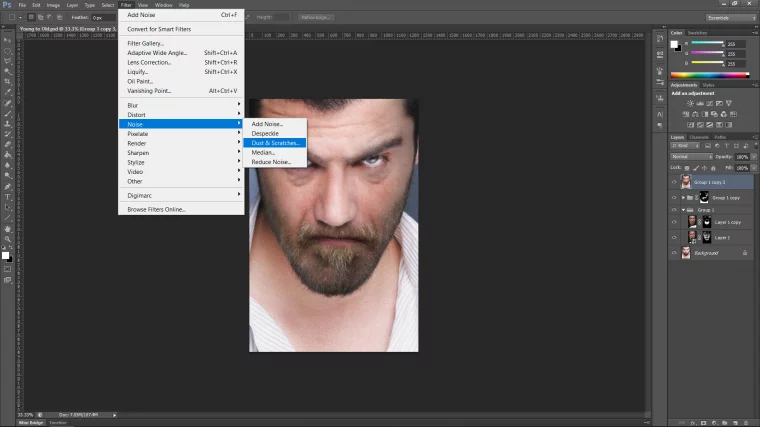
Next we’re going to smooth out what we just did by again going to Filter – Noise only this time we’ll choose Dust & Scratches so we can bring the grain back a little bit and in doing so your image should now be fused together somewhat.
The very last thing I did and this is only an option and not necessary was to create a new duplicate layer of my original image and paste it on top of everything, then I dropped the layers opacity and using my mask technique just removed areas around the eyes and inner face etc. until I was happy, which I was!
Check out my result below, and I hope you get something similar, if not, keep working at it you’ll get it!
Graduated from college in 2002 with a degree in Art & Design, I started exploring my way in Graphic Design and Professional Post Production. Full-time freelancer since 2011.


 Facebook
 Google +
Comments (0)
There are no comments yet.