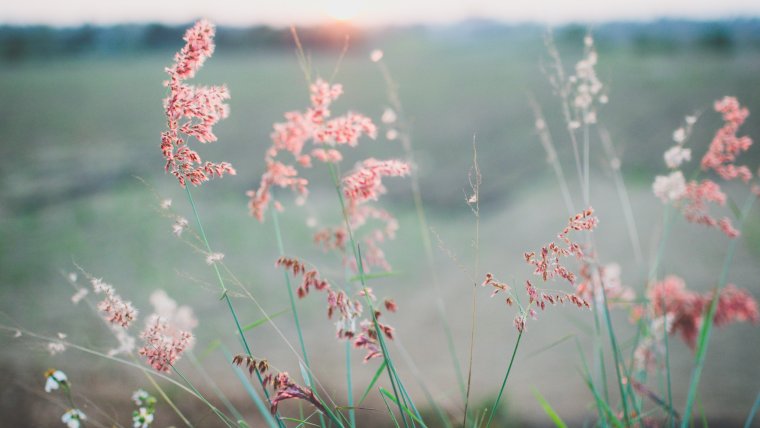
Bokeh is a beautiful effect that is always highlighted in photographer talk. What is it exactly? Bokeh is originally from the word “boke” in Japanese. It refers to the aesthetic quality of the out-of-focus area of the image. In other words, it refers to how the blurry part of the photo looks. There are ways to make the bokeh creamier, more out of focus, and softer. We’ll discuss those methods in this article. Bokeh is especially noticeable in portrait photography, so this article is especially for portrait photographers. If you shoot senior portraits, engagements, or weddings then this article is for you.
Table of Contents
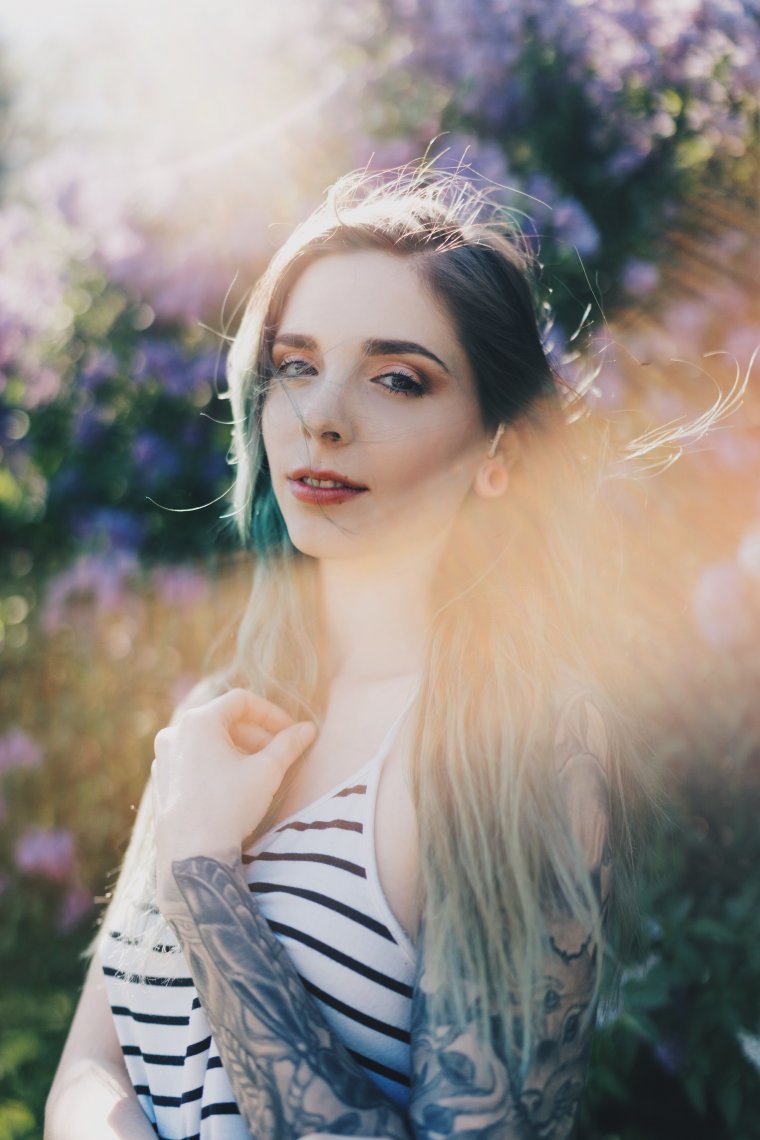
For portraits, it is usually preferred to have strong background blur. To achieve this, there are several options to render the background out of focus. The first option is to use a telephoto lens. Any lens with an 85mm or higher focal length should do the trick. Telephoto lenses will automatically create the bokeh when you use a large aperture such as f/4.0 or bigger. For this reason, lenses such as the Canon EF 85mm f/1.4L IS USM lens and Canon EF 100mm f/2.8L Macro IS USM lens are both known for their ability to create beautiful portraits. They also don’t distort the image like wide-angle lenses do, so many portrait photographers prefer using telephoto lenses. These lenses create a more flattering overall end result. If you are on a smaller budget, the Canon EF 85mm f/1.8 USM lens is a very good value lens with great image quality to price ratio. I’d highly recommend this lens for portraits.
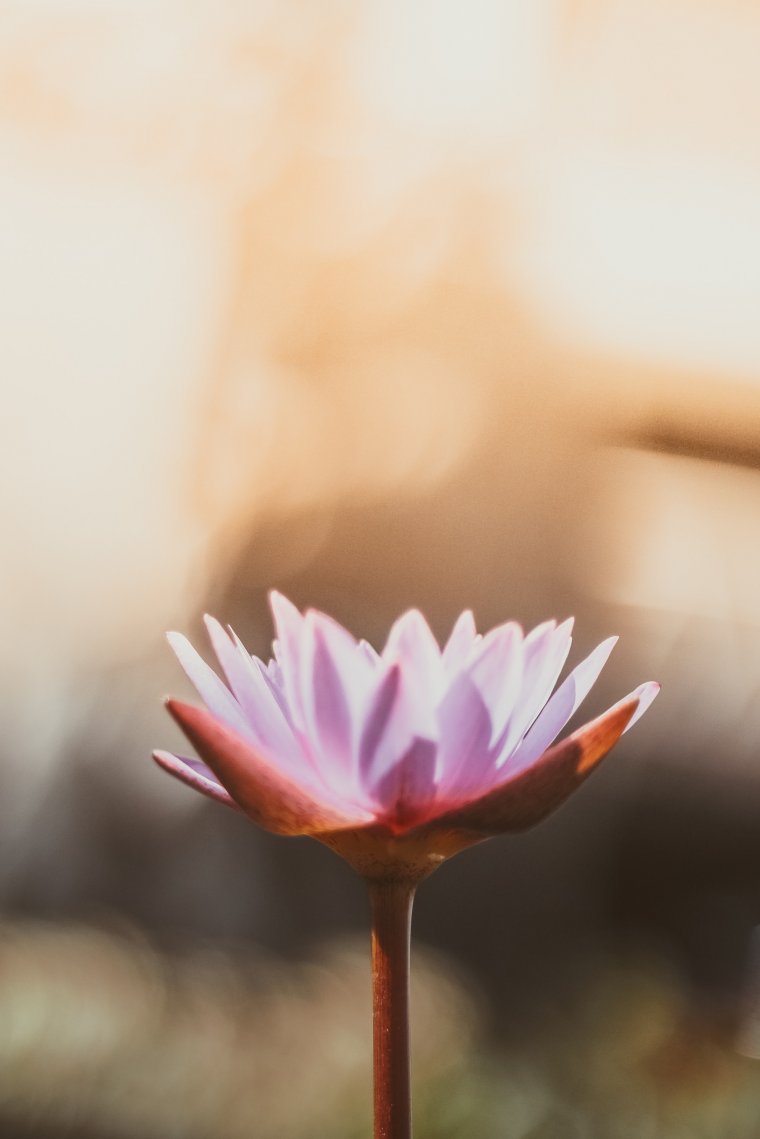
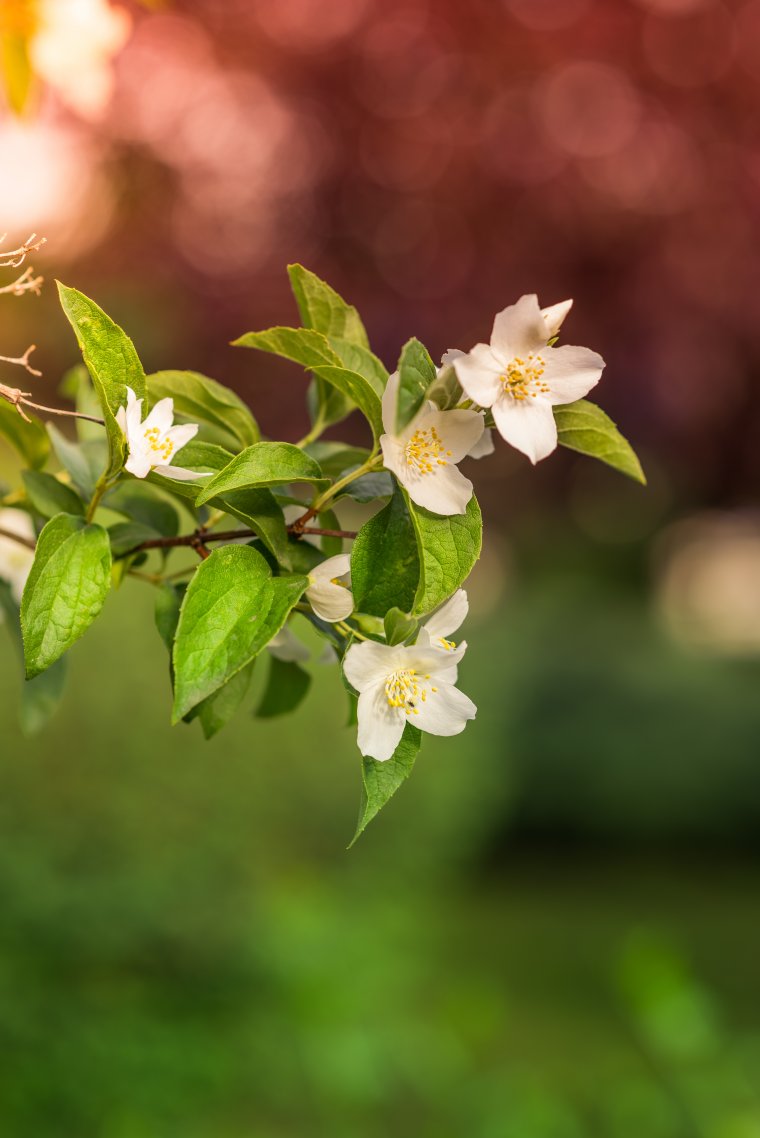
The second option for creating beautiful bokeh is by getting closer to the subject. The closer that you are to the subject, the more blurry the background becomes. This effect is pronounced in macro photography because you can get really close to the subject. For the example, we can see that the depth of focus in the image above is very shallow. This is due to using a macro lens and getting very close to the beautiful flower. The background then becomes soft and creamy, just as the photographer intended.

Another way to create bokeh is by using the maximum aperture on the lens. For example, on a Canon EF 85mm f/1.8 USM lens, the maximum aperture (widest opening) is f/1.8. This creates a blurry background and the bokeh effect as seen above. This method is even better when combined with the two methods above – using a telephoto lens and getting close to the subject. Bokeh created in this way is very strong and creamy. It creates a shallow depth of field and looks great for portraits.
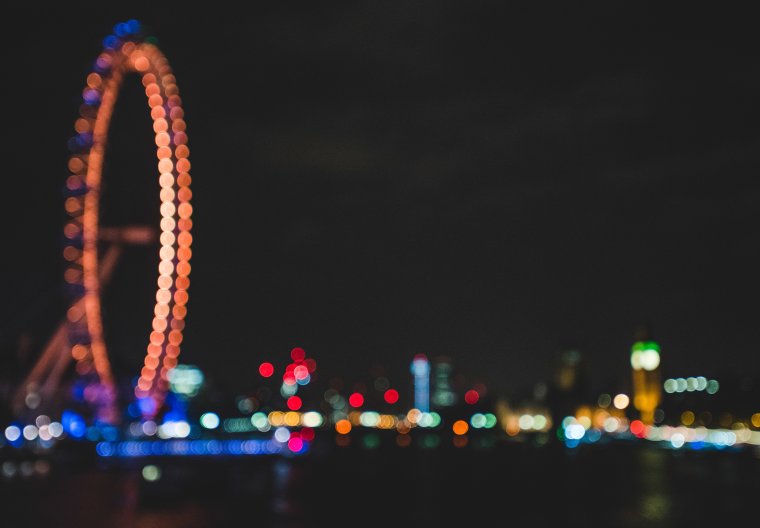
A fun way to take night photos is by taking advantage of the bokeh effect. This can be achieved by rendering the foreground out of focus. Manual focus is the simplest way to do this, although it is also possible to focus on something in the foreground then recompose the photo. Nightlight bokeh photos are great to show the number of colors and lights in the city. If there are any lighted skyscrapers, lighted bridges, or lighted Ferris wheels then it will create an even more interesting photo. It’s a different perspective than regular cityscape photos. Try it next time you are out in the city at night!
If you look carefully at the bokeh in this photo, you’ll notice that it’s not as smooth or creamy as the bokeh in the photos above. The reason for this is that it was taken with different lenses. The number of aperture blades inside the lens is a big indicator of how “nice” the bokeh will look. Consumer lenses with a low number of blades, such as 5-7 blades, typically do not have creamy bokeh. On the other hand, professional lenses such as the Canon EF 24-70mm f/2.8L II USM lens have 9 aperture blades, which creates very smooth bokeh. It’s important to test new lenses that you will be buying to see how well it performs in the bokeh department. Look for lenses with a high number of aperture blades (9 or more) for quality bokeh.
Happy shooting!
Comments (0)
There are no comments yet.