It is time to embrace the powerful underwater abundance of ideas and get some onto your best photos. There is no other field that can make you feel like a novice again, constantly facing you with new challenges, and make you want some more. Such is the power of underwater photography: limitless, always fresh, and always challenging. However, it is not impossible to take a grip of it, slowly advancing your goals towards perfection. A model, or the wildlife deep under? The ocean or the pool? It is all up to you. We must beware of the basics, the gear, our ideas, and possibilities, as well as the many obstacles we have to cross over. It can easily get exhausting and time-consuming, but once you understand the new rules of the underwater world you are all set on the right path.

Table of Contents
This is not a time to save money on gear and try your luck. The smallest leak can destroy your best gear, not to mention the sand you are always surrounded by. The most recommended underwater camera is a high-quality DSLR sealed in a proper underwater case. These can be quite expensive, though. If you’re just getting started in underwater photography as a hobby, considering buying or borrowing a dedicated underwater point and shoot camera or GoPro. They may not provide the freedom of changing the lens and all the fancy things your DSLR can do, but I kid you not it gets the job done perfectly. This doesn’t undermine your skills in using a DSLR camera, but rather it’s to get enough practice and ensure you enjoy underwater photography so you don’t dive into something you’re not prepared for.
A floating camera strap is also very important because nobody likes looking for their gear in the blue depths. Do your research and find one with solid reviews and a bright color—the brightest you can find.
Once you’re ready to upgrade to a DSLR with an underwater housing case, be prepared to spend just about between $1500 – $3000 just for the underwater housing alone. This is not something you can cheap out on, you need to protect your DSLR camera investment at all costs.
It is important that you remove that seal to clean and lubricate it each time before you head into the water. This is important because most if not all the seals are rubber and after being in salt water if not lubricated over a period they tend to dry and get cracks. These cracks will eventually allow water to enter the casing of your camera, ultimately destroying it. Do this before and after every dive to keep your camera safe, along with giving it a freshwater test to see if there are any air bubbles coming up. If you see a consistent flow of air bubbles originating from the underwater casing, then it should be rechecked for defects. If everything goes well, then you’re all set and ready to put your compact camera in and head to your nearest beach.
Lenses are always a personal choice, and mostly depend on what you enjoy shooting. You will probably want to start with one wide angle lens and one macro lens. If you want to get close and shoot large underwater animals the recommended is a fish eye lens. This kind of lens lets you get closer to the subject which is very important in terms of color and image sharpness.

Today’s macro lenses are truly a magnificent piece of technology. I would recommend a 100mm f/2.8 macro lens for Canon (or something close to this) because it can focus at 35 centimeters from the housing. Nikon’s 105 mm macro lens is well known as a reliable piece of macro equipment. Also, you may consider inserting an extension tube. A tube gives the lens the ability of 20% additional magnification, which is not little by all means.
Cameras see light differently, and you will mostly need six times stronger light down underwater. Unless you are shooting on the brightest day, or the cleanest water ever, you will definitely need a flash or underwater strobe light on at all times.
Everything gets a bit darker in water, and the lighting mostly depends on the depth you are at, as well as your distance from your subject. The further or deeper you are, the darker it gets. As a professional underwater photographer, I recommend a constant, ambient light or even a strobe connected to your camera. Setting white balance to “auto” can help you with the blue water hue.
Shooting underwater at night can be a challenge, but it can also result in some spectacular photographs.
First, you need well planned lighting. It’s already dark underwater, but at night there is no natural light to help. The essentials mentioned above will give you the proper artificial light will give you the necessary contrast to focus on the subject.
The focused light is actually your primary light as a night diver. The shutter speed will cancel the ambient light created by the focus light, leaving the strobes to create the light seen in the underwater photo. Digital underwater photography can astonish you at night. You see different marine life, and it seems like everybody is on a night shift. Some fish will not be bothered by the divers. Some fish will be drawn to the light. Do not be surprised if you see marine life using your light to hunt. Stay close to your subject to eliminate back-scatter and to fill the frame. Always plan ahead and don’t be afraid. All of these tips can help you improve your skills to create a great underwater image.
The first thing on your to-do list is to receive some training on diving. This is completely for your safety, so you know how to act and react when down there due to its unpredictability. You must be able to help yourself if anything unfortunate happens. It’s also not a bad ideas to ask the tour guide if they have any diving recommendations for a new digital underwater photographer— somewhere that has beautiful fish and coral.
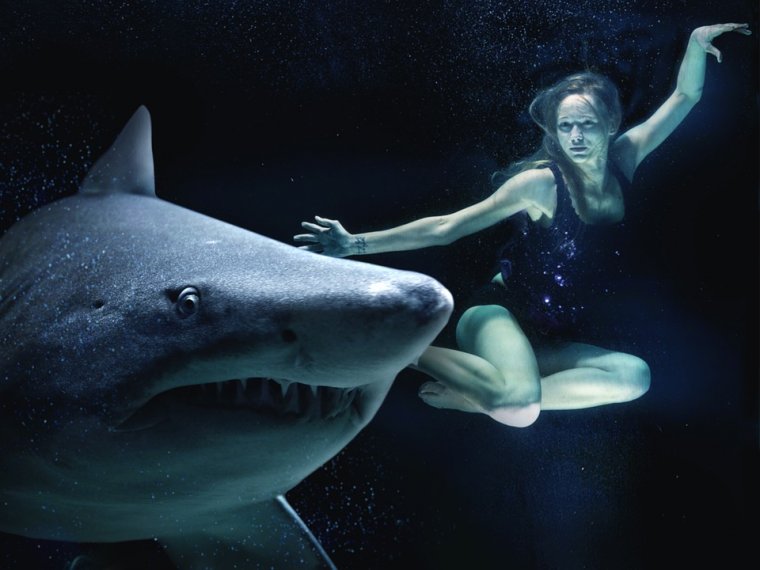
Everything looks different in this zero gravity environment. If your goal is to take an underwater photo of a beautiful underwater model with a wavy dress, be prepared fir the water to mess everything up. Water changes textures and shapes— what you expect to be a wonderful wavy dress will soon become a tangled out of shape mess.
How to handle this? Learning to shoot very fast can be the key here. Planning matters a lot as well. You should definitely try some moves out on the land before diving in, and then move to taking a few shots in shallow water. Prepare well—not only you but you model too.
You’ll want to invest in some heavy duty waterproof makeup as well because skin changes and makeup fades faster under water. Have your model practice on dry land first so you can shoot fast and get the underwater photo you want.

When it comes to aperture, if you want a sharp clear image of your object and its surroundings, you need to use an aperture anywhere from f/22 to f/32—that’s the smallest Canon 100mm f2.8 macro can do. Don’t worry about the amount of light you going to get because you will likely be using a strobe.
Be careful with the focusing. If you’re wanting to do a bit of macro photography, get close and keep the focus on the eyes of the fish. Pick your desired a focal point, but keep in mind that it’s just one-third of what is in the focus area is in covered by the exact point of focus, and the other two-thirds falls behind it. If your goal is the mouth and the eyes of the fish to be in focus, then you should shoot somewhere in between these two. Always try to create a contrast between the object and the background, and try to avoid pieces of reef, mud, or flora from getting in the shot—this is where some sort of adjustable or bendable arm comes in handy, so you can push unwanted floating objects away from the frame.
Become a good underwater photographer takes a lot of patience and experience. Dive in, take your time, and shoot some amazing underwater photos. We hope these tips have helped you dip your toes into the world of underwater photography. Stay safe, and have fun swimming with the fishies!
Comments (0)
There are no comments yet.