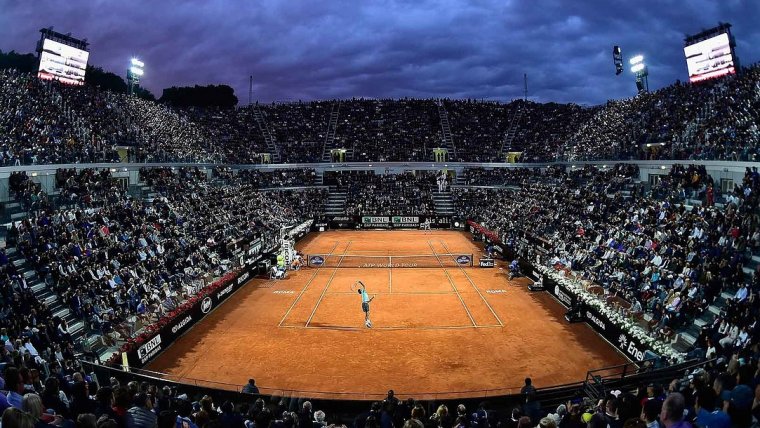
Being a sports photographer requires some patience and practice, no matter what time of day or lighting conditions you’re dealing with. But, photographing sports at night demands even more. If you’re interested in shooting sports like baseball and football, it’s likely that you’ll have to capture images under the lights, after the sun goes down. While this can be challenging, there are some tricks to ensure you get awesome action shots, even your first time out.
There are several reasons nighttime sports photography is so difficult. You’re dealing with limited lighting conditions and a subject that is usually quite far away, moving at a fairly fast pace. As with most other types of photography, the key to mastering sports photography at night is to experiment as much as possible.
However, there are some things you can do to guarantee a better result. These tips will help you prepare for the challenge of night sports photography. We’ll talk more about the kinds of settings and techniques you can use to approach it.
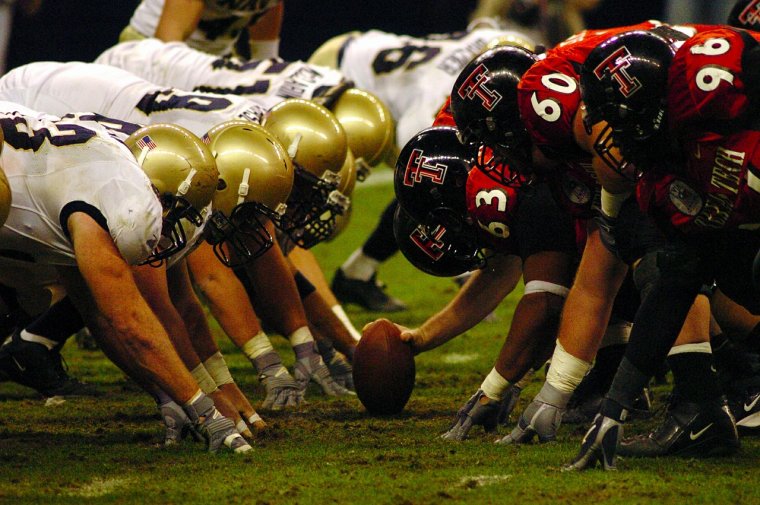
Shooting a fast-moving subject in low light will be especially difficult with an entry level camera, particularly if you’re hoping for a high-quality result. You’ll want a camera with a digital sensor capable of shooting usable images with an ISO of at least 1600.
A kit lens also won’t yield the results you’re looking for. For this kind of photography, you’ll want a fast lens. This means a lens with a wider aperture – a smaller f-number, like 1.8 or 1.4 – that will let in more light with each exposure. You’ll be able to use faster shutter speeds at a lower ISO, which will give you much cleaner images. If you have one, use a lens with an aperture of at least f/2.8.
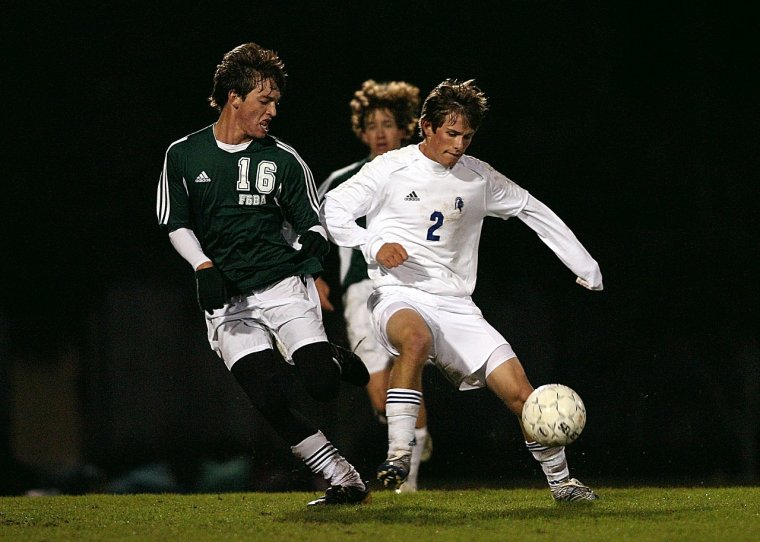
Artificial lighting can create all kinds of color temperature issues. Before you start shooting, you should take the time to read up on setting your camera’s manual white balance. Set the white balance so that your camera knows what white should look like. This will save you time correcting white balance in post after the game is over.
Besides knowing how to use the light, there are some things you can do to get great action shots.
Find a good angle and stay as close to the ground as you can, either sitting on kneeling on the sidelines or at the end zone. This offers a better perspective on the action. It also lets you fill more of the frame with the action happening on the field. Your resulting images will be a lot more dynamic than if you had been shooting upright. Plus, it’s a lot more comfortable than standing for several hours while you photograph the game.
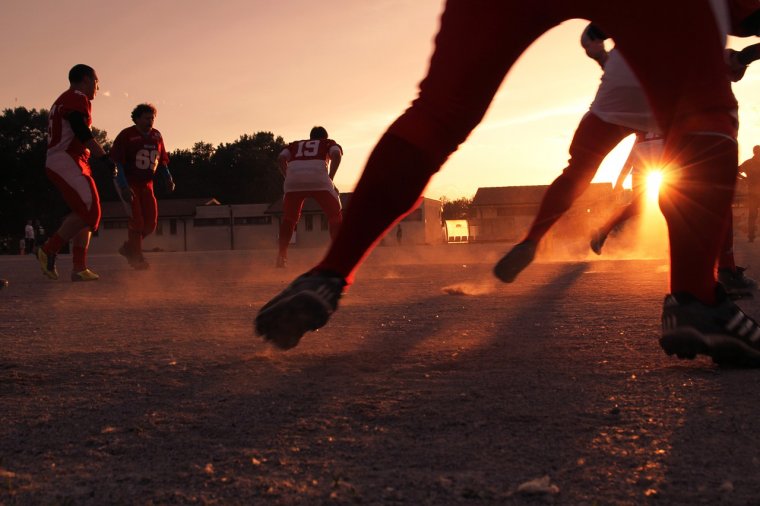
If you don’t understand how the sport is played, you’ll have a much more difficult time capturing interesting shots of the action. You want to figure out which direction your team or players will be moving, and what their ultimate goals are so that you will be ready with your camera when the action happens.
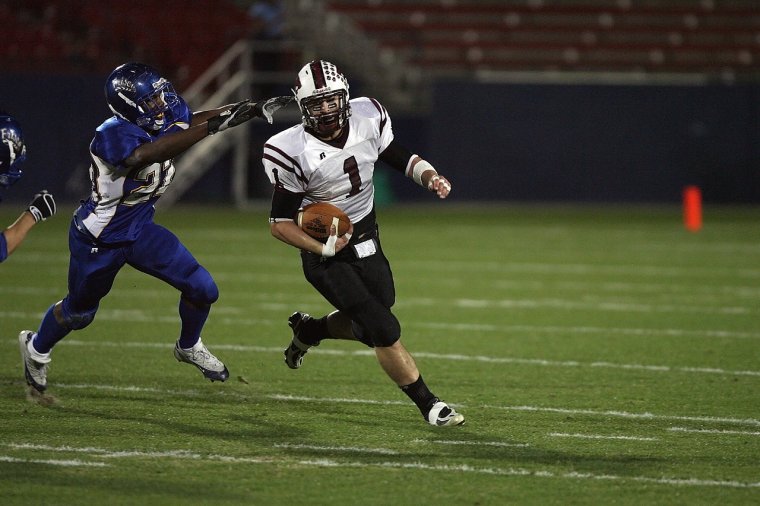
Get to know the players and the way they play to have a better idea of where the ball will go. Keep your eye on the ones who score the most goals or get the most penalties. The best thing about shooting digital is that you can take as many photos as your storage card will allow. So, if you keep at it, you’ll end up with at least one great action shot.
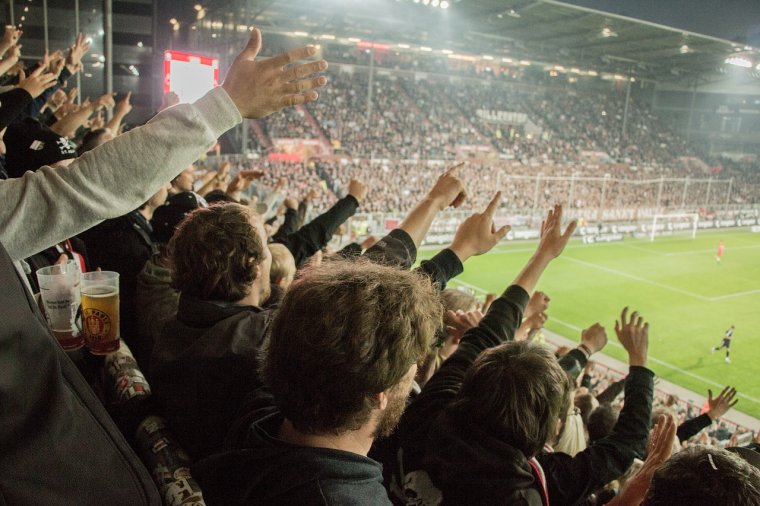
Things like parents watching their kids on the field, cheerleaders or excited fans celebrating on the sidelines, and coaches and trainers calling out plays are an interesting part of the game. These moments can make for some great, unique sports pictures. Don’t be afraid to look around the crowd and see what else you can shoot.
Also, try to keep from looking through the images on your LCD screen. Not only does this risk you getting hurt if you’re not paying attention, you might miss out on the perfect shot. Use the LCD to ensure you’ve got the exposure and white balance set correctly, and then leave it alone while you shoot.
Whenever you can shoot in RAW to capture as much detail as possible. This will allow you to correct things like exposure, contrast, and color without losing image quality. Note that using the sliders will likely increase noise in your images, though, so be careful that you don’t over-do it.
You’ll probably have tons of images to go through, so choose the best ones to spend time on in post-production. Most of them will probably need a crop to focus in on the action and create a pleasing composition, but try to maintain the original aspect ratio to make printing easier in the future.
Comments (0)
There are no comments yet.