In this tutorial, I will be showing you how to do the selective color effect in Adobe Photoshop. If you are a Lightroom user, you might want to have a look at our previous tutorial where I showed you how to do Selective Color Effect in Adobe Lightroom.
What is Selective Color Effect?
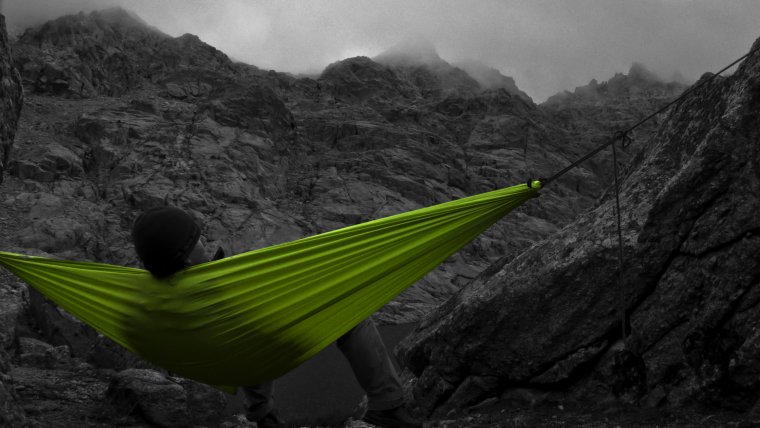
Basically, the selective color effect is where you take a photo and only display one object in specific color or colors in that tone throughout the entire image while the rest remains in Black and White. A lot of people like this since it is a fun effect and Photoshop makes it easy and enjoyable all the way. I will show you one of the easiest ways to do it and I invite you to follow along with me.
The first thing you will need to do is to upload the image that you intend to use. For the purposes of our tutorial, I have a car photo and all I want is to highlight the blue car but turn everything else into black and white. I will start by making a selection using my Quick Selection tool. I will then go around the car and make a rough selection of it. This doesn’t have to be perfect but I want to get as much of the car as possible.
If you end up selecting other objects or sections outside your main object, you can make changes by holding the Alt option key and then remove that part of the selection.
I will then continue to paint over the car. This will give us a rough selection and what I will do next is click on the Select and Mask Button (it could be different for you since I’m using Adobe Photoshop CC version). This gives me an idea of what I selected and I would like to do a little bit of cleanup. I will, therefore, increase the radius and let Photoshop do its own magic.
While at it, I will set my ‘Output to’ option to ‘Selection and then click Ok. This makes my selection refined and good. This is where the real trick is in this. You should make sure that you have inverted your selection once what you want to have the color in has been selected. I will go to Select > Inverse and this takes everything you selected and does the opposite of it. This means that everything is selected except the car. This is where you turn everything outside the car into Black and White. I will go to the adjustment button and select ‘Black and White’ and this automatically takes everything outside the car into black and white.
You can also use the hue saturation adjustment but the black and white tool is better as it allows you to control the colors you select. You can use the hue saturation adjustment to change the blues in the black and white portion by taking down the Cyan. This happens without touching the car. You can do a few edits using the hue saturation adjustment until you are satisfied with the results. That’s one way of working with your selection tool/method to turn portions of the image into black and white and still leave some color.
One thing you need to pay attention to is to make sure that since we made a rough selection, go around the car or your object pretty close and make sure all the colors are selected. If you have missed anything out, you should click on your adjustment layer, get a standard brush and make the hardness to around 50 while making sure that the brush is black. With this, you can paint over the areas that you missed.
This is one benefit of using this method in that it gives you a layer mask and you can go ahead and refine things as you are going around the object making sure that all the colors are selected. That’s quickly how you do the selective color effect in Photoshop. It is that simple and you can use the same method with any kind of color or object.
You can check our blog section for more photography tips, Photoshop, and Lightroom tips as well as Lightroom Presets and Photoshop Actions for your editing work.
If you want, you can learn how to create snow in photoshop.


Please verify your software version before proceeding.
 I’ve verified my software version


 Facebook
 Google +
Comments (0)
There are no comments yet.